Einleitung
Werkzeuge
-
-
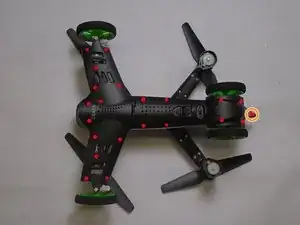
Orientate the drone to where the black side of the drone face upwards.
-
On the bottom side of the drone, remove the twenty-two 5mm Phillips #1 screws holding the black frame to the body.
-
There is one screw under the rear light. Pry the opaque cover to access the last screw.
-
-
-
From the front of the drone, the left motor has red and blue leads.
-
From the front of the drone, the right motor has white and black leads.
-
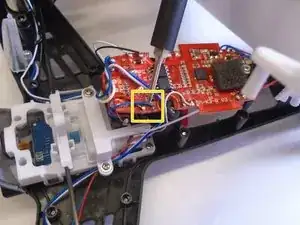
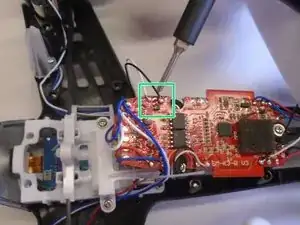
Remove the leads from their points on the motherboard with a soldering iron, respective to each motor.
-
Abschluss
To reassemble your device, follow these instructions in reverse order.
