Einleitung
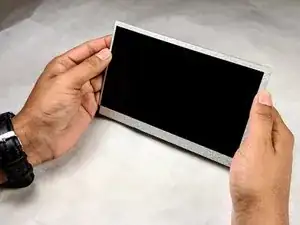
The Pyle Astro’s screen is comprised of three layers, the external touch panel, the capacitive touch screen overlay, and the tablet’s LCD. Use this guide to replace your tablet’s LCD.
Werkzeuge
Ersatzteile
-
-
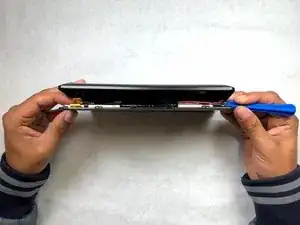
Using the plastic opening tool, work your way along the edge of the tablet.
-
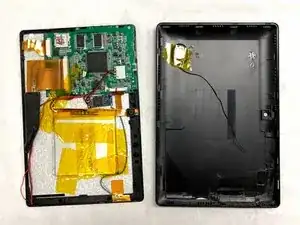
Once all clips are released, gently open and separate the front display assembly and the rear plastic panel.
-
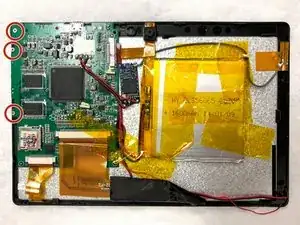
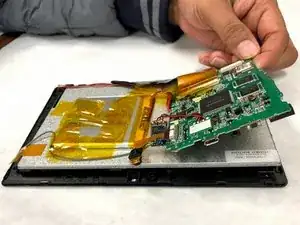
Place the front display assembly facing front side down to expose the inside.
-
-
-
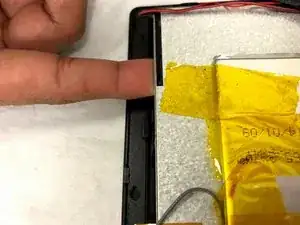
Gently work your way around the display while pulling the plastic tabs back to release the LCD display from the front panel.
-
-
-
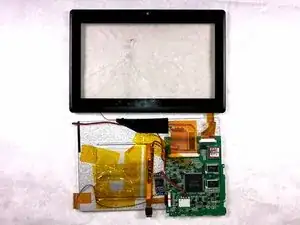
Once all clips are released gently open and separate the front plastic display from the LCD and place the LCD face down.
-
-
-
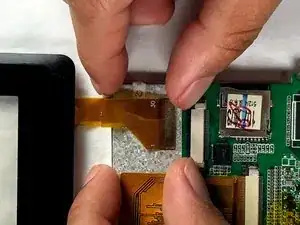
Using both hands, gently release the ribbon cable to the capacitive touch screen overlay from the PCB board by pushing both gray tabs outwards.
-
-
-
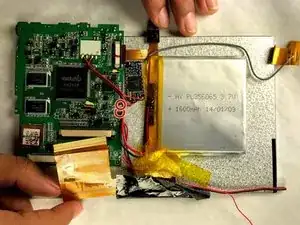
De-solder the two wires (see two red arrows in image) that connect the PCB to the LCD panel.
-
-
-
-
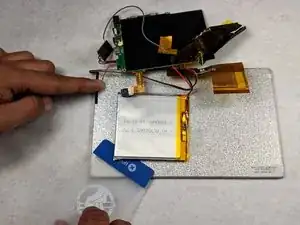
Using a plastic card gently remove the adhesive that holds the battery in place and separate the battery from the LCD panel.
-
-
-
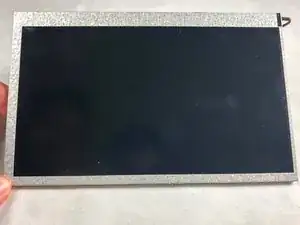
Install the new LCD panel and solder all the connections back into place.
-
-
To reassemble your device, follow these instructions in reverse order.
