Einleitung
A simple repair for bObsweep's ground sensors, which includes opening Bob, replacing the sensors, and closing your vacuum.
Werkzeuge
Ersatzteile
-
-
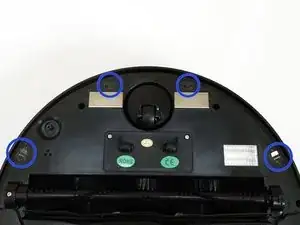
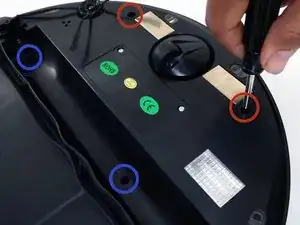
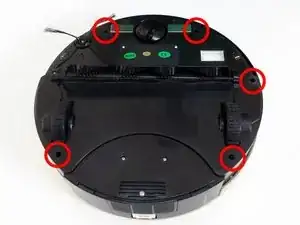
Flip Bob over and remove the 7 screws around which hold the cover together.
-
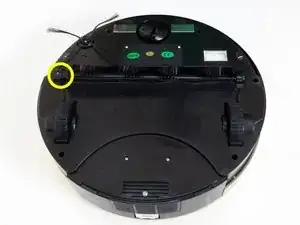
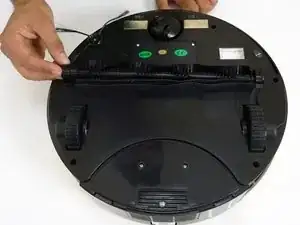
Remove the main brush. Unscrew the holder, and lift the brush out. Reminder: Keep this screw separate from the others so you can use it later to reinstall.
-
-
-
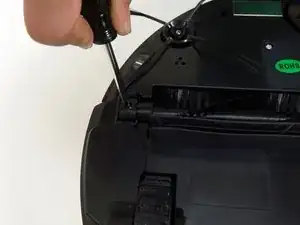
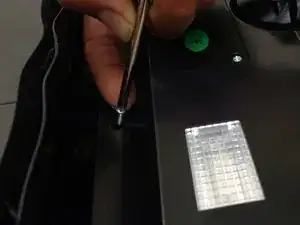
There are two screw holes inside the brush compartment: one in the centre, one on the left end. Remove both and keep aside for reassembly.
-
There are five more screws around bObsweep's edges. Two are installed at the top and bottom, and one on the right end of the main brush.
-
-
-
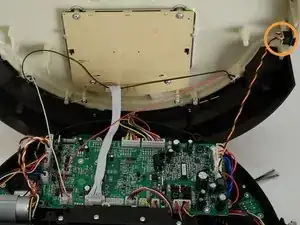
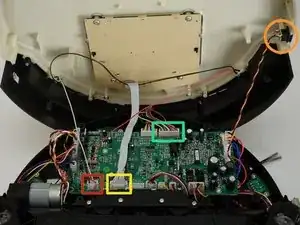
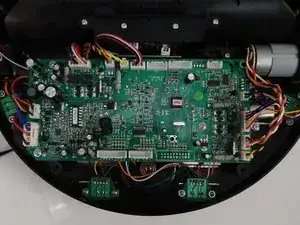
Flip bOb back over so you can see the screen. Lift the cover up to reveal bObsweep’s main board.
-
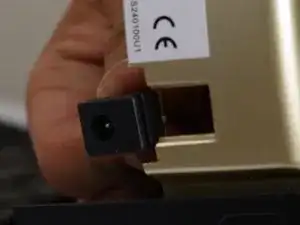
Detach the power inlet from the cover. Grip and slide it out.
-
-
-
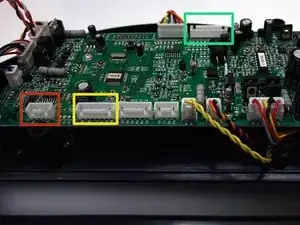
Remove three circuit plugs from the motherboard. Pinch the small white tab on the side of each circuit plug and pull straight up to release each from the motherboard.
-
1. On the bottom left corner: a small connector with red, black and white wires.
-
2. One thick white wire that attaches on the right side of the previous connector.
-
3. On the top edge of bOb’s motherboard: a wide multicoloured connector.
-
Place the cover aside and begin your repair.
-
-
-
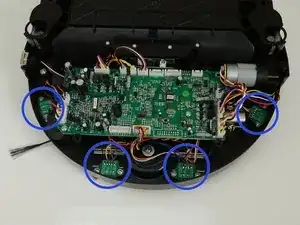
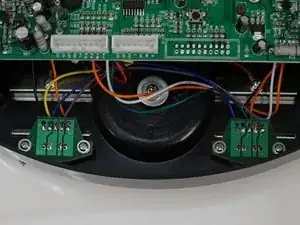
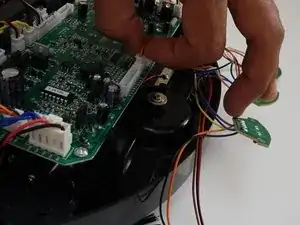
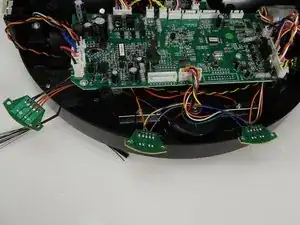
There are four ground detecting sensors inside bObsweep, found in front of the main board.
-
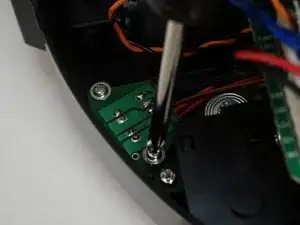
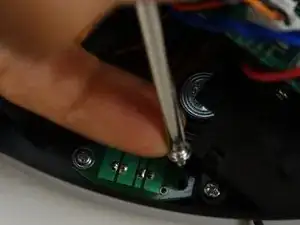
Use your screwdriver to remove all 8 screws holding the sensors in place. There are 2 on each sensor.
-
-
-
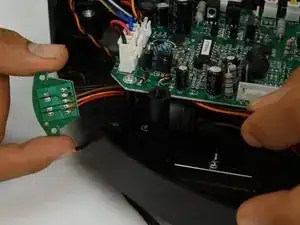
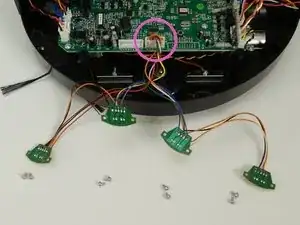
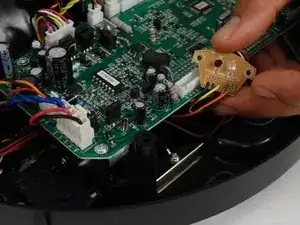
Lift the sensors out of bObsweep. All four are wired to the same circuit plug.
-
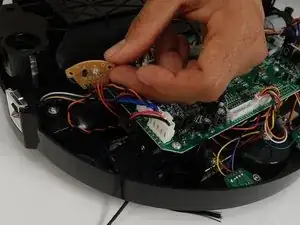
You will need to feed some of the wires underneath the main board to get the entire piece out.
-
Detach the multicolored circuit plug which connects the sensors to the main board to remove the part fully.
-
-
-
Plug the replacement ground detection sensors into the newly opened space on the main board.
-
Feed the wires for the end-most floor sensors underneath the main board before laying them down.
-
Ensure they are all correctly lined up with the clear plastic covers inside Bob.
-
-
-
Install all 8 screws holding the ground detection sensors in place.
-
Proceed to the Closing bObsweep guide:Closing bObsweep's cover after repair
-
When finished, bObsweep will be able to detect the floor beneath and avoid dangerous falls off ledges or down staircases. To reassemble the core, see the Closing bOb Guide.
Ein Kommentar
Great instructions. Where can i find to buy the sensors? do you have a specific webpage? Regards
Marcus (marcuswerner@gmx.de)
