Werkzeuge
-
-
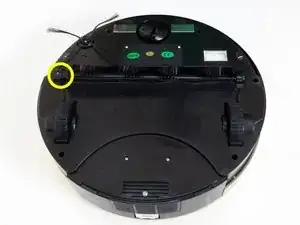
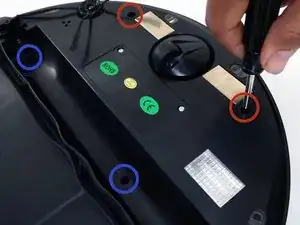
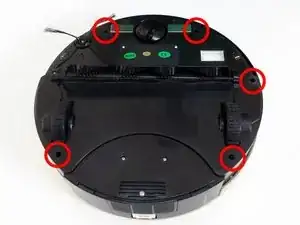
Flip Bob over and remove the 7 screws around which hold the cover together.
-
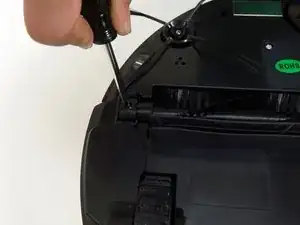
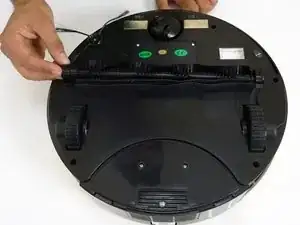
Remove the main brush. Unscrew the holder, and lift the brush out. Reminder: Keep this screw separate from the others so you can use it later to reinstall.
-
-
-
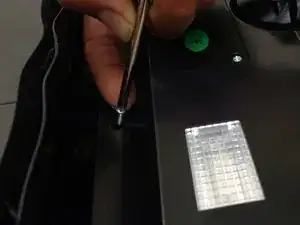
There are two screw holes inside the brush compartment: one in the centre, one on the left end. Remove both and keep aside for reassembly.
-
There are five more screws around bObsweep's edges. Two are installed at the top and bottom, and one on the right end of the main brush.
-
-
-
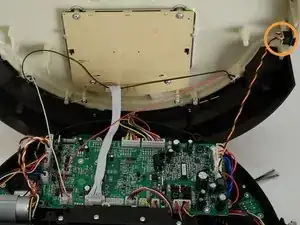
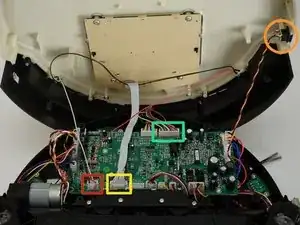
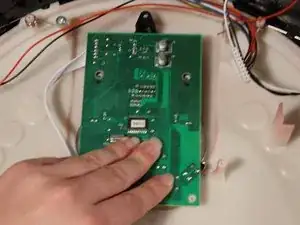
Flip bOb back over so you can see the screen. Lift the cover up to reveal bObsweep’s main board.
-
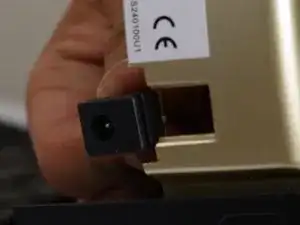
Detach the power inlet from the cover. Grip and slide it out.
-
-
-
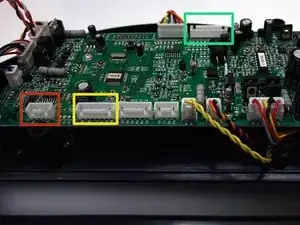
Remove three circuit plugs from the motherboard. Pinch the small white tab on the side of each circuit plug and pull straight up to release each from the motherboard.
-
1. On the bottom left corner: a small connector with red, black and white wires.
-
2. One thick white wire that attaches on the right side of the previous connector.
-
3. On the top edge of bOb’s motherboard: a wide multicoloured connector.
-
Place the cover aside and begin your repair.
-
-
-
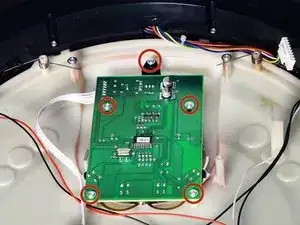
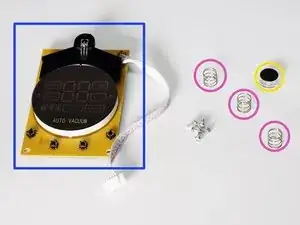
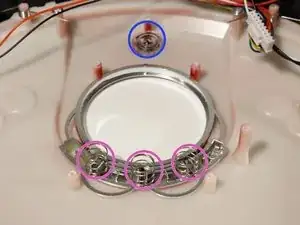
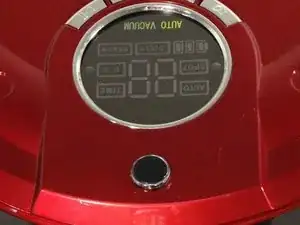
Bobsweep Standard has a circular screen that is held onto the cover by five screws. Remove these to lift all pieces of the screen out. They are
-
LCD screen
-
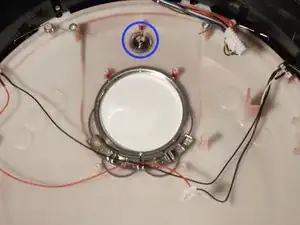
An infrared sensor on top of the screen which will easily pop out after removal
-
Three springs
-
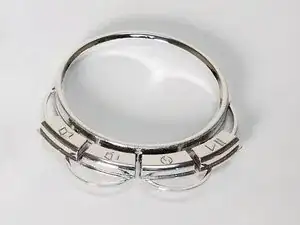
Silver cover plate for bOb’s buttons.
-
-
-
Once you’ve removed all the pieces, you can replace them in the following order:
-
The Infrared sensor should go in with the black side on bOb’s outside.
-
The button cover goes into the space on the cover.
-
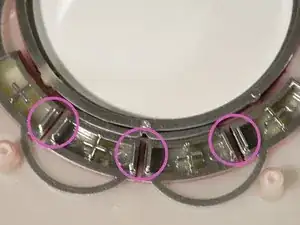
Then the three springs sit on top of the cover, on the spring holders between the plus signs.
-
-
-
Finally the LCD display goes on top of the springs, facing down. Make sure to line up the holes in the screen with the screw posts on bOb’s cover.
-
Install all 5 screws to hold the screen and Infrared sensor in place.
-
To complete your repair, follow the Closing bObsweep's cover after repair
-
To reassemble your device, follow the guide for closing bObsweep Standard or Pethair. Closing bObsweep's cover after repair
