Einleitung
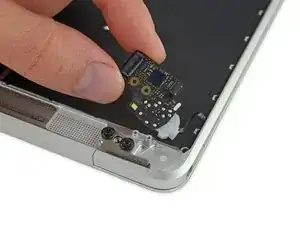
Grundständige Anleitung: Entfernen der Platine der Kopfhörerbuchse bei ganz entferntem unteren Gehäuse.
Werkzeuge
-
-
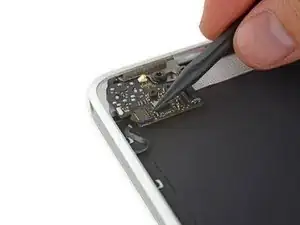
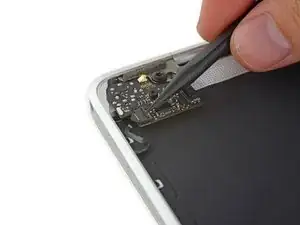
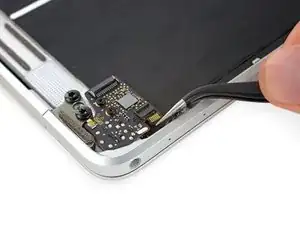
Klappe mit dem Spudger den Sicherungsbügel am ZIF Verbinder des Flachbandkabels zur Doppelmikrofoneinheit auf.
-
-
-
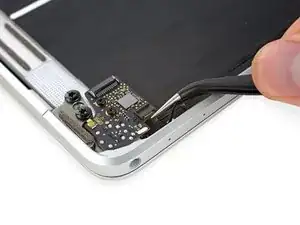
Ziehe das Flachbandkabel zur Mikrofoneinheit mit einer Pinzette aus seinem Anschluss heraus.
-
-
-
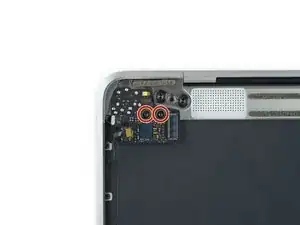
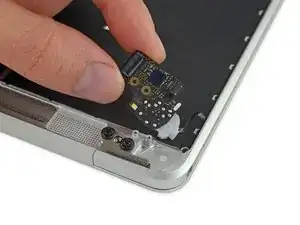
Entferne die beiden 3,2 mm Torx T5 Schrauben, mit denen die Platine der Kopfhörerbuchse am Gehäuse befestigt ist.
-
Abschluss
Um dein Gerät wieder zusammenzusetzen, folge den Schritten in umgekehrter Reihenfolge.

Does unplugging the "dual microphone assembly ribbon cable" affect anything other than the microphones? The headphone jack is separate, for example, right?
wizfish mcfrabblegabben -
Right. We haven't tested it, but unplugging that cable shouldn't affect anything other than the microphones. You can see the microphone assembly in this guide.
Jeff Suovanen -