Einleitung

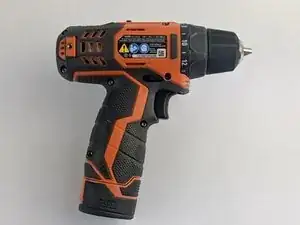
The Ridgid R82005 drill has preventative mechanics to cease overheating, although operators may still experience difficulties with the motor due to overloading caused by improperly adjusting both the two speed gear train and torque adjustment ring.

  1. xvJJFuioskdVaGAE
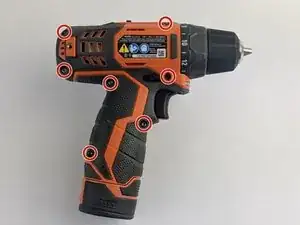
    • Eject the battery from the drill.

    • Unscrew the seven M3x15.3mm screws, with the 2mm hex screwdriver bit, that secures the Housing Assembly.

  2. U1qyAM2iBwuEyQQa
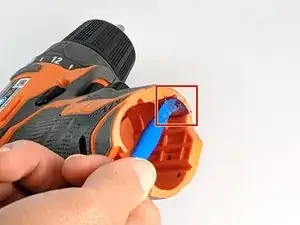
    • Push the metallic Housing Connecting clip out with flat side of the plastic opening tool.

    • Eject battery before attempting this step.

  3. DQ1VI5UxR22nCXRu
    DQ1VI5UxR22nCXRu
    xQ2Ok5BqM2ssGsj3
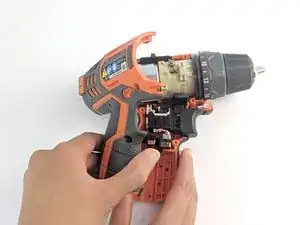
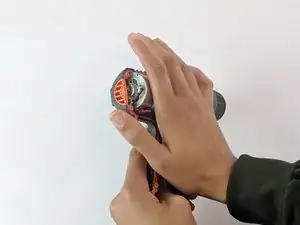
    • Remove the top half of the Housing Assembly.

  4. ipjSbu3TmZFJNdHU
    ipjSbu3TmZFJNdHU
    YWkuhHDkLVtOBZRo
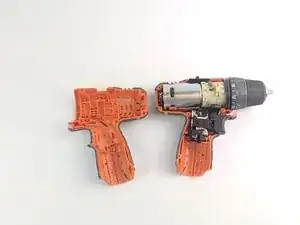
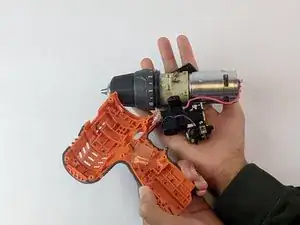
    • Grasp carefully the top and bottom of drill components.

    • LED light needs to be manually removed.

    • Lift and transfer, as a whole, the drill components from the old housing assembly to the new housing.

    • Make sure all drill components fit properly in the grooves of new Housing Assembly.

  5. D1ukbp4QHkbivRHg
    D1ukbp4QHkbivRHg
    QOyHcWQ3MjhEQaSP
    JpKybVJTDPJUjDCe
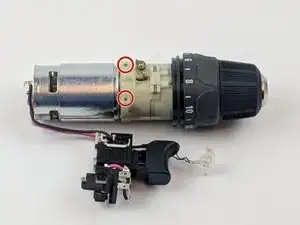
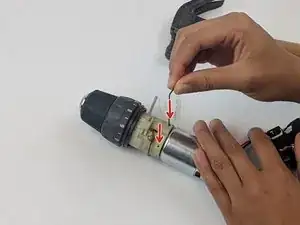
    • Push the two pins through the motor assembly.

    • We used an Alan wrench to push the pins through, but any small tool will do.

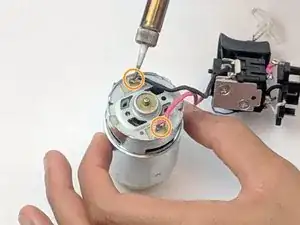
    • Unsolder the wires from the back of the motor to free the motor from the trigger assembly.

    • To learn how to solder, check out the How to Solder and Desolder Connections guide.

    • Make sure all drill components fit properly in the grooves of the Housing Assembly.

Abschluss

To reassemble your device, follow these instructions in reverse order.
Andrew McPherson

Mitglied seit: 14/02/19

443 Reputation

0 Kommentare