Einleitung

A defective drill trigger can unintentionally keep the drill on when used by operators and this safety hazard increases the chances of accidental punctures to nearby objects.

  1. RG1Z6LeK3FYXpB2W
    • Eject the battery from the drill.

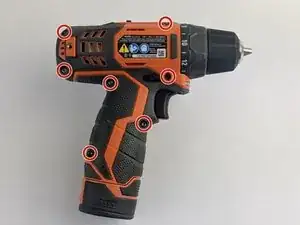
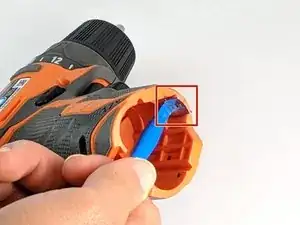
    • Unscrew the seven M3x15.3mm screws, with the 2mm hex screwdriver bit, that secures the Housing Assembly.

    • Unscrew the M5x18.5mm screw if belt clip is attached.

  2. f3JDHOHZht5nAVeZ
    • Push the metallic Housing Connecting clip out with flat side of the plastic spudger.

    • Eject battery before attempting this step.

  3. RIhfHKiCInhCKxKd
    RIhfHKiCInhCKxKd
    BgQYjLXotUyAiGiV
    s4TILEOWYCjOMIvM
    • Remove the top half of the Housing Assembly.

    • Keep track of where the wires lead from the motor assembly to trigger switch.

    • Remove all internal components.

  4. SOXEBnx6wBJVDSlb
    SOXEBnx6wBJVDSlb
    NqNAxjpntTIaHOqT
    jML4xqYlihDRck5f
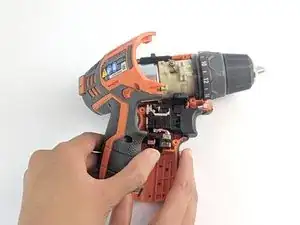
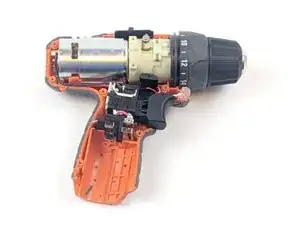
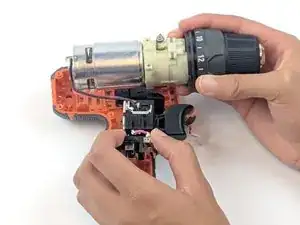
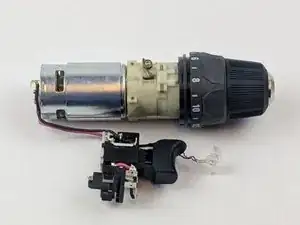
    • Motor Assembly/Gearbox and Trigger Switch removed from Housing Assembly.

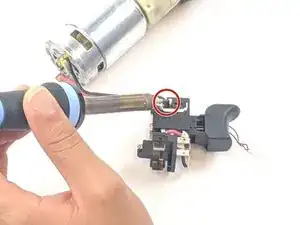
    • Desolder the black wire connected to the motor.

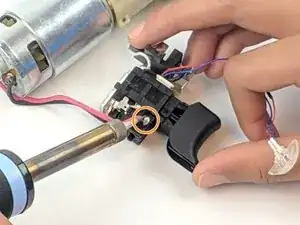
    • Flip Trigger Switch and desolder red wire.

    • To learn how to solder, use our How to Solder and Desolder Connections guide.

Abschluss

To reassemble your device, follow these instructions in reverse order.

Alex Cominos

Mitglied seit: 14/02/19

376 Reputation

0 Kommentare