Einleitung

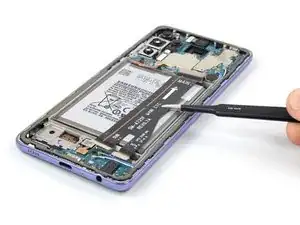
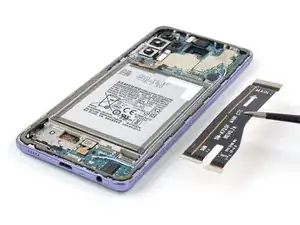
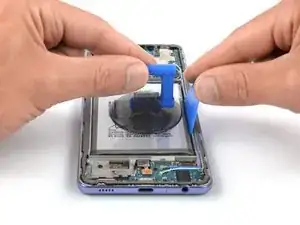
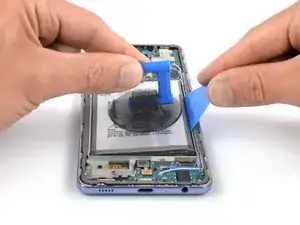
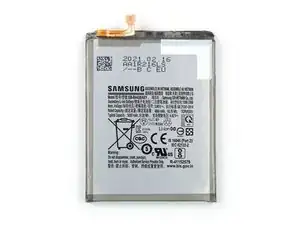
Use this guide to replace a worn-out or dead battery in your Samsung Galaxy A72.

For your safety, discharge the battery below 25% before disassembling your phone. This reduces the risk of fire if the battery is accidentally damaged during the repair. If your battery is swollen, take appropriate precautions.

It's possible to remove the battery in the Samsung Galaxy A72 without removing the loudspeaker assembly and the interconnect cable. However the risk of damaging the interconnect cable is high and the removal procedure gets a lot easier with the cable removed.

If you do not replace the adhesive seals when reassembling, your device will function normally, but will most likely lose its water protection.

You’ll need replacement adhesive to reattach components when reassembling the device.

  1. DekTIORTeXEOZ5Ay
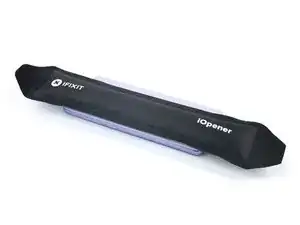
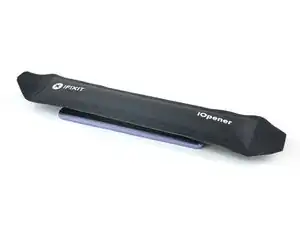
    • Prepare an iOpener and apply it to the back cover for at least two minutes to loosen the adhesive underneath.

    • A hair dryer, heat gun, or hot plate may also be used, but be careful not to overheat the phone—the display and internal battery are both susceptible to heat damage.

  2. budTG4plgqujsUKN
    budTG4plgqujsUKN
    mIiri3DAI2YOlAtX
    UAuyl2YQHuUSkjsG
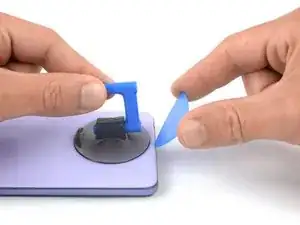
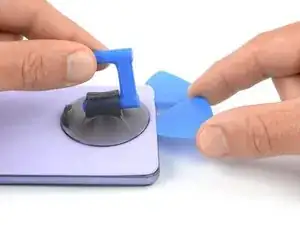
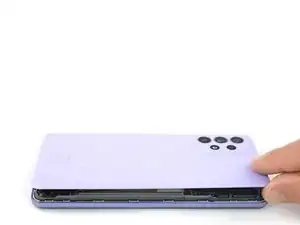
    • Secure a suction handle to the bottom edge of the back cover, as close to the edge as possible.

    • If the back cover is cracked, the suction handle may not stick. Try lifting it with strong tape, or superglue the suction handle in place and allow it to cure so you can proceed.

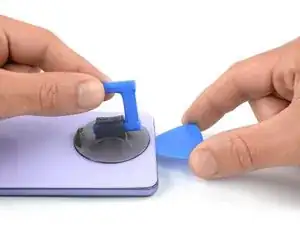
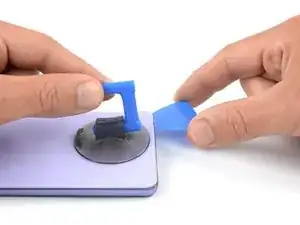
    • Lift the back cover with the suction handle to create a small gap between the back cover and the frame.

    • In case you have trouble creating a gap, apply more heat to further soften the adhesive. Follow the iOpener instructions to avoid overheating.

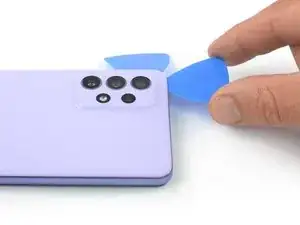
    • Insert an opening pick into the gap you created.

    • Slide the opening pick to the bottom right corner to slice the adhesive.

    • Leave the opening pick in place to prevent the adhesive from resealing.

  3. TUFIXOlcLSrYsZlW
    TUFIXOlcLSrYsZlW
    RSYfexFwKKyK2oOl
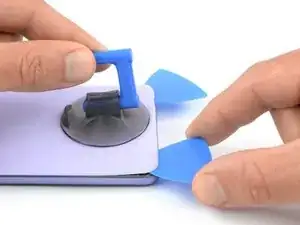
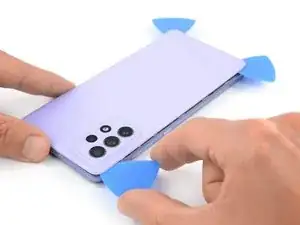
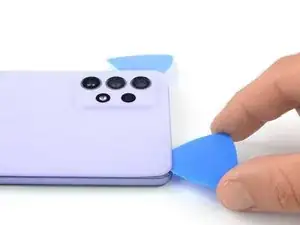
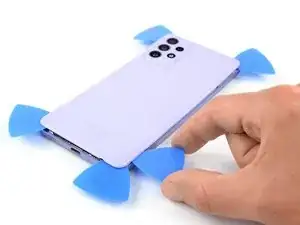
    • Insert a second opening pick at the bottom edge of your phone.

    • Slide the opening pick to the bottom left corner to slice the adhesive.

    • Leave the opening picks in place to prevent the adhesive from resealing.

  4. Mh2sgyqgcXwYdSFn
    Mh2sgyqgcXwYdSFn
    3bJxICyeBLrQRMRL
    uqILIhrWeSZYMalb
    • If the adhesive becomes hard to cut, it has most likely cooled down. Use your iOpener for one to two minutes to reheat it.

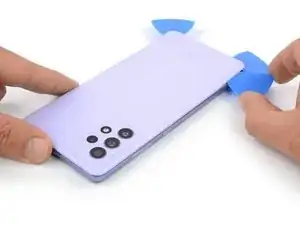
    • Insert a third opening pick at the bottom left corner of your phone.

    • Slide the opening pick along the left edge of your phone to slice the adhesive.

    • Leave the opening pick in the top left corner to prevent the adhesive from resealing.

  5. hiXNywbNsPIICVIR
    hiXNywbNsPIICVIR
    ITbUvaCJbZX3nwPj
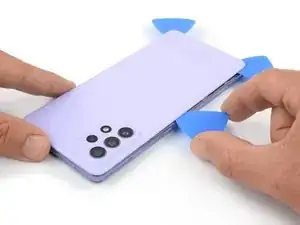
    • Insert a fourth opening pick underneath the top left corner of your phone.

    • Slide the opening pick along the top edge to slice the adhesive.

    • Leave the opening pick in the top right corner to prevent the adhesive from resealing.

  6. mGlYnjTqJWkwxIUZ
    mGlYnjTqJWkwxIUZ
    PySUljJjrtDVLxYZ
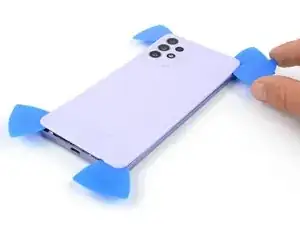
    • Insert a fifth opening pick underneath the top right corner.

    • Slide the opening pick along the right edge of the back cover to slice the remaining adhesive.

  7. 3FWErNqIKYXUrMDL
    3FWErNqIKYXUrMDL
    KcrDEYWaWJ6DB1wC
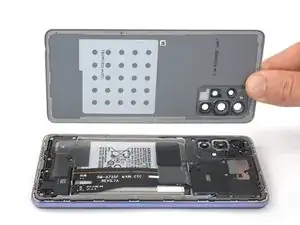
    • Remove the back cover.

    • Apply new adhesive where necessary after cleaning the relevant areas with isopropyl alcohol (>90%).

    • Secure the new back cover with pre-cut adhesive or double-sided adhesive tape. After installing the back cover, apply strong, steady pressure to your phone for several minutes to help the adhesive form a good bond—a stack of heavy books works well.

  8. 1KB2CLsBYOSV4XL6
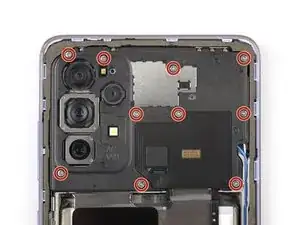
    • Use a Phillips screwdriver to remove the ten 4.5 mm-long screws securing the motherboard cover.

  9. GAmTe1YWb6RYxsyO
    GAmTe1YWb6RYxsyO
    Zh6crdhMKO1s2rww
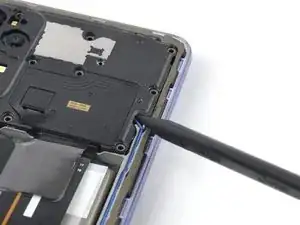
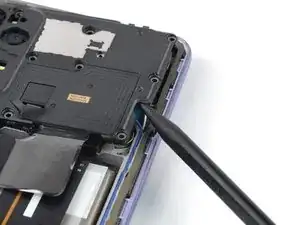
    • Insert the pointed end of a spudger underneath the right edge of the motherboard cover.

    • Use your spudger to pry up the motherboard cover by tilting the spudger downwards.

  10. XAZMTHQgRUEaIsxo
    XAZMTHQgRUEaIsxo
    3PCOe52hwDmqjTrB
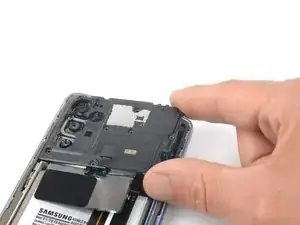
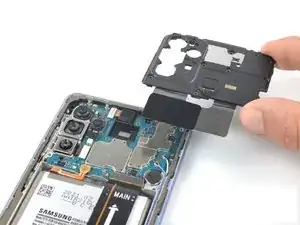
    • Remove the motherboard cover.

  11. gIoS5GooQRDFFbw3
    gIoS5GooQRDFFbw3
    ylZtCoMkFOrjFo4n
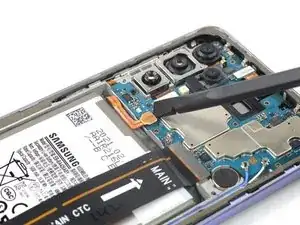
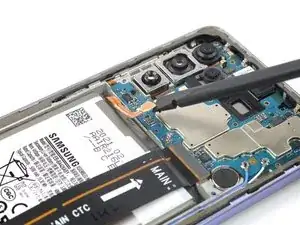
    • Use a spudger to disconnect the battery cable by prying the connector straight up from its socket.

  12. nyeXCnOpJFFPoxMY
    nyeXCnOpJFFPoxMY
    BPfdtMEWI2Esks6M
    • Use a spudger to disconnect the interconnect cable by prying the connector straight up from its socket.

  13. DgJwXJRnhg1vubdB
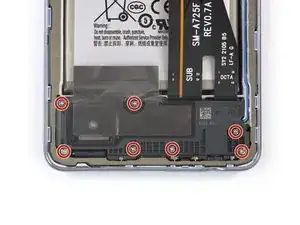
    • Use a Phillips screwdriver to remove the seven 4.5 mm-long screws securing the loudspeaker assembly.

  14. Ab5IrBsEFMwPr2BZ
    Ab5IrBsEFMwPr2BZ
    DGuTnFfLWWryqfGy
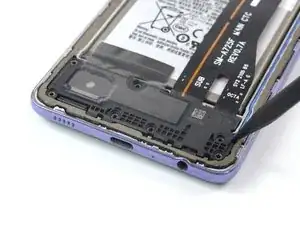
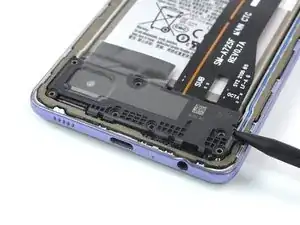
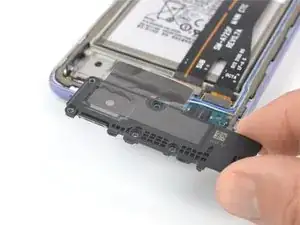
    • Insert the pointed end of a spudger underneath the right edge of the loudspeaker assembly.

    • Use your spudger to pry up the loudspeaker assembly by tilting the spudger downwards.

  15. AUaxnOKnQqv4cG6t
    AUaxnOKnQqv4cG6t
    nVrvWjkhT2cfaIKq
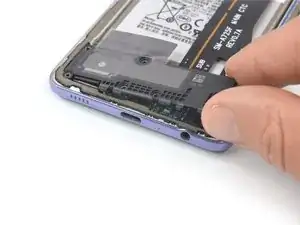
    • Remove the loudspeaker assembly.

    • During reassembly apply new adhesive where it's necessary after cleaning the relevant areas with isopropyl alcohol (>90%).

  16. NNByfHCa6B6xUFCY
    NNByfHCa6B6xUFCY
    PKtJeZZWxVDCisAM
    Y4xjHZy5wXh5WOUN
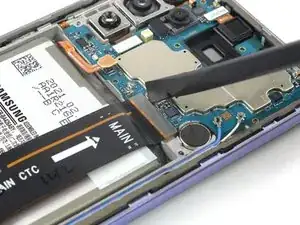
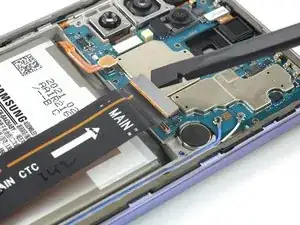
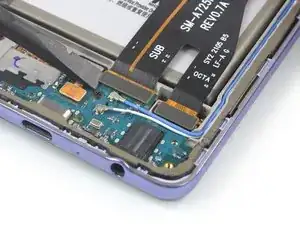
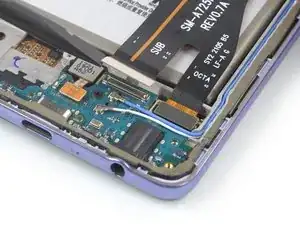
    • Use a spudger to disconnect both ends of the interconnect cable by prying the connectors straight up from their sockets.

  17. Rd4rkpPHTFM6DKVD
    Rd4rkpPHTFM6DKVD
    j21lKBTWtqBOsQw3
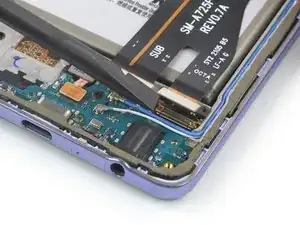
    • Use a pair of tweezers or your fingers to remove the interconnect cable.

  18. BQ1STCMWUouJXio1
    • Apply a heated iOpener to the screen to loosen the adhesive underneath the battery. Apply the iOpener for at least five minutes.

    • A hair dryer, heat gun, or hot plate may also be used, but be careful not to overheat the device.

    • Do not apply heat directly onto the battery as doing so is a potential safety hazard.

    • In case you can't manage to pry up the battery by only using heat in the following step, you can apply a few drops of high concentration (over 90%) isopropyl alcohol underneath the edges of the battery. Let the isopropyl alcohol penetrate the battery adhesive for at least two to three minutes.

  19. wxGRu6KYLK2SVBI2
    wxGRu6KYLK2SVBI2
    f3uj3EAGePBVwwvA
    LeXpKptIjokSgfWE
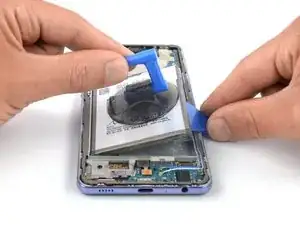
    • For this step, insert the opening pick into the edge with a wider gap between the midframe and the battery so that you have more space for the opening pick and get a better leverage.

    • Secure a suction handle to the battery, as close to the battery edge as possible.

    • Insert the long edge of an opening pick into the gap between the edge of the battery and the frame.

    • Take care not to puncture or bend the battery during the removal procedure—a punctured or bent battery may leak dangerous chemicals or cause a thermal event. In case you're struggling to pull up the battery apply more isopropyl alcohol and try again.

    • Pull up on the suction handle and tilt the opening pick downwards at the same time to pry up the battery.

    • If you're struggling to pull up the battery with your suction handle you can try to use a heavy-duty suction cup instead.

  20. MD1PmkpnUvAn1eOC
    MD1PmkpnUvAn1eOC
    W21CHpwPj5IdVggQ
    QUejTYyMlpqPcHwY
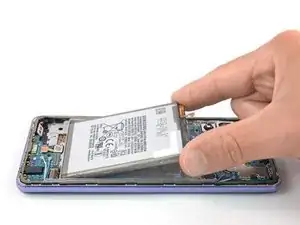
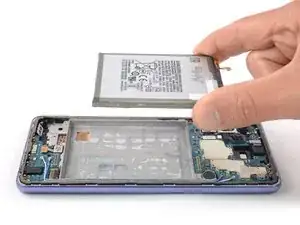
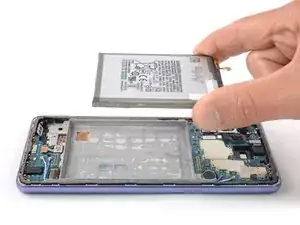
    • Peel the battery off the remaining adhesive.

    • Remove the battery.

    • Do not reinstall a damaged or deformed battery, as doing so is a potential safety hazard.

    • Secure the new battery with pre-cut adhesive or double-sided adhesive tape. In order to position it correctly, apply the new adhesive into the device at the places where the old adhesive was located, not directly onto the battery. Press the new battery firmly into place.

    • During reassembly, temporarily reconnect the battery to the motherboard to help align it correctly. Disconnect the battery after it is seated.

Abschluss

If possible, turn on your device and test your repair before installing new adhesive and resealing.

To reassemble your device, follow these instructions in reverse order. During reassembly apply new adhesive where necessary after cleaning the relevant areas with isopropyl alcohol (>90%).

For optimal performance, calibrate your newly installed battery after completing this guide.

Take your e-waste to an R2 or e-Stewards certified recycler.

Repair didn’t go as planned? Try some basic troubleshooting, or ask our Answers community for help.
Dominik Schnabelrauch

Mitglied seit: 23/11/16

167866 Reputation

0 Kommentare