Einleitung

This is a prerequisite-only guide! This guide is part of another procedure and is not meant to be used alone.

  1. Wu6w1hhqAcZlQkWs
    Wu6w1hhqAcZlQkWs
    nr5oAAcVVF4J6N3Q
  2. EwE6xtGHX5LLHHA4
    EwE6xtGHX5LLHHA4
    T4xv2GH4GZmwgCXK
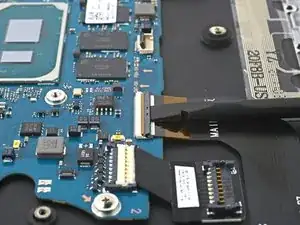
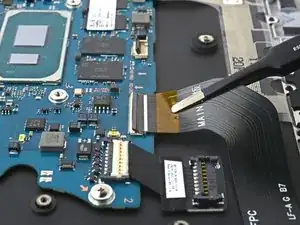
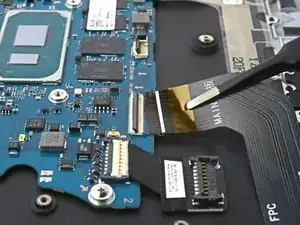
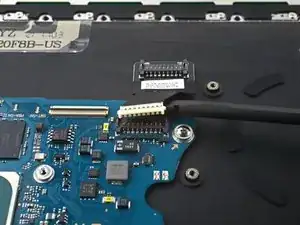
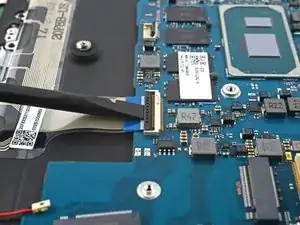
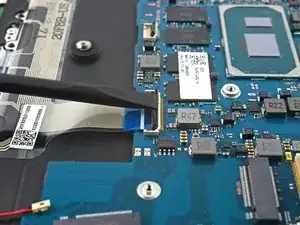
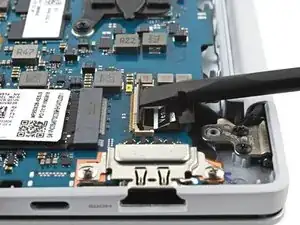
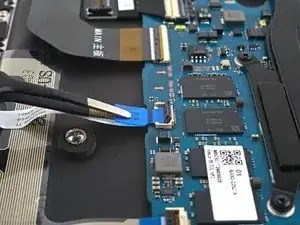
    • Use a spudger to gently pry up the locking flap on the motherboard ZIF connector for the interconnect cable.

  3. c5dnwAFjG6WGhrng
    c5dnwAFjG6WGhrng
    IfEEbmXCHDmUYpeU
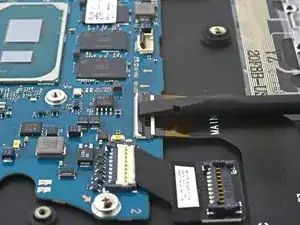
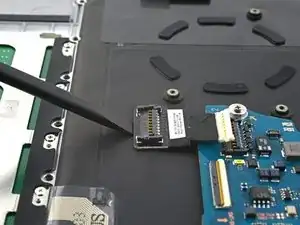
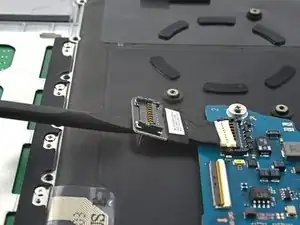
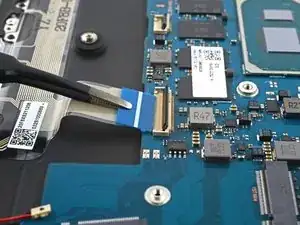
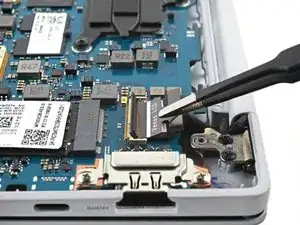
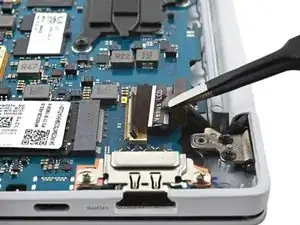
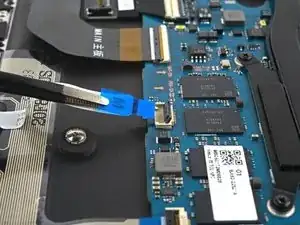
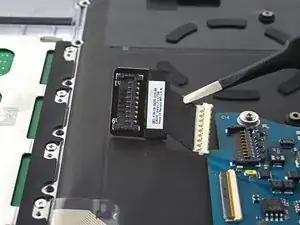
    • Disconnect the interconnect cable by sliding it out from its socket on the motherboard.

  4. MeXPYXvEkIMQQjA3
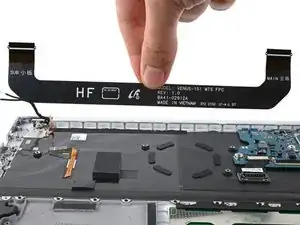
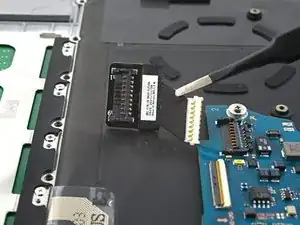
    • Use your fingers, or tweezers, to remove the interconnect cable.

    • Set the cable aside. You'll reuse it during reassembly.

  5. ZN6kbVpX1yaAUHmX
    ZN6kbVpX1yaAUHmX
    lZXUGLSXaeLrbWK2
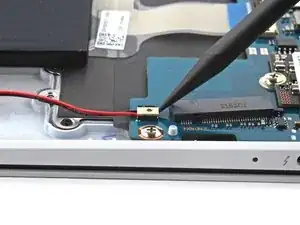
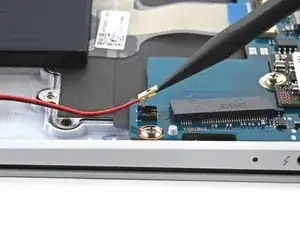
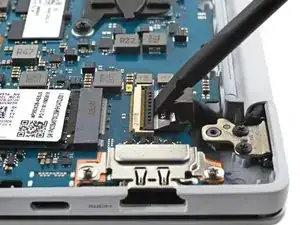
    • Insert a spudger between the frame and the bottom of the battery extender cable connector.

    • Pry up and disconnect the battery extender cable connector.

  6. ocG5bP6ZCaDMPiFX
    ocG5bP6ZCaDMPiFX
    GCVGttxRkOPo2AUj
    2sVF2tsGf251Yc5k
    • The battery extender is lightly adhered to the frame.

    • Insert a spudger between the frame and the bottom of the battery extender.

    • Pry up with the spudger to separate the adhesive.

    • Remove the battery extender.

    • During reassembly, reconnect the battery extender's connector to the motherboard before re-adhering it to the frame to ensure proper alignment.

  7. kDHucSWGHeNRchwQ
    kDHucSWGHeNRchwQ
    tIxRvHEjwf5ZDGId
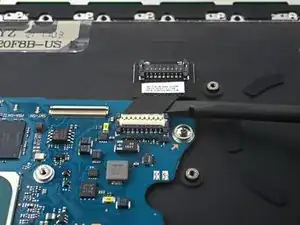
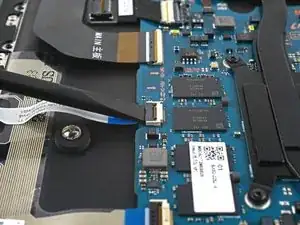
    • Use a spudger to gently pry up the locking flap on the ZIF connector for the keyboard cable.

  8. jKOOJhsguZgZnPxD
    jKOOJhsguZgZnPxD
    pW1SLrojRKSQD3Cj
    • Disconnect the keyboard cable by sliding it out from its socket on the motherboard.

  9. Cc1MccFxalMWwUQQ
    Cc1MccFxalMWwUQQ
    EKGMlvburXdgdGjP
  10. fj3XforWjaxVHJuO
    fj3XforWjaxVHJuO
    sVTJ5ZCBwkQvQuBY
    • Disconnect the display cable by sliding it out from its socket on the motherboard.

  11. LxAJiRLKK6mThMpl
    LxAJiRLKK6mThMpl
    fkYxMm425RjrGWj6
    • Use a spudger to gently pry up the locking flap on the ZIF connector for the touchpad cable.

  12. ygepcxoUJdeRvcBd
    ygepcxoUJdeRvcBd
    3npYv2KclXUiluOi
    • Disconnect the touchpad cable by sliding it out from its socket on the motherboard.

  13. AJ2Qy1OLYmiJu3rS
    AJ2Qy1OLYmiJu3rS
    D1vur5sXBtjQXsxG
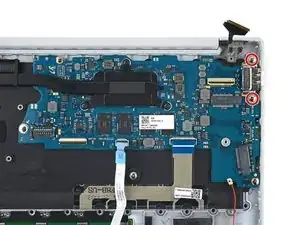
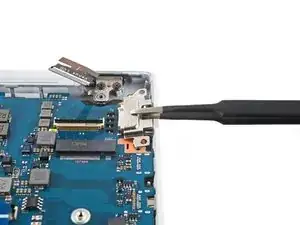
    • Use a Phillips screwdriver to remove the two 3.5 mm-long screws securing the motherboard port bracket.

  14. otfmDGfySQnsuWt5
    otfmDGfySQnsuWt5
    Jj4DTIRyYTJwrU13
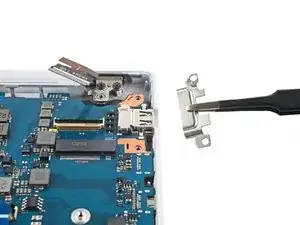
    • Use tweezers, or your fingers, to remove the motherboard port bracket.

  15. DWUbeNbMiT11qQvG
    DWUbeNbMiT11qQvG
    KRrxM3J5JNeICeSV
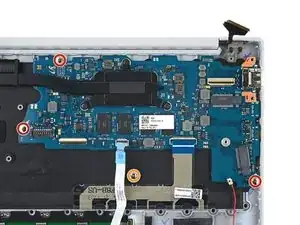
    • Use a Phillips screwdriver to remove the three 3.5 mm-long screws securing the motherboard.

    • If your laptop has a screw in the marked location, use a Phillips screwdriver to remove and transfer it to your replacement front case.

    • This screw normally secures a secondary SSD drive.

  16. cykcUOSYfaWXKtK6
    cykcUOSYfaWXKtK6
    6HioJSrnpBF1Irst
    Q54TBK3HBZhofL45
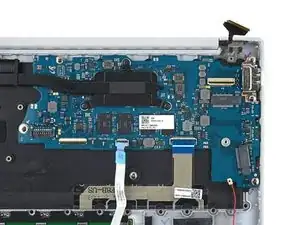
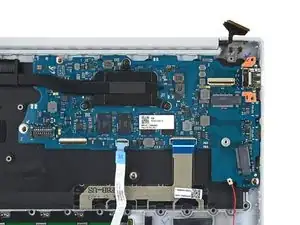
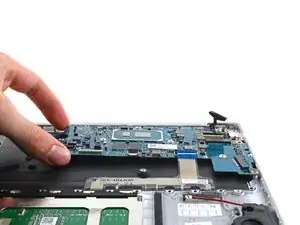
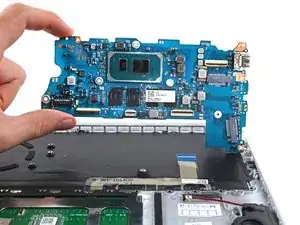
    • Lift the left side of the motherboard upward to separate it from its pegs on the frame.

    • Lift the motherboard straight up to separate the rest of the pegs.

    • Remove the motherboard.

    • During reassembly, make sure all of the connectors are above the motherboard before securing it back into the fame.

Abschluss

To reassemble your device, follow these instructions in reverse order.
Alex Diaz-Kokaisl

Mitglied seit: 16/01/22

69204 Reputation

0 Kommentare