
Einleitung
Diese Anleitung hilft dir dabei, den Bildschirm deines Samsung Galaxy S7 zu wechseln.
Du solltest wissen, dass die Videoanleitung nicht der Schritt-für-Schritt -Anleitung unten entspricht, es handelt sich um eine ältere Version der Anleitung.
Im Video wird empfohlen, den Akku, das SIM Kartenfach und das Mainboard zu entnehmen. Das ist nicht notwendig, macht das Erhitzen aber sicherer. Dieser Vorgang wird nur empfohlen, wenn du den Akku und den Bildschirm gleichzeitig ersetzt.
Diese Anleitung zeigt dir, wie du nur das Display austauschst, dabei aber alle anderen Komponenten wie Rahmen, Mainboard und Akku an ihrem Platz lässt. Hinweis: Manche Ersatzbildschirme für dieses Smartphone sind in einem Rahmen vorinstalliert, das erfordert das Übertragen aller internen Komponenten und den Einbau eines neuen Akkus. Achte darauf, dass du das richtige Ersatzteil hast, bevor du mit der Anleitung anfängst.
Sollte der Rahmen beschädigt oder verbogen sein, ist es wichtig diesen mit auszutauschen, da sonst das Display unter Umständen nicht richtig sitzt und durch unregelmäßigen Druck beschädigt werden könnte
Befolge diese Anleitung nicht, wenn du das Display nicht tauschen möchtest, da mit hoher Wahrscheinlichkeit das Display kaputt geht, wenn du es vom Rahmen trennst.
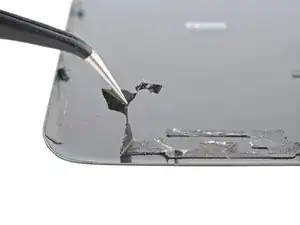
Wenn dein Bildschirm stark beschädigt ist, trage eine Schutzbrille zum Schutz vor absplitternden Glassplittern. Bringe eine Schutzfolie oder Klebeband auf dem Bildschirm an, damit die Splitter sich nicht verteilen.
-
-
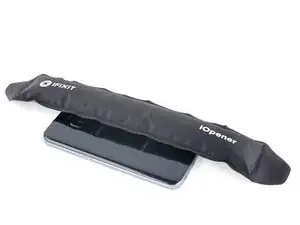
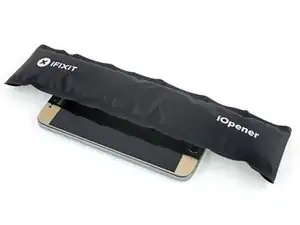
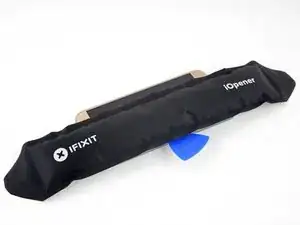
Lege einen erwärmten iOpener für etwa zwei Minuten auf eine der langen Kanten des Smartphones.
-
-
-
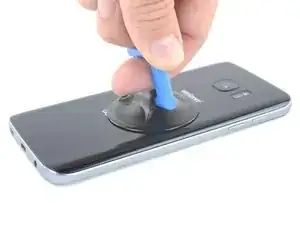
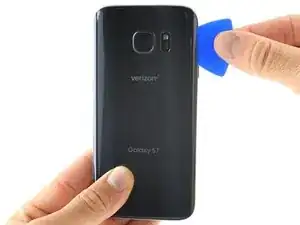
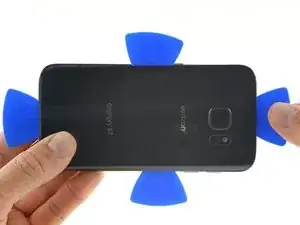
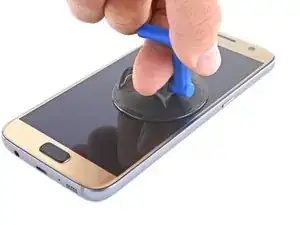
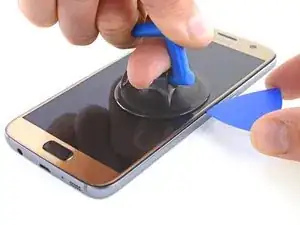
Wenn sich das Rückgehäuse warm anfühlt, setze den Saugheber so nahe wie möglich an die erhitzte Kante des Smartphones an, dabei solltest du die abgerundete Kante vermeiden.
-
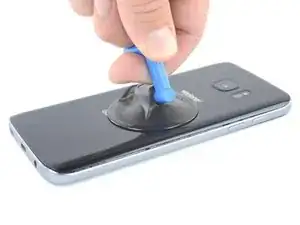
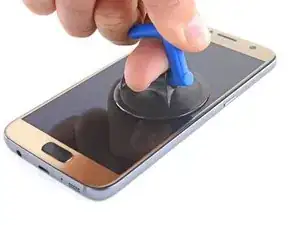
Hebe den Saugheber vorsichtig an und führe ein Plektrum unter die rückwärtige Glasscheibe ein.
-
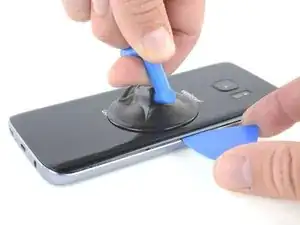
Als weitere Möglichkeit kannst du auch, wenn das Plektrum eingesteckt ist, einige Tropfen Isopropylakohol in den Spalt geben. Dadurch wird der Klebstoff für die weiteren Schritte geschwächt.
-
-
-
Sobald du das Plektrum in die Scheibe eingeführt hast, solltest du den iOpener nochmals erwärmen und auflegen, um den Kleber aufzuweichen.
-
-
-
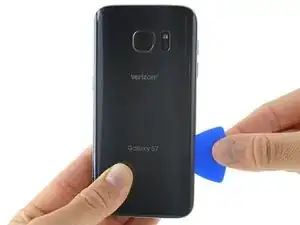
Fahre mit dem Plektrum an der Seite des Geräts entlang herunter, um den Kleber zu lösen.
-
Lasse das Plektrum da, wo es ist, und nehme ein zweites Plektrum, wenn du mit dem nächsten Schritt weitermachst. Wenn das Plektrum drin bleibt, kann es helfen, den Kleber, den du gerade getrennt hast, daran zu hindern, sich wieder zu verbinden.
-
-
-
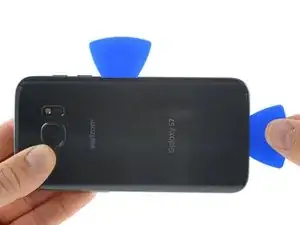
Wiederhole die vorherigen Schritte (Erhitzen und Schneiden) an den restlichen drei Seiten des Gerätes.
-
Lasse ein Plektrum in jeder Ecke, um ein erneutes Verbinden des Klebers zu vermeiden.
-
-
-
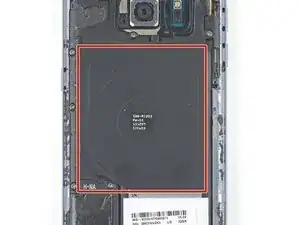
Wenn du zum Reinigen des Mittelrahmens Isopropylalkohol verwendest, dann achte darauf, dass kein Alkohol unter die Spule zum drahtlosen Laden gelangt. Die Beschichtung der Spule wird durch Alkohol brüchig.
-
-
-
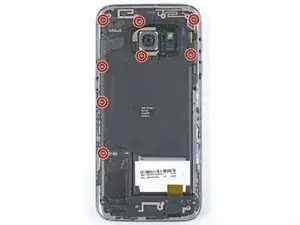
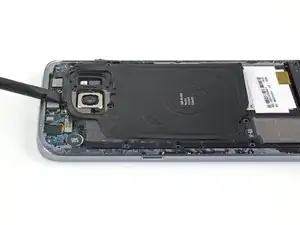
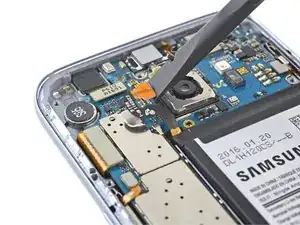
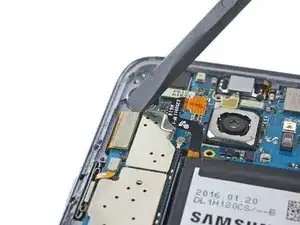
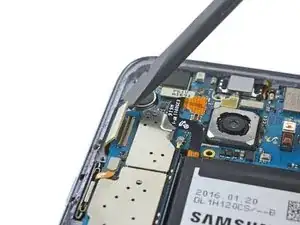
Entferne die acht 3,5 mm Kreuzschlitzschrauben, mit denen die Baugruppe aus NFC-Antenne und Ladespule befestigt ist.
-
-
-
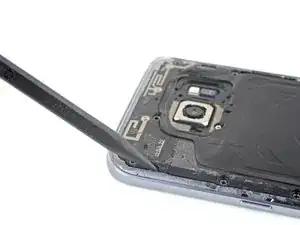
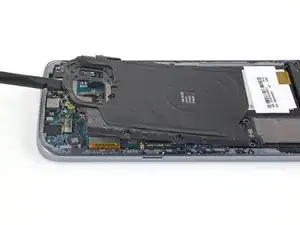
Führe die Spitze eines Spudgers in kleine Vertiefung links von der Antenneneinheit und drücke die Einheit damit aus dem Rahmen.
-
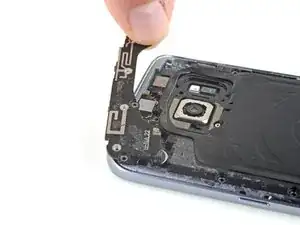
Entferne nun die Antenneneinheit.
-
-
-
Bereite einen iOpener vor und lege ihn für zwei Minuten auf eine der langen Seiten des Smartphones.
-
-
-
Wenn sich der Bildschirm warm anfühlt, dann befestige einen Saugheber so nahe am erhitzten Rand des Smartphones wie möglich.
-
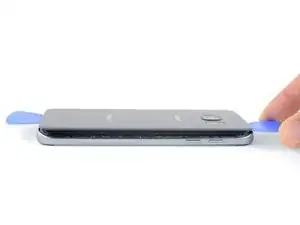
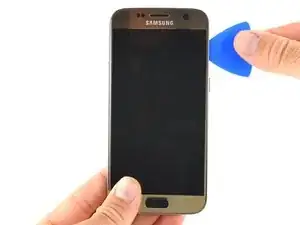
Ziehe den Saugheber hoch und setze ein Plektrum unter die Displayeinheit.
-
-
-
Wenn das Plektrum fest unter dem Display steckt, dann erwärme erneut den iOpener und lege ihn wieder auf, um den Kleber aufzuweichen.
-
-
-
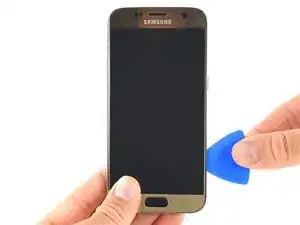
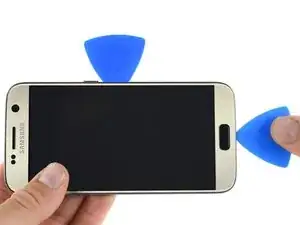
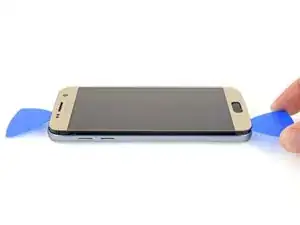
Schiebe das Plektrum die Seite entlang nach unten und trenne den Kleber auf.
-
Schiebe das Plektrum langsam, so dass seine Spitze nicht aus der Ritze heraus rutscht. Wenn es sich nicht mehr leicht bewegen lässt, dann erwärme den iOpener und lege ihn erneut auf.
-
Lasse das Plektrum stecken, und nimm ein zweites Plektrum, bevor du zum nächsten Schritt weitergehst. Das Steckenlassen des Plektrums verhindert, dass der frisch aufgetrennte Kleber sich wieder verbindet.
-
-
-
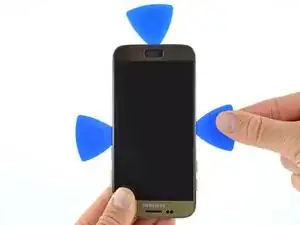
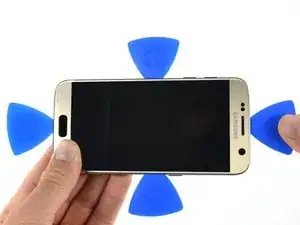
Wiederhole das Aufwärmen und Auftrennen für die restlichen drei Seiten des Smartphones.
-
Lasse jeweils ein Plektrum an jeder Seite stecken, damit sich der Klebstoff nicht wieder verbindet.
-
-
-
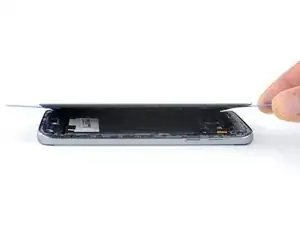
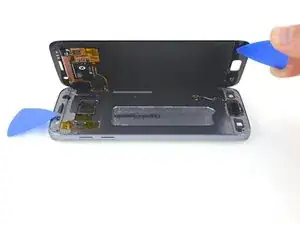
Heble die Seite des Displays gegenüber dem Displaykabel hoch, so dass das Kabel wie ein Scharnier wirkt, wenn sich das Smartphone öffnet.
-
-
-
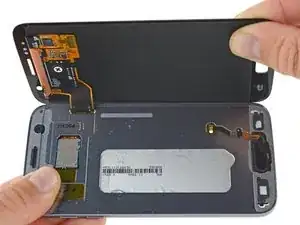
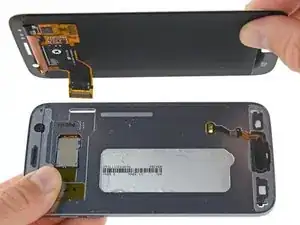
Hebe das Display sorgfältig vom Mittelrahmen weg, ziehe dabei den Displaystecker vorsichtig durch das Loch im Mittelrahmen.
-
Entferne das Display.
-
-
-
Reinige nach dem Beseitigen von Klebstoffresten und Glassplittern die Klebeflächen mit 90%igem (oder mehr) Isopropylalkohol und einem fusselfreiem Lappen oder einem Kaffeefilterpapier. Wische nur in eine Richtung, nicht vor und zurück.
-


Für den Zusammenbau musst du den neuen Kleber auf der hinteren Abdeckung anbringen und dann der Anleitung in umgekehrter Reihenfolge folgen.

28 Kommentare
The screen replacement went smooth. I just wish it included the adhesive. I didn't see the note where the adhesive needed to be ordered in addition to the screen. Otherwise everything went well.
Thanks
For the price of the screen, I can replace it in a Samsung repair center...
I just need to replace the glass, not all of the AMOLED touch screen... :-( Sorry but this didn't help me.
Darky -
How much cost u paid to service centre for original display for samsung s7
You can not replace just the glass without special equipment (hot plate, laminator etc.)
I'm wanting to help my friend do this but I don't have a heat gun. Would a blow dryer work to loosen the glue or does it need to be hotter? He got a quote for 200 from a shop to fix it but they said it takes a month…lame! I've replaced screens in many tables and phones and I have all the necessary tools other than the heat gun and the replacement screen components obviously.
@Adam Bacon Heat guns are quite inexpensive. The model she uses in this video runs about $20 or less in most shops. A blow dryer may work, but it’s difficult to say for certain. The adhesive Samsung uses is pretty robust. If you find yourself fixing a lot of devices you should really consider investing in a heat gun.
E West -
I did this repair. A heat gun isn’t really hot enough to remove the screen without destroying it. A hair drying isn’t going to touch the glue.
armand -
Use a hair dryer and a spudger and a iSesamo to pop that bad boy off. No sense in buying a heat gun for one use.
It works great I got my Galaxy S7 apart within a hour using a hair dryer
I used a heat gun and heated it a little too much. The color of the rear glass is just a sticker on a clear cover. Due to this I tore the sticker off. Now the back cover is see through, which isn’t a bad thing but the repair was for a customer.
Kevin Bishop -
When using the iOpener, you may need more than 30 seconds, especially in compact or low wattage microwaves. Take this slowly, though, and be extremely careful, as it is easy to overheat your iOpener. Remember, you can always heat it up a tad more, but you cannot undo overheating it.
Jacob Pratt -
I used an adjustable heat gun and set it to 400 degrees (F). That was enough to seperate the glass without having to worry about exposure times of the heat. The front of the phone was just fine. Just be ready to use a bunch of picks to slide in between because they will be needed this way.
Ryan Schumerth -
I went from the bottom center up, using one ifixit tools, one suction cup and one pick.
Pick just popped in with some minor pressure.
Laid heat pack along base of phone 2 mins first and worked up slowly, rotating picks as I went. Had to heat iopener over several 30 second bursts
Lauren Burt -
This is useless because the phone does not recognize the new battery and will behave like on the old one
Search for “battery count xda"
Albert Einstein -
That is an interesting discovery! Thanks for pointing it out—I’ll have to look into it.
Even if this is true, replacing the battery should still give restore a significant amount of life, since the max voltage affects a minor amount of the battery’s capacity. If you charge a worn battery and a new battery to the same lower max voltage, the worn battery’s voltage will dip more under use and will be depleted faster.
Arthur Shi -
Thanks for the guide! It helped me replace a friend's battery with no problems!
Darren Crook -
I will never replace a screen again, and don’t recommend it. Not for phones nowadays. Once upon a time everything was screwed together, and you might even get the same quality or better screen when buying from eBay. And having the phone repaired was nearly the cost of the phone. Now, it’s the reverse. Removing the glued back and screen and cleaning off all the glue for a clean re-seal is an ordeal that takes multiple hours, AND, often the screen you buy on eBay is NOT OLED, but an LCD, and a blurry one at that. And the local phone repair store will replace the screen with an OLED, reliably, same day turn around, for not much more than the cost of an actual OLED screen, because they have the parts in bulk, and the tools and experience to do it quickly. Never again!
domarius -
have you ever had one that just wont open at all? i can not get mine to open to replace the battery i have heated with a heat gun and attached suction cup and it will not lift at all
Carla James -
Hi Carla,
I've definitely had that experience before. The adhesive is very strong, and the curved back makes getting the initial seam very difficult. I'd suggest focusing on one small area on the edge. Apply steady force when you pull, and repeat a few times to loosen the adhesive. Eventually it will give and present a small gap.
Arthur Shi -