Einleitung
This is a prerequisite-only guide! This guide is part of another procedure and is not meant to be used alone.
Werkzeuge
Ersatzteile
-
-
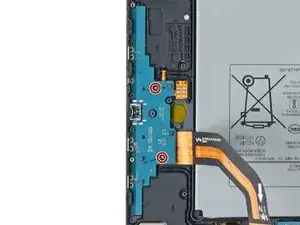
Use a Phillips #00 screwdriver to remove the two 2 mm screws securing the charging daughterboard to the frame.
-
-
-
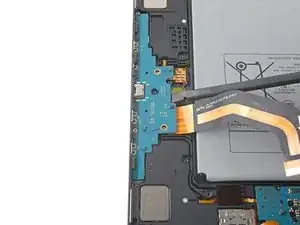
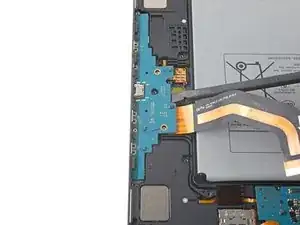
Insert a spudger between the charging daughterboard and the frame.
-
Pry up with the spudger to release the clips securing the charging daughterboard.
-
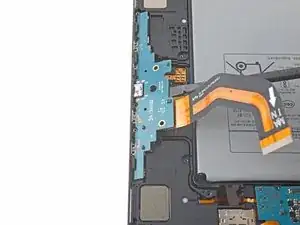
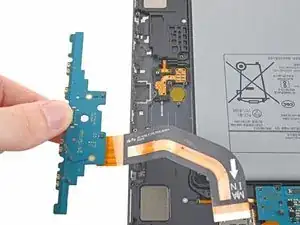
Use your fingers to remove the charging daughterboard.
-
Compare your new replacement part to the original part—you may need to transfer remaining components or remove adhesive backings from the new part before you install it.
To reassemble your device, follow the instructions in reverse order and perform the opposite actions, e.g., "reattach" instead of "removing." Skip steps that use heating and prying, and pay close attention to the 📌 bullets as you work through the steps.
After you've completed the repair, download the Samsung Members App from the Galaxy Store or the Play Store, and follow the Samsung Self-Repair document (beginning page 9) to make sure your device is fully functional.
Repair didn’t go as planned? Try some basic troubleshooting, or ask our Samsung Galaxy Tab S7+ Answers community for help.
