Einleitung
Use this guide to replace the frame bracket, with the Samsung reassembly step, in your Samsung Galaxy Tab S7+.
This is a prerequisite-only guide! This guide is part of another procedure and is not meant to be used alone.
Werkzeuge
Ersatzteile
-
-
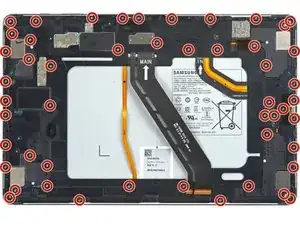
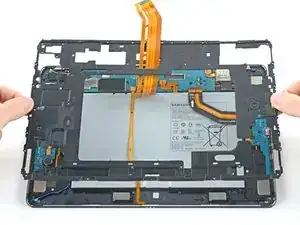
Use a Phillips #00 screwdriver to remove the fifty 3 mm-long screws securing the frame bracket to the frame.
-
Bottom-left = 9 screws
-
Bottom-right = 14 screws
-
Top-right = 12 screws
-
Top-left = 15 screws
-
-
-
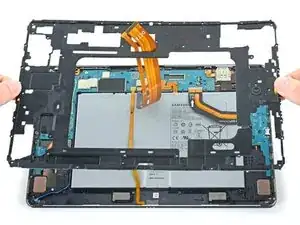
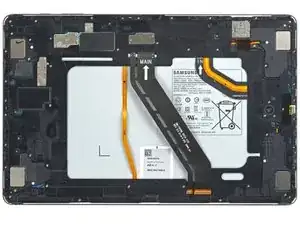
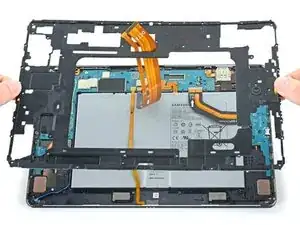
Lift the frame bracket away from the frame, making sure to thread the display cable through its slot.
-
-
-
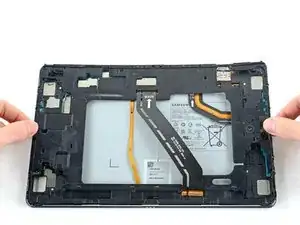
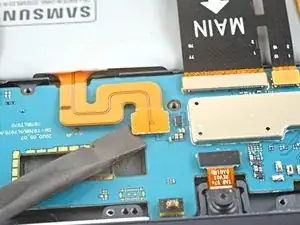
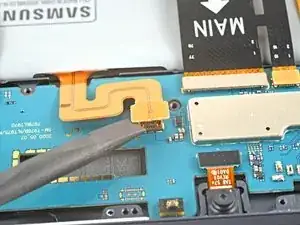
Use the flat end of a spudger to pry up and disconnect the battery's press connector from the motherboard.
-
Abschluss
To reassemble your device, follow these instructions in reverse order.
