Einleitung

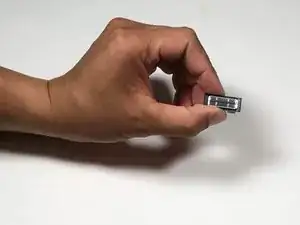
This guide provides instructions on how to replace the flash component of the Samsung WB1100F.

  1. 1GOFQ1iPE6CvGwWP
    1GOFQ1iPE6CvGwWP
    mip6kbtssVF6s3iS
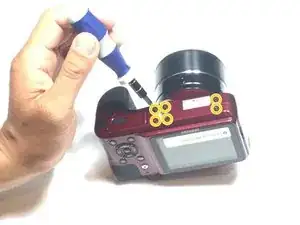
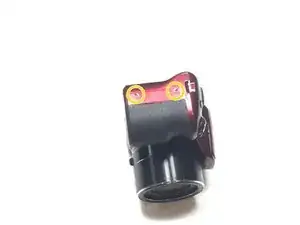
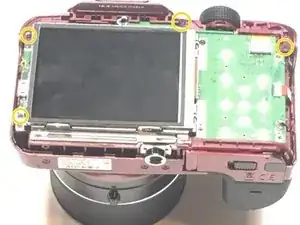
    • Remove six 1.2 mm Phillips #00 screws connected to the tripod dock and adjacent screws.

    • Remove six 1.2 mm Phillips #00 screws from the side of the camera.

  2. vhEqvkRfutANE1ol
    vhEqvkRfutANE1ol
    FU4muUxogpJYRexb
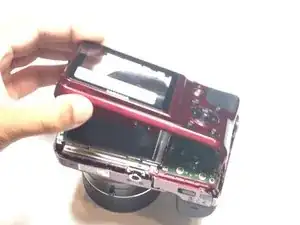
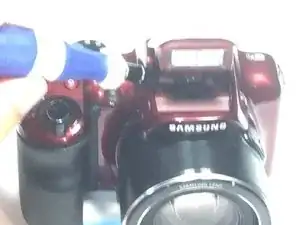
    • Use a plastic opening tool or spudger if available.

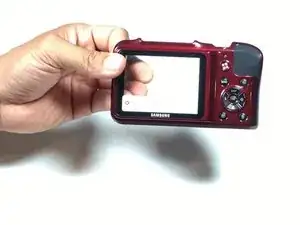
    • Using the flat end of a spudger, loosen the connection between the back panel and the device. Remove the back panel using your hands.

  3. iJM4iSfQbOaBSXKm
    iJM4iSfQbOaBSXKm
    5LkmNBnO4YABojE2
    WMEKwHjsTTBMOZFB
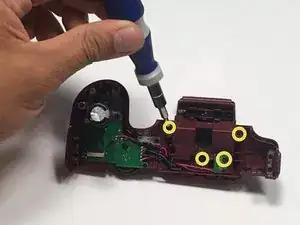
    • Remove four 1.2 mm Phillips #00 screws from the top panel.

  4. gaJU6VpUxnZoqlko
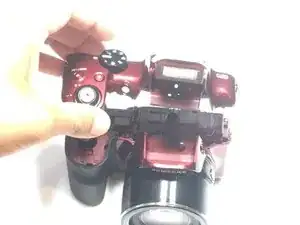
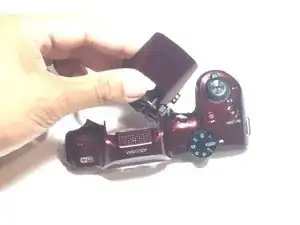
    • Using the flat end of a spudger, loosen the connection between the top panel and the device. Remove the top panel using your hands.

  5. ZQoSDxV3Oe451K2T
    • Remove four 1.2 mm Phillips #00 screws from the flash assembly

  6. 1lWPMDwQDxahDmK4
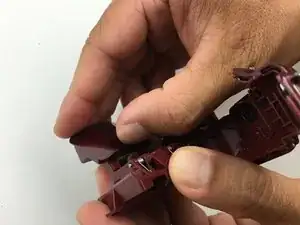
    • Using your hands, remove the flash assembly. This should not require much force.

  7. YYVDLtREsJDVToiE
    YYVDLtREsJDVToiE
    seTaYyCI1DD6KVmo
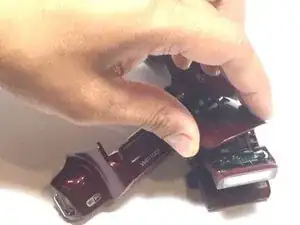
    • Using your hands, remove the top flash panel by pressuring down on the back to release a locking tab.

  8. LE34klQqRakZtKIu
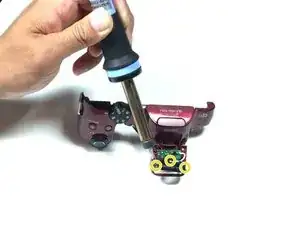
    • Desolder three wires on the flash assembly.

  9. Zp1OpaBE3YghgFM4
    • Gently remove the flash assembly from the body.

Abschluss

To reassemble your device, follow these instructions in reverse order.
Jesse Lindsey

Mitglied seit: 13/05/16

581 Reputation

0 Kommentare