Einleitung
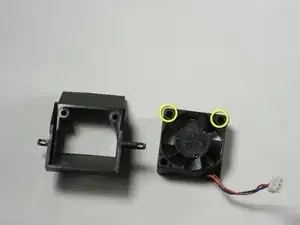
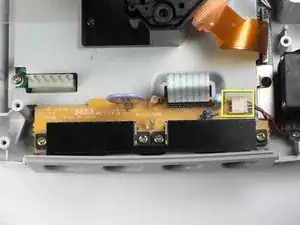
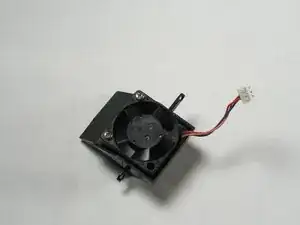
This guide details how to replace a malfunctioning fan in the Sega Dreamcast.
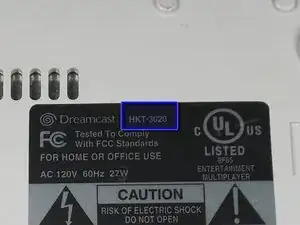
Be sure to replace the fan with one corresponding to your Model Number. Refer to the Top Cover Disassembly Guide for instructions on where to find your model number.
Werkzeuge
-
-
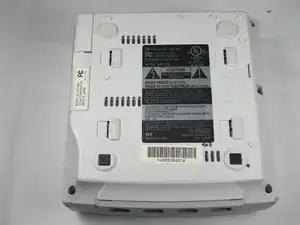
Flip the console over on its back.
-
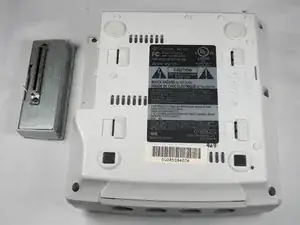
Take note of your model number, in case replacement parts are needed.
-
-
-
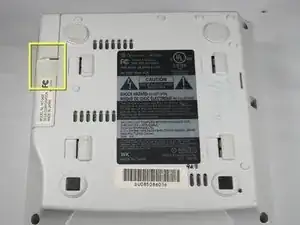
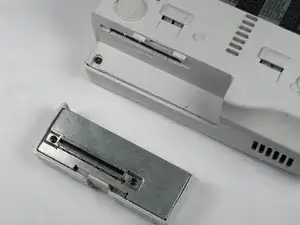
Remove the expansion bay by applying pressure to the small clip on the expansion bay while prying it away from the console.
-
-
-
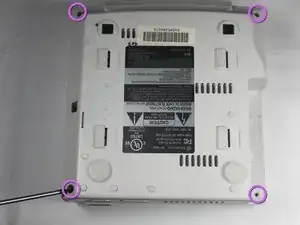
Locate and remove all four black 12mm Phillips #02 screws from the underside of the console.
-
-
-
Turn the console right side up.
-
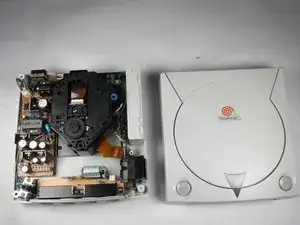
Remove the top cover by gently lifting the upper portion of the console.
-
-
-
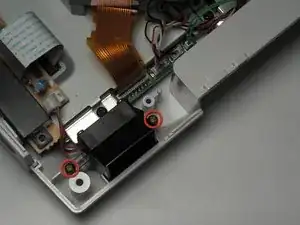
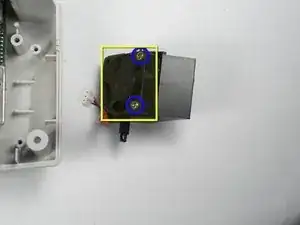
Remove the two 17.5mm Philips #00 screws from the fan bracket.
-
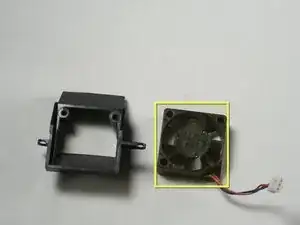
Remove the fan from the bracket.
-
-
-
Connect the new fan to the fan bracket using two 17.5mm Philips #00 screws.
-
Replace the fan bracket in the Dreamcast using two 8.5mm Philips #00 screws.
-
To reassemble your device, follow these instructions in reverse order.
