Einleitung
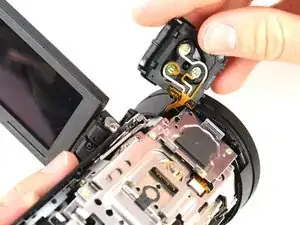
If your microphone is not functioning correctly, use this guide to remove and replace it. This guide requires soldering.
Werkzeuge
-
-
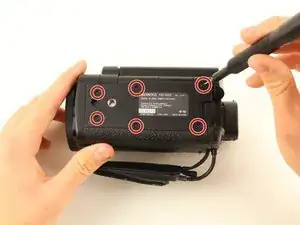
Remove the six black 4 mm Phillips #00 screws from the bottom panel of the camera.
-
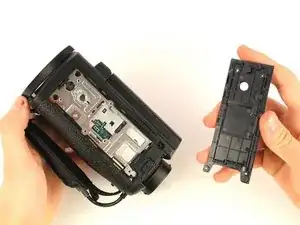
Pull off the bottom panel. It may be difficult, but tugging on it shouldn't cause harm to yourself or the device.
-
-
-
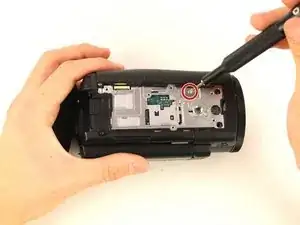
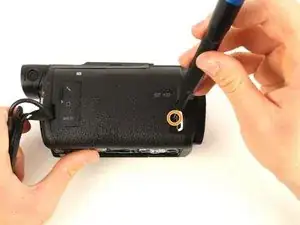
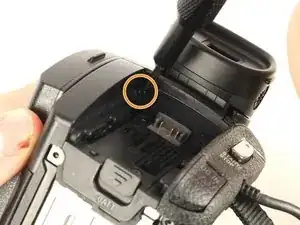
Remove the 3 mm Phillips #00 screw from the bottom of the camera.
-
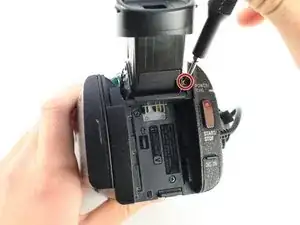
Remove the 4 mm Phillips #00 screw from the right panel.
-
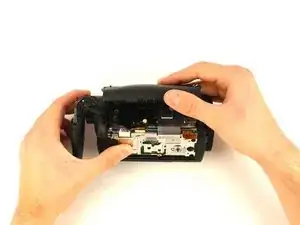
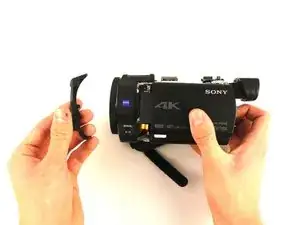
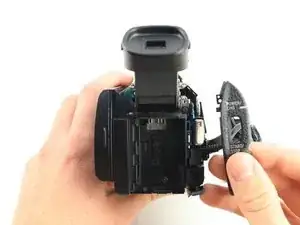
Pull the right panel off. Again, it might be difficult, but pulling hard shouldn't harm you or the camera.
-
-
-
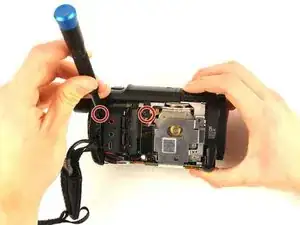
Remove the two 4 mm Phillips #00 screws from the top right corner of the camera.
-
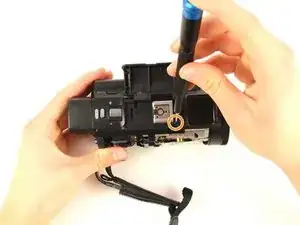
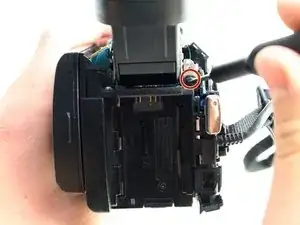
Remove the 4 mm Phillips #00 screw from in front of the flash mount.
-
-
-
Remove the 3 mm Phillips #00 screw from below the right side of the battery slot.
-
Remove the black 5 mm Phillips #00 screw from the top of the battery slot.
-
-
-
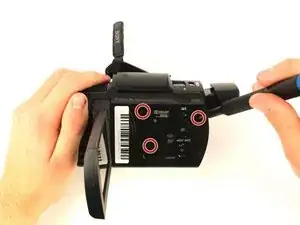
Remove the three 4 mm Phillips #00 screws from the left panel underneath the display screen.
-
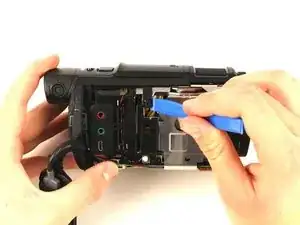
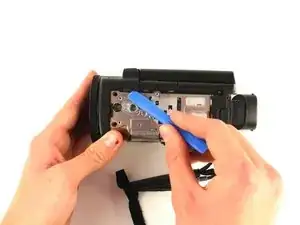
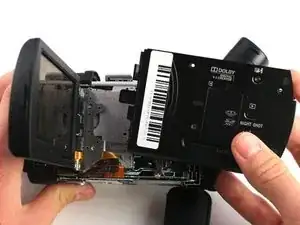
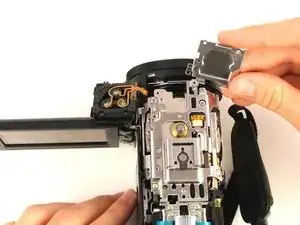
Pull the top panel off of the device with the iFixit opening tool.
-
-
-
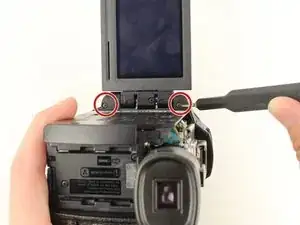
Remove the top and bottom 4 mm Phillips #00 screws from the display screen hinge.
-
Use the iFixit opening tool to remove the screen hinge.
-
-
-
Remove the 3 mm Phillips #00 screw from between the eyepiece and the panel directly to the right of the battery slot.
-
Take the panel directly to the right of the battery slot off of the camera.
-
-
-
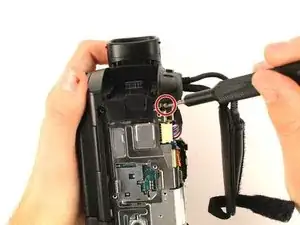
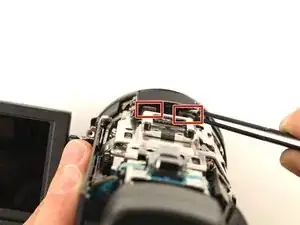
Remove the 4 mm Phillips #00 screw above and to the right of the battery slot.
-
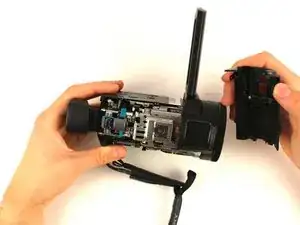
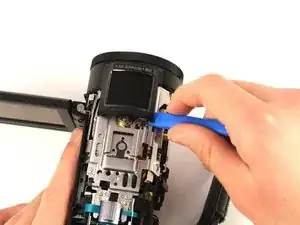
Pry the left panel out at an angle by pushing the plastic slat between the battery slot and the eyepiece.
-
Wiggle the left panel and pull it out gently.
-
-
-
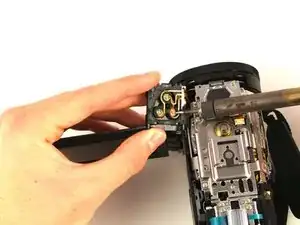
Desolder the three connections on the bottom of the microphone. Refer to the soldering guide linked here.
-
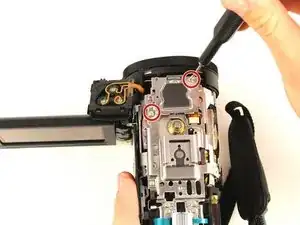
Remove the two 3 mm Phillips #00 screws to release the microphone mount.
-
To reassemble your device, follow these instructions in reverse order.
