Einleitung
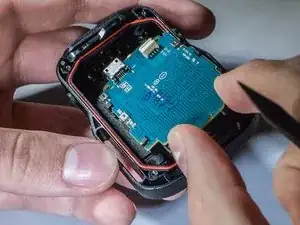
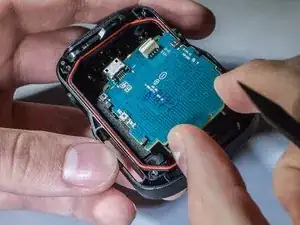
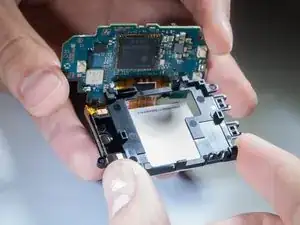
This guide will teach you how to replace your motherboard in your Sony device.
Werkzeuge
-
-
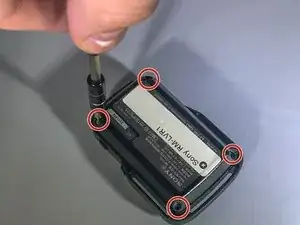
Use a Phillips #00 screwdriver to remove the four (4) screws on the back of the device.
-
If the screws strips or is previously stripped, refer to the stripped screw repair guide.
-
-
-
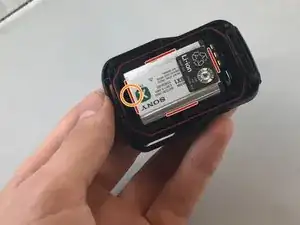
Battery is the rectangular and silver object in the center of device.
-
Remove battery with finger by prying at the rear.
-
If unable to remove battery, pry out using spudger.
-
-
-
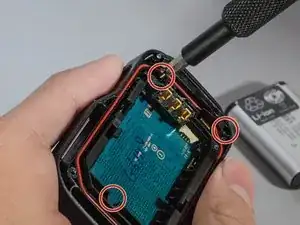
Unscrew the 3 (three) screws holding the bracket in place.
-
Then remove the bracket by prying one end up.
-
-
-
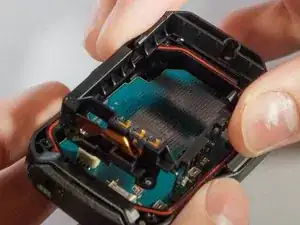
Gently push out on these two clips holding the LCD to the motherboard
-
Once you have the first two off, ever so carefully, push the LCD towards the remaining two clips.
-
-
-
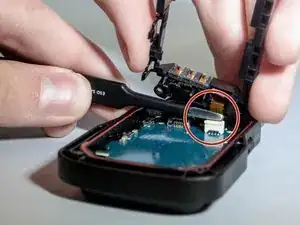
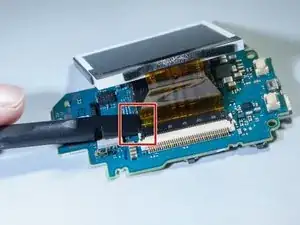
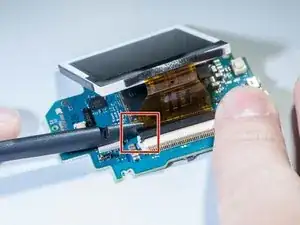
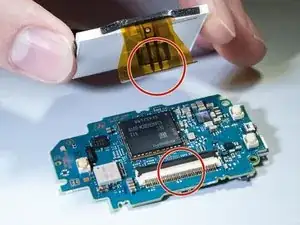
Undo the ribbon cable attached between the motherboard and screen by prying up black tab which holds the cable, using spudger. (See pictures)
-
To reassemble your device, follow these instructions in reverse order.
Ein Kommentar
Hello
Thank you for your tutorial.
My question is about the rubber cap of the push button
Can it be changed? Spare part ?
Regards
