Einleitung
Werkzeuge
Ersatzteile
-
-
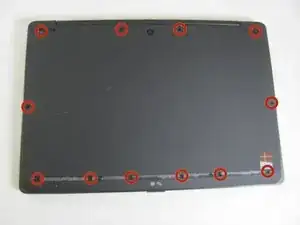
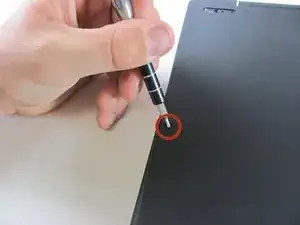
Starting with the laptop top-down, locate and remove the twelve 1mm Phillips #0 screws securing the back cover to the main body of the computer.
-
-
-
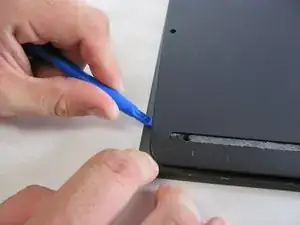
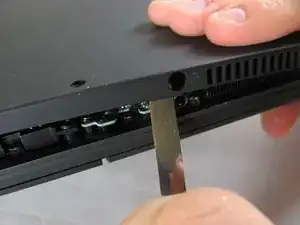
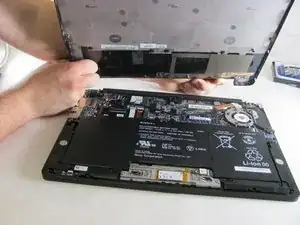
Use the Plastic Opening Tools or Metal Spudger to carefully loosen back cover from the body of the computer.
-
-
-
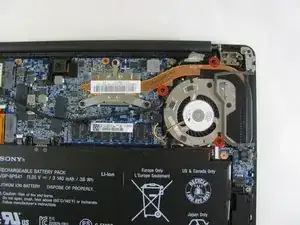
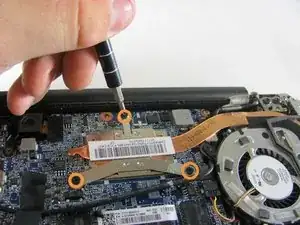
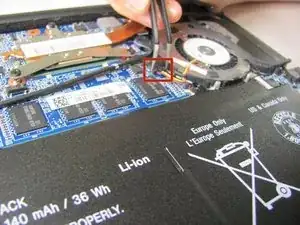
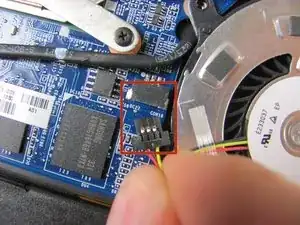
Remove the three 1mm Phillips #0 screws surrounding the fan.
-
Loosen the three 1mm Phillips #0 screws. These screws will stay captive to the heatsink.
-
-
-
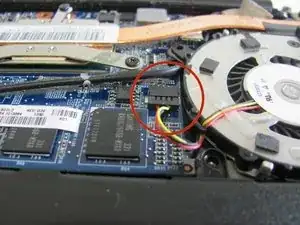
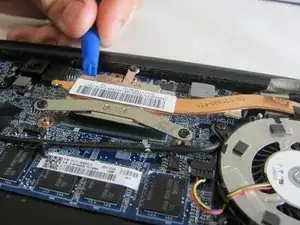
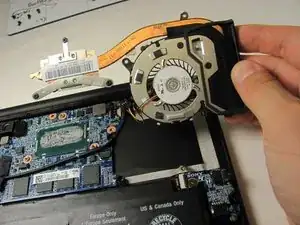
Use the Plastic Opening Tool to gently remove the heat sink and fan assembly from the computer.
-
To reassemble your device, follow these instructions in reverse order.
Ein Kommentar
Could you also maybe do a tutorial on Sony Vaio Fit 13? http://www.laptoppartstore.com/replace--... Any luck figuring out how the fan may be detached and re-attached to the heatsink? Also, I notice a very specific type of taping... where can one procure those?
