Einleitung
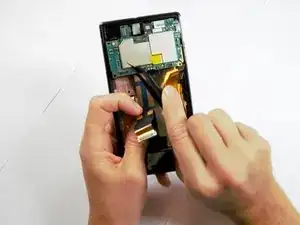
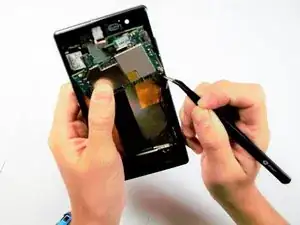
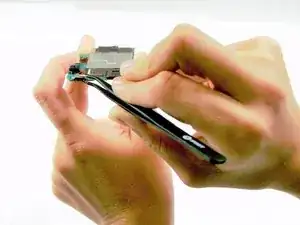
If your Sony Xperia Z1s (model C6916) does not charge, your charging port might need replacement.
The charging port is the connection between your charger and battery. A faulty charging port might cause your phone to not charge or charge very slowly.
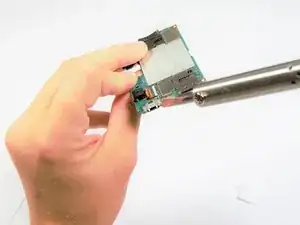
This guide requires that you have the necessary equipment and knowledge of desoldering and soldering connections. If you want to learn the skills needed for soldering, please refer to the following guide: How To Solder and Desolder Connections.
Before beginning this guide, turn off your phone completely and remove it from any external power source.
Werkzeuge
-
-
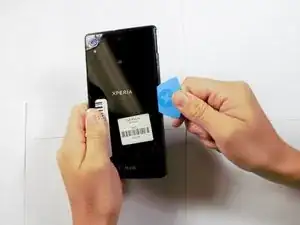
Insert the opening pick in the crease between the rear cover and the body of the phone.
-
Pry along the edge to lift and remove the back cover.
-
-
-
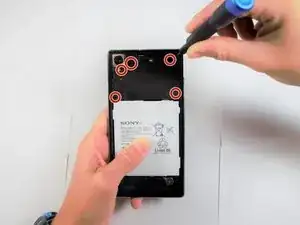
Using the T4 Torx screwdriver, remove five 5 mm screws from the panel above the battery.
-
Remove the panel by grabbing its bottom edge and lifting upwards.
-
-
-
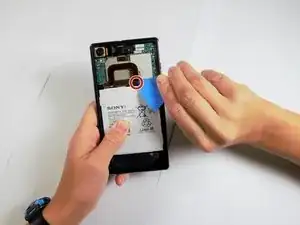
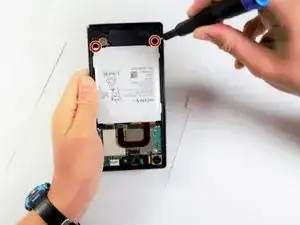
Using the T4 Torx screwdriver, remove two 5 mm screws from the bottom corners of the battery.
-
-
-
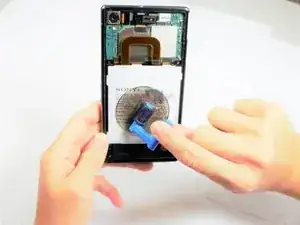
Firmly press the suction cup onto the battery.
-
Pull the battery out using the suction handle.
-
-
-
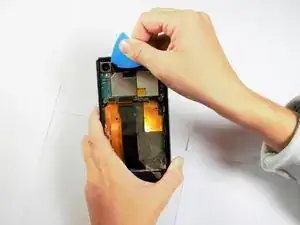
Use the opening pick to pry off the camera flex cable.
-
Continue to lift the flex cable upward until the camera pops out.
-
-
-
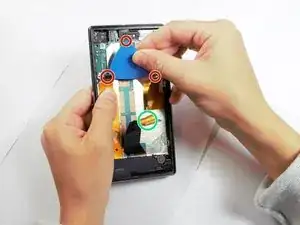
Use the opening pick to pry off the three flex cables on the bottom of the motherboard.
-
Do the same for the one flex cable at the top of the motherboard.
-
-
-
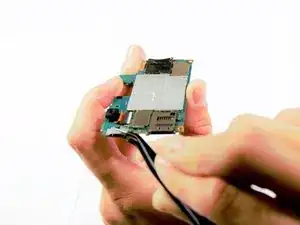
Use a pair of tweezers to remove the pin connection on the motherboard.
-
Fully remove the motherboard from the device.
-
To reassemble your device, follow these instructions in reverse order.
