Einleitung
Before we begin taking apart the device, make sure that you have visited the Troubleshooting Page in order to verify that the problem with the device is in fact a faulty microphone.
Werkzeuge
-
-
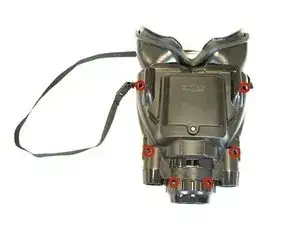
Using the screwdriver, remove the six silver 11.4 mm Phillips #0 screws that hold the device shell in place.
-
Pull apart the back of the device, using the plastic opening tool if needed. To do this, locate the groves running along the side of the entire device and wedge it open.
-
-
-
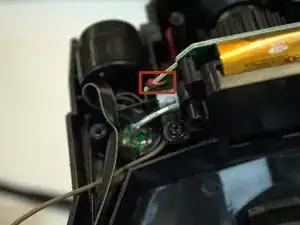
Find the connection of the red and black wires to the circuit board behind the LED screen.
-
Un-solder the wires from the board using the soldering iron.
-
-
-
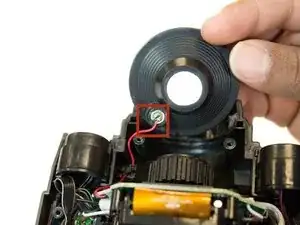
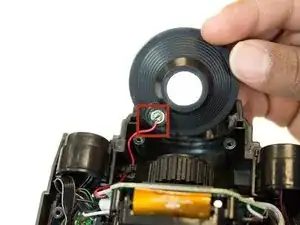
Find the connection of the red and black wires to the funnel-shaped lens cover.
-
Un-solder the wires from the microphone using the soldering iron.
-
Remove the red and black wires from the device and solder on the replacement.
-
To reassemble your device, follow these instructions in reverse order.


