Einleitung
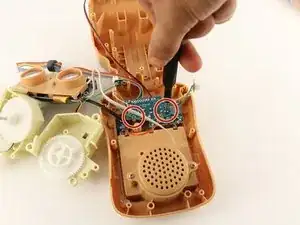
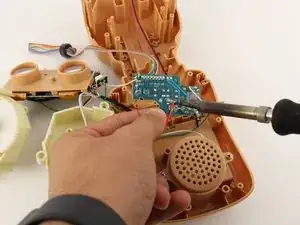
Many of the Teddy Ruxpin’s parts are all controlled by the main motherboard. If an issue with your bear boils down to more than just a replaceable part, it may be time to replace the motherboard. Desoldering is required, so be sure to refer to the desoldering guide. You will also need to use a Phillips #1 screwdriver to access the motherboard.
Werkzeuge
-
-
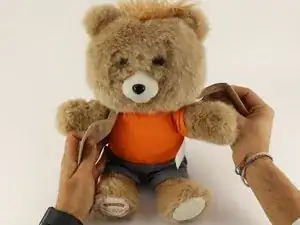
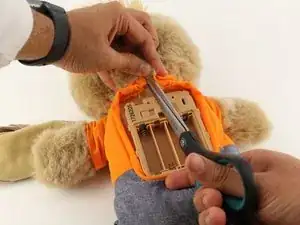
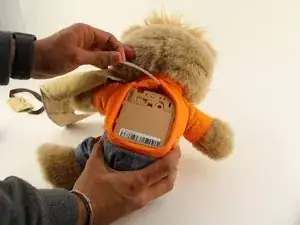
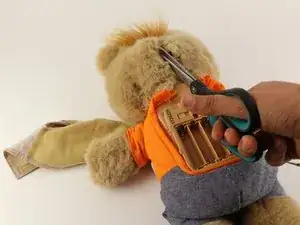
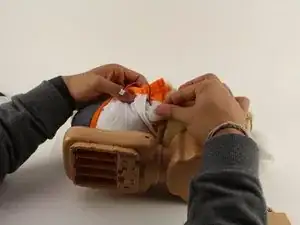
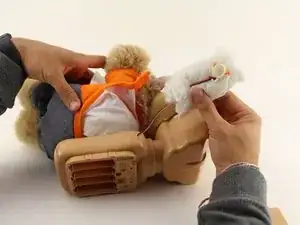
Remove the vest covering the back of the bear.
-
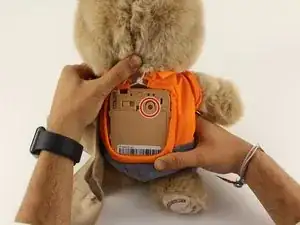
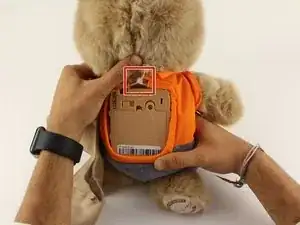
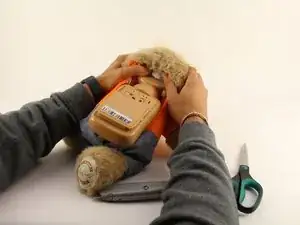
Orient the bear with his back facing upwards and unscrew the single Phillips #2 screw.
-
-
-
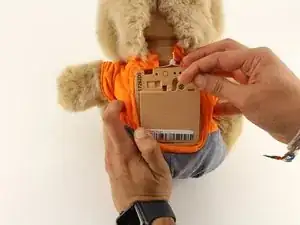
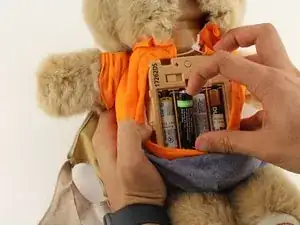
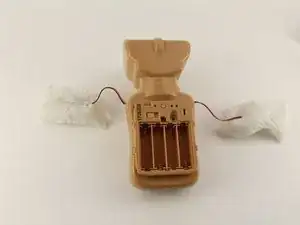
Remove all four AA batteries by pushing the positive end down and pulling the battery out toward yourself.
-
-
-
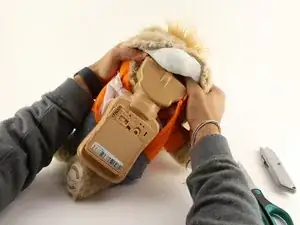
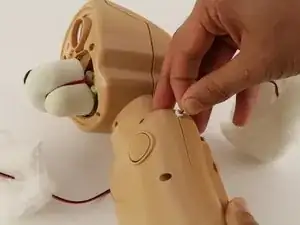
Remove the interior of the doll.
-
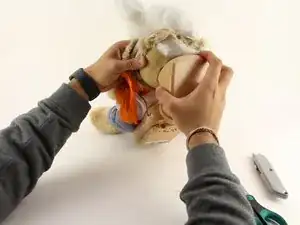
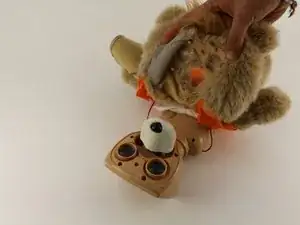
Peel the outer layer around the head of the bear and forcefully pry off the face of the bear from the outside layer of the bear.
-
-
-
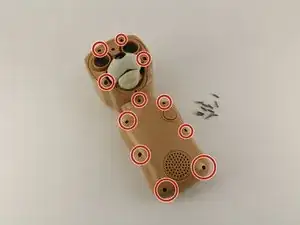
Unscrew the eleven circled 12.5mm Phillips #1 screws.
-
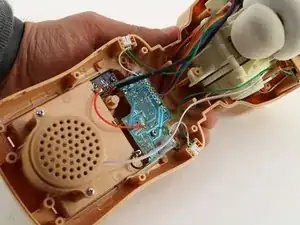
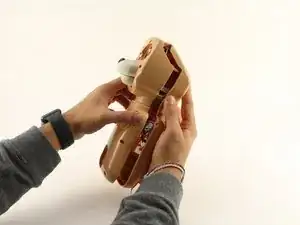
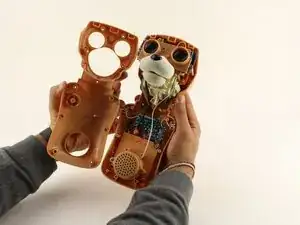
Remove the top of the housing to access the electronics inside.
-
-
-
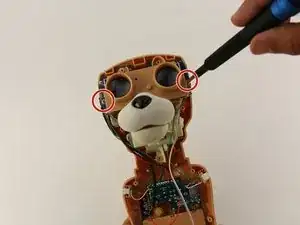
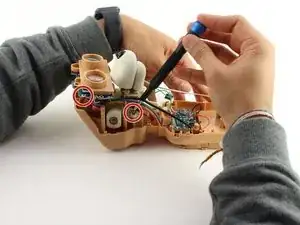
Using a Phillips #1 screwdriver, remove the two 12.5mm screws connecting the eyes to the rest of the mechanism.
-
-
-
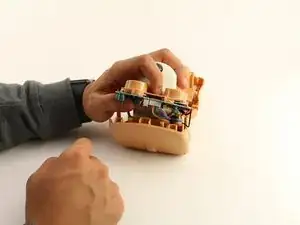
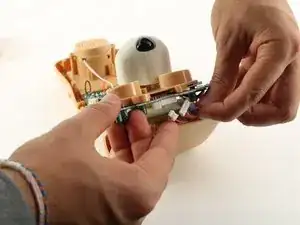
Unplug the two sets of wires connected to the back of the eyes by using moderate to high force.
-
-
-
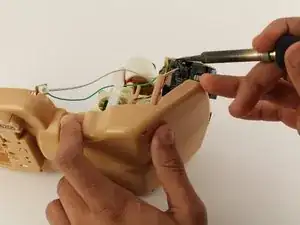
Once those wires are disconnected, desolder the wires connected from the eye motherboard.
-
-
-
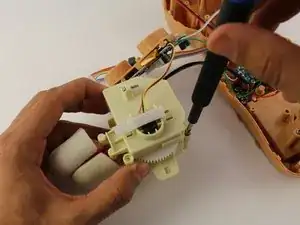
Unscrew the last 12.5mm Phillips #1 screw holding the mouth together
-
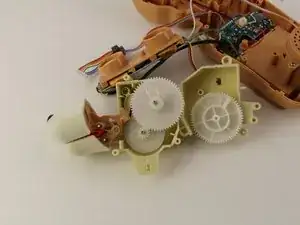
Open the mouth mechanism
-
To reassemble your device, follow these instructions in reverse order.

If screw is missing could this be the problem
nursejackie55 -