Einleitung

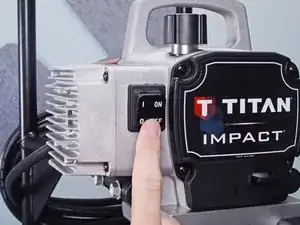
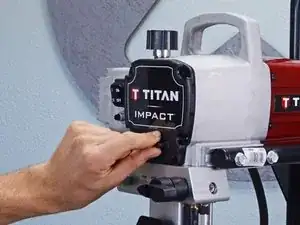
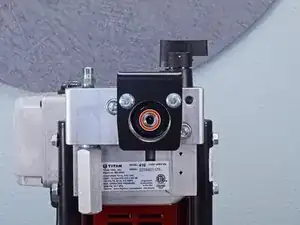
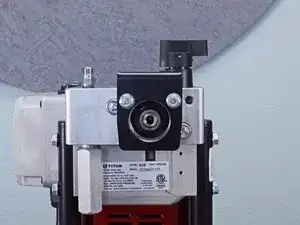
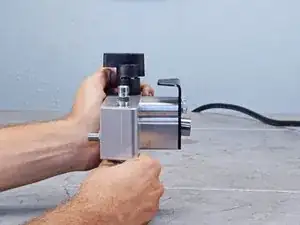
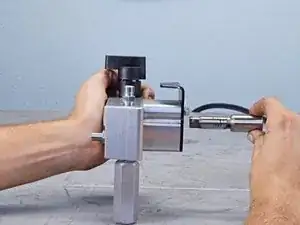
Use this guide to replace the packings in your Titan Impact 410 Airless Sprayer.

The Home Depot recommends you also perform a bypass valve replacement when replacing the piston and packings.

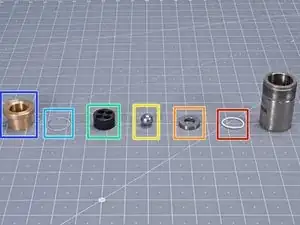
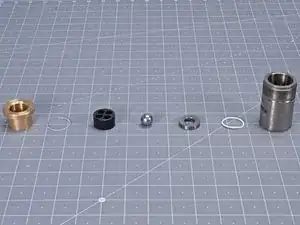
Note: To access the piston, you must first remove the outlet valve. It's highly recommended that you service this valve with the parts included in the repacking kit (#704-586) before reassembling.

Note: Be sure to have an oversized crescent wrench before beginning your repair.

Some photos in this guide may contain slight visual discrepancies, but they won't affect the guide procedure.

  1. wu65Kb5OrpKcbGWN
    wu65Kb5OrpKcbGWN
    IUL6c4WgM6oJNQWK
    • Before you begin, make sure to follow the pressure relief procedure documented in the user manual before powering down the paint sprayer and disconnecting the pump.

    • Turn off and unplug the sprayer.

  2. 64WiLFeHNRubWG3O
    64WiLFeHNRubWG3O
    2H3sI1QQILnPofNe
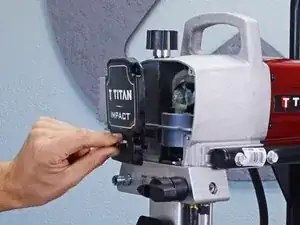
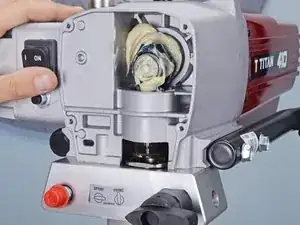
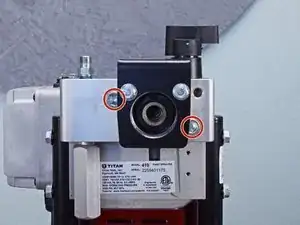
    • Use a Phillips driver to remove the four 15 mm-long screws securing the front cover.

  3. fhRXK4nymCGwXBVT
    fhRXK4nymCGwXBVT
    MbuPewiGZrSPRdAk
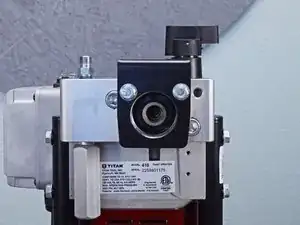
    • Remove the front cover.

  4. 4VOltsFnlcMlP3ke
    4VOltsFnlcMlP3ke
    yDRAgaYCuAF3rvZ2
    • Plug in the power cord.

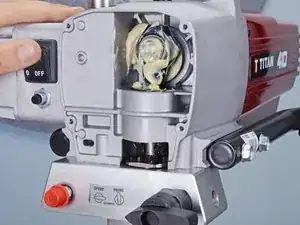
    • Pulse the on/off switch until the pump stops at the bottom of its stroke.

    • Turn the sprayer off and unplug its power cord before continuing.

  5. SveFAXtcLPrVDeXO
    SveFAXtcLPrVDeXO
    WRLWAVDRyJdePM2c
    AJnsLmkNDKGbDrvA
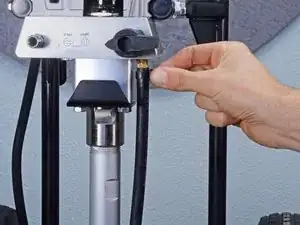
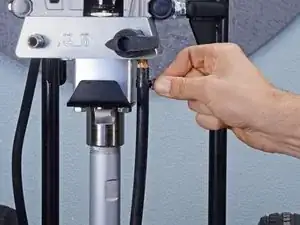
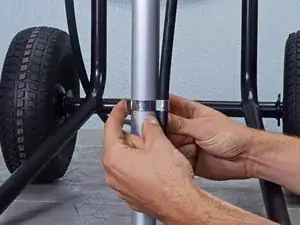
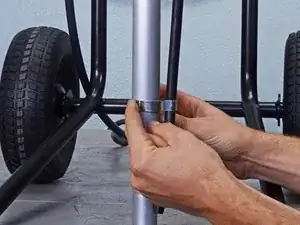
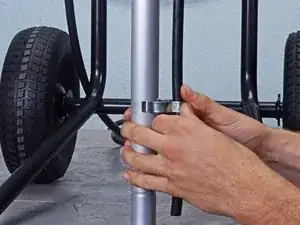
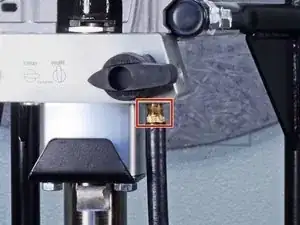
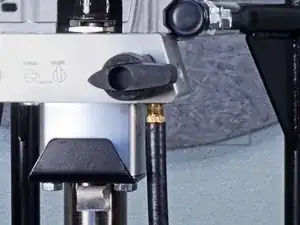
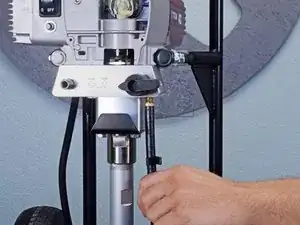
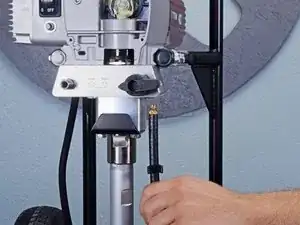
    • Pinch the return hose clamp and slide it downward to expose the connector.

  6. LblKVxQhFpx6t5En
    LblKVxQhFpx6t5En
    XBQhDxbGKgGLRMDw
    62WHgFjksfold4Oi
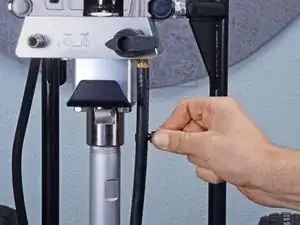
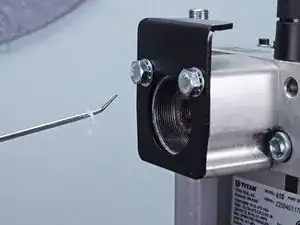
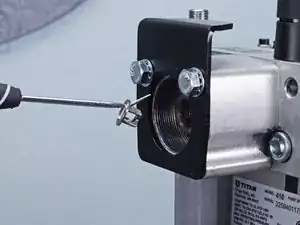
    • Use your fingers to remove the retaining clip from the foot valve housing.

  7. DVVFhIEtHQDE2Utk
    DVVFhIEtHQDE2Utk
    2XmCTLqDSlaJdhCj
    • Use a 7/16" wrench to unscrew the return hose.

  8. wywqZy5uvYNR4DhZ
    wywqZy5uvYNR4DhZ
    Yd3GdeBJkfQax4PJ
    • Remove the return hose.

  9. A2LqjFI3gQJBBfo4
    A2LqjFI3gQJBBfo4
    D4mDCIWYuof6QkWP
    ENqCkCe6IRRKvEns
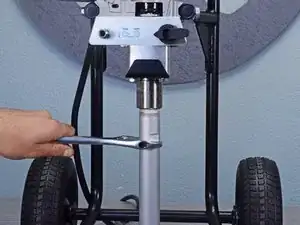
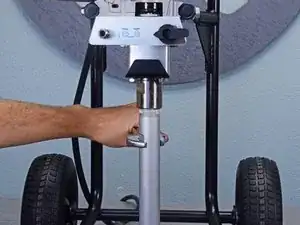
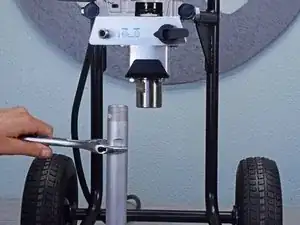
    • Use an adjustable wrench to loosen and remove the foot valve housing.

  10. Wi3GPVhOIjAMwPwJ
    • Lay the sprayer down horizontally on its black metal bars before continuing.

    • Use an adjustable wrench to loosen the inlet valve housing from the pump block.

  11. hTrFlxxwZuBBJZ6j
    • Remove the inlet valve housing.

  12. 6UVU1oBOBbJ4FnHu
    6UVU1oBOBbJ4FnHu
    5P2PPi1OFMYmi4fn
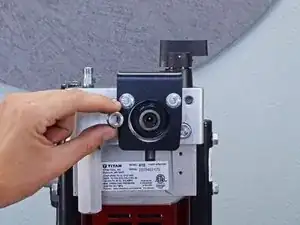
    • If you're replacing the inlet valve, note the installation order from first to last (Teflon O-ring first and Piston Bushing last):

    • Teflon O-ring

    • Inlet valve seat

    • Inlet valve ball

    • Inlet valve washer

    • Nylon washer

    • Piston bushing

  13. oXaALdQSuiGbquHT
    oXaALdQSuiGbquHT
    1TIi6V5v4bcjpOlw
    mPp2EfgFqsMhnOqa
    • Use a 5/16 inch hex key to loosen and remove the outlet valve retainer.

  14. cWVl2moqqFtQWPGc
    cWVl2moqqFtQWPGc
    FsH1HBDMQFkCIeAL
    SKJbpoeadmAClkG2
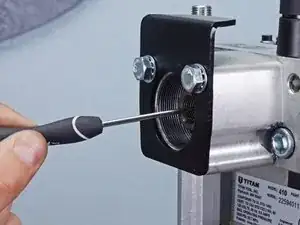
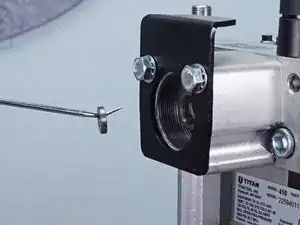
    • Use a pick tool to remove the outlet valve seat.

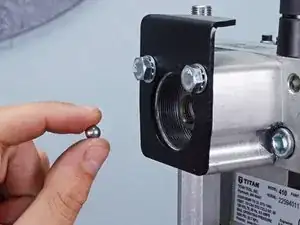
    • Remove the outlet valve ball.

  15. cq3fQ5Mw1eeRyP3V
    cq3fQ5Mw1eeRyP3V
    lfWZSypTipvBrMlK
    • Remove the O-ring.

    • Remove the outlet valve cage.

  16. cJgxGH4vRutSQiUf
    cJgxGH4vRutSQiUf
    WvjjFHV4Cxh4y1cL
    • Use a 3/8 inch hex key to loosen and remove the two screws securing the pump block.

  17. FBfHe5EyNyrbNdPi
    FBfHe5EyNyrbNdPi
    BedYRWKUIHn2DSoV
    Wv63GXuC2s3Fwg1S
    • Pull the pump block away from the sprayer to separate it from the pump housing.

    • Pull the pump block upward to slide the piston rod out of its slot in the pump housing.

    • Remove the pump housing.

  18. E1J1JOLDGnl1EFIZ
    E1J1JOLDGnl1EFIZ
    2YQSSFNkjIVMUbmK
    BeHU6p4Z21Sj6XIV
    • Use your palm to push the piston through the pump block.

    • This may require a significant amount of force.

    • Remove the piston.

    • During reassembly, grease the piston before reinserting it into the pump block.

  19. Av5kJh3Q1U4ff6JJ
    Av5kJh3Q1U4ff6JJ
    WOMXvt5F5ZQxfRJa
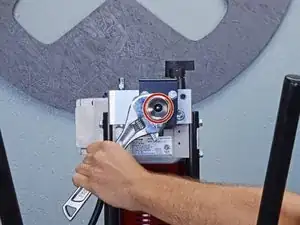
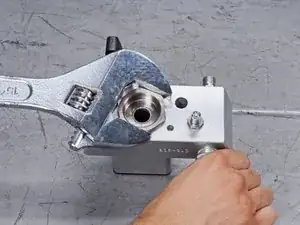
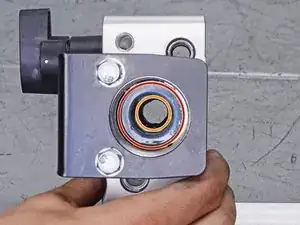
    • Use an adjustable wrench to loosen and remove the retainer nut.

  20. XlmqbgxJ2BAZmYjg
    XlmqbgxJ2BAZmYjg
    jSgf6CbYmoKgh1bd
    IhJVvOS5XAiik3h3
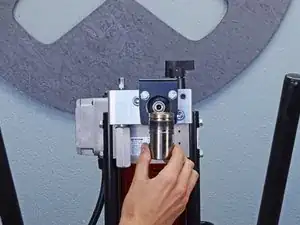
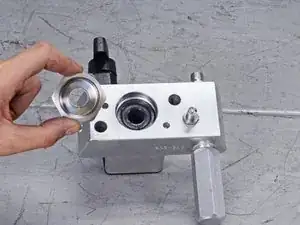
    • Remove the the piston guide from the retainer nut.

  21. uqpGPlEngOOPY1dS
    uqpGPlEngOOPY1dS
    yFb6xuVpaCZAQntZ
    UYDrIDrVMrE4G4QC
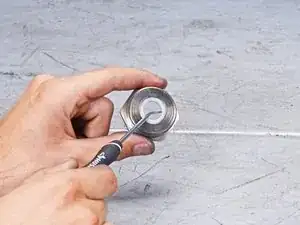
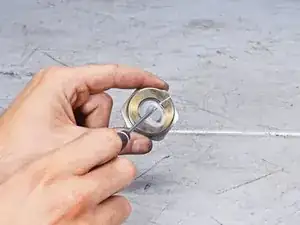
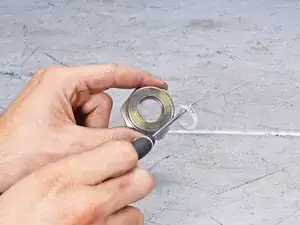
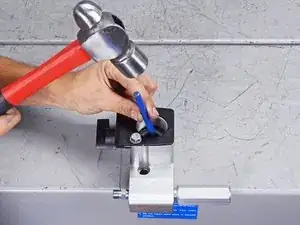
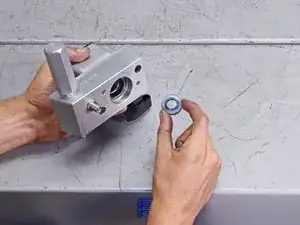
    • Use a punch tool and a hammer to remove the upper packing assembly.

    • Repeat the same procedure for the lower packing assembly.

    • During reassembly, use the included packing guide tool to reinstall the assemblies. The packings will begin to shrink once removed from the guide, so reassemble the piston immediately.

Abschluss

To reassemble your device, follow these instructions in reverse order.
Alex Diaz-Kokaisl

Mitglied seit: 16/01/22

69204 Reputation

0 Kommentare