Einleitung
Use this guide to replace the piston in your Titan Impact 410 Airless Sprayer.
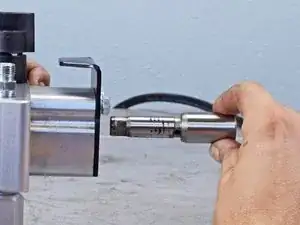
Note: To access the piston, you must first remove the outlet valve. It's highly recommended that you service this valve with the parts included in the repacking kit (#704-586) before reassembling.
Werkzeuge
Ersatzteile
-
-
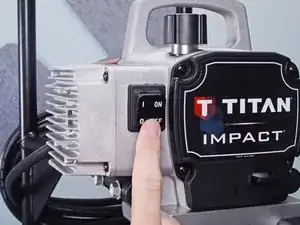
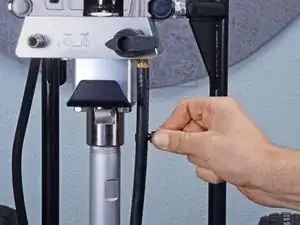
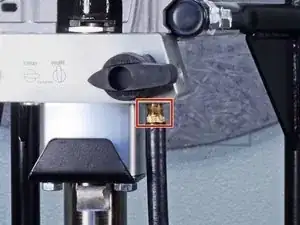
Plug in the power cord.
-
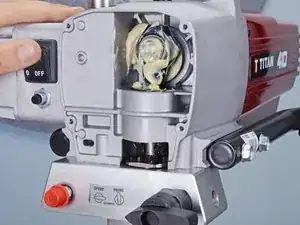
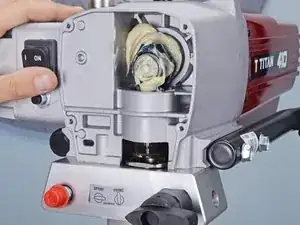
Pulse the on/off switch until the pump stops at the bottom of its stroke.
-
Turn the sprayer off and unplug its power cord before continuing.
-
-
-
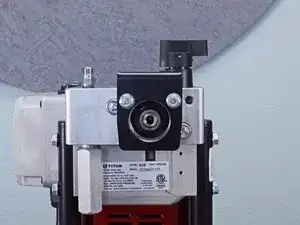
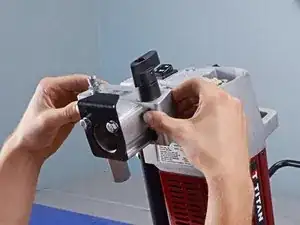
Lay the sprayer down horizontally on its black metal bars before continuing.
-
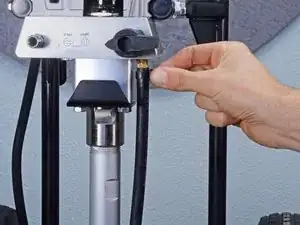
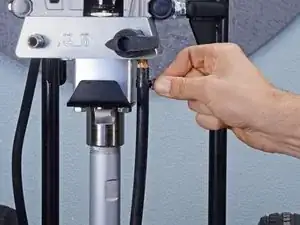
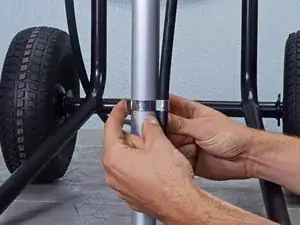
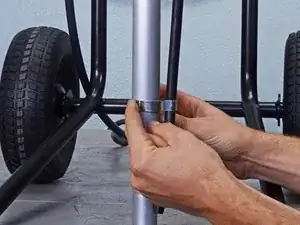
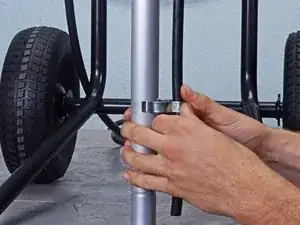
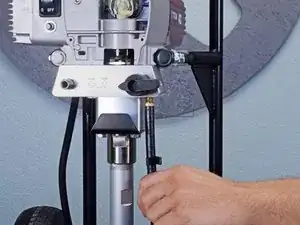
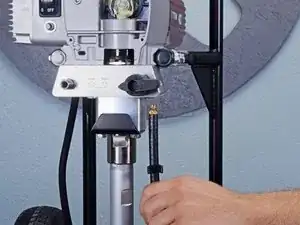
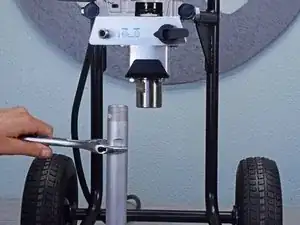
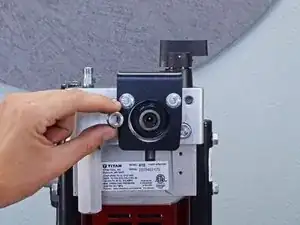
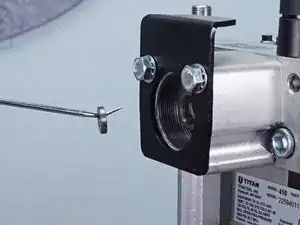
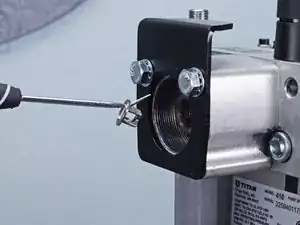
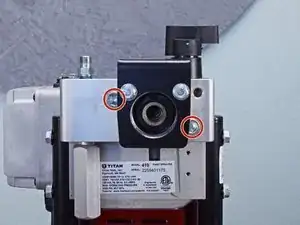
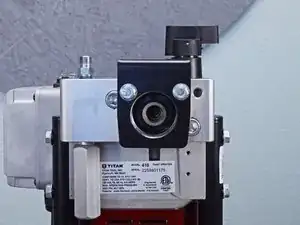
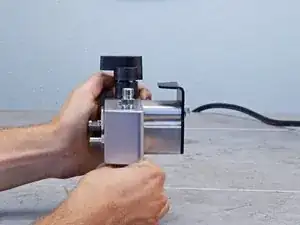
Use an adjustable wrench to loosen the inlet valve housing from the pump block.
-
-
-
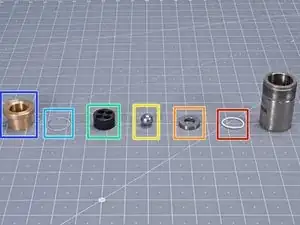
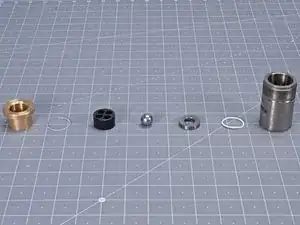
Teflon O-ring
-
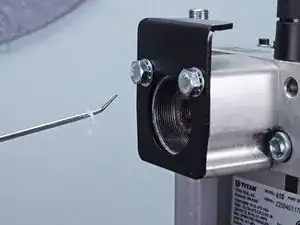
Inlet valve seat
-
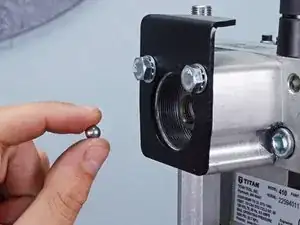
Inlet valve ball
-
Inlet valve washer
-
Nylon washer
-
Piston bushing
-
-
-
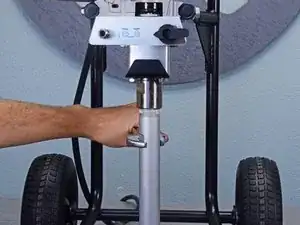
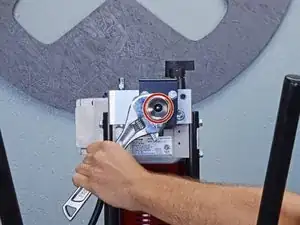
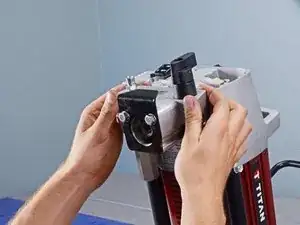
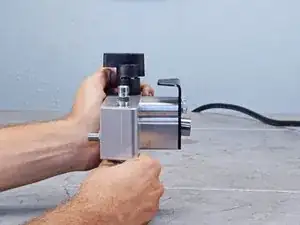
Pull the pump block away from the sprayer to separate it from the pump housing.
-
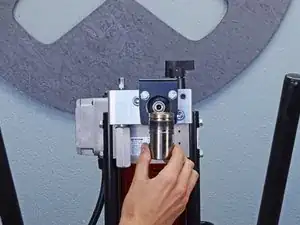
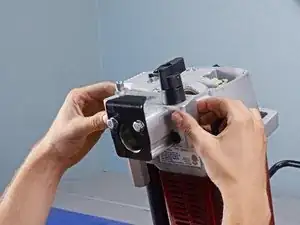
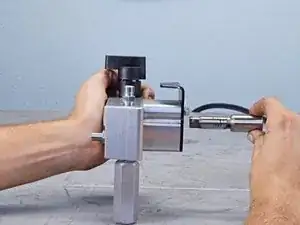
Pull the pump block upward to slide the piston rod out of its slot in the pump housing.
-
Remove the pump housing.
-


To reassemble your device, follow these instructions in reverse order.