Einleitung

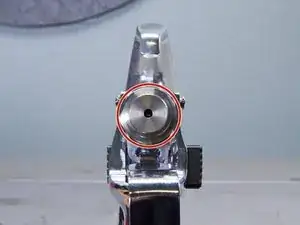
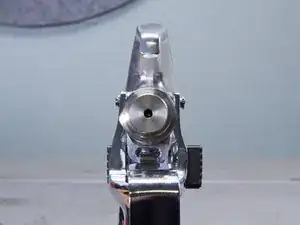
Use this guide to replace the seal assembly on your RX-80 spray gun.

For more safety information, refer to the Operating Manual.

  1. cbVHyqaJODIIQV6a
    cbVHyqaJODIIQV6a
    2lMjKOtOxb2eisRv
    • Before you begin, make sure to follow the pressure relief procedure documented in the user manual before disassembling the spray gun.

    • Use an adjustable wrench to loosen the tip housing.

  2. DVcGfXkZhPNx3mif
    DVcGfXkZhPNx3mif
    Zws2KPwDLJ6BXKq1
    • Remove the tip and tip guard assembly.

  3. LitXRgtkK2CC5vjm
    LitXRgtkK2CC5vjm
    LvRkXOAWSSGXjQna
    • Use an adjustable wrench to loosen the diffuser.

  4. QtcjoqdPEHUxfbGH
    QtcjoqdPEHUxfbGH
    safLHvNDt2KCrGNX
    JpKTBnIHeYEWIYrX
    • Pull the diffuser straight off the seal assembly to remove it.

  5. qMOIm2U34LTUDMWh
    qMOIm2U34LTUDMWh
    ATC2UxJFxIRvZCKR
    • Use an adjustable wrench to loosen the rear housing on the back of the spray gun.

  6. u1o2tR1SgYKGUKCD
    u1o2tR1SgYKGUKCD
    LtNdASJdjOsI5jQI
    • Pull the rear housing straight off the spray gun to remove it.

  7. jcMCfjX5k4ThykYg
    jcMCfjX5k4ThykYg
    QhlSWrlqgtjSJ4FJ
    btiwFSHIVZbkgKqK
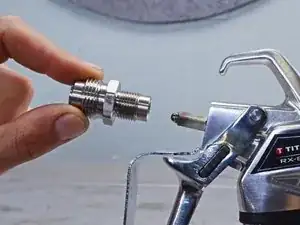
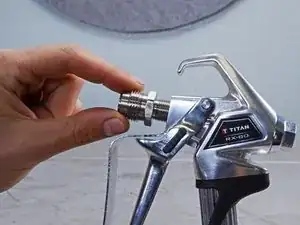
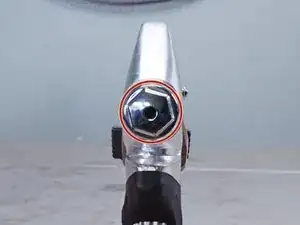
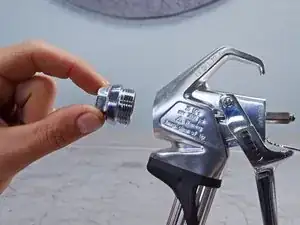
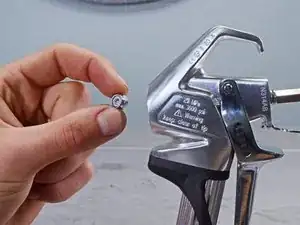
    • Use a 3/8 inch socket to loosen the lock nut from the back of the spray gun.

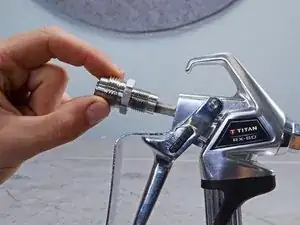
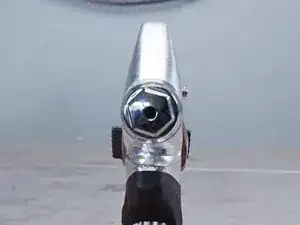
    • Pull the lock nut straight off the spray gun to remove it.

  8. Pia6CIf41oThwEB5
    Pia6CIf41oThwEB5
    yTZCRk6ubHdA1T34
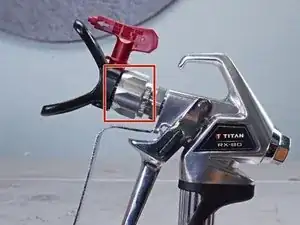
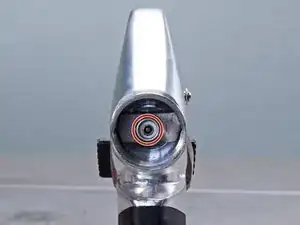
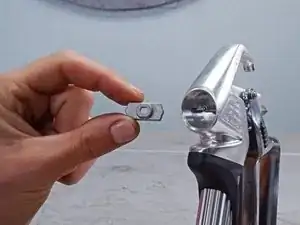
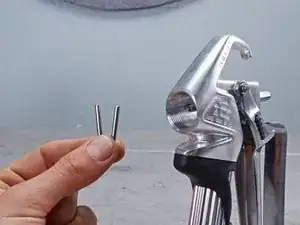
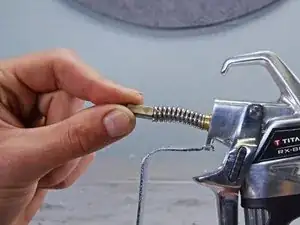
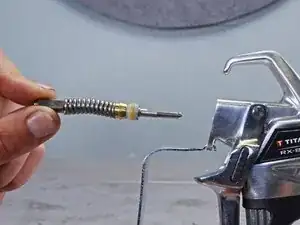
    • Use your fingers or a pick tool to remove the retractor plate and its two alignment pins from the spray gun.

  9. AAvQGl2g6mBiE6Ee
    AAvQGl2g6mBiE6Ee
    ixnVoeRDAjXkkqgu
    dQGsOFHVPiVfl2yF
    • Pull the seal assembly through the front of the spray gun to remove it.

    • This may take a significant amount of force.

    • During reassembly, squeeze the trigger when reinstalling the seal assembly.

Abschluss

To reassemble your device, follow these instructions in reverse order.

Alex Diaz-Kokaisl

Mitglied seit: 16/01/22

69204 Reputation

0 Kommentare