Einleitung

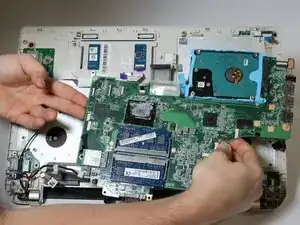
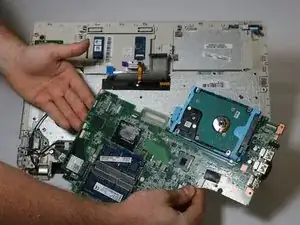
The motherboard is the main circuit board in which components of the computer (Wi-Fi adapter, touchpad, keyboard, cooling fans) are connected.

  1. qXYWdLPG6KYQT3Jf
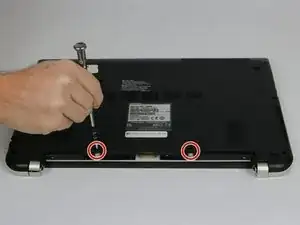
    • Remove the two 7 mm Phillips #1 screws that hold the battery in place.

  2. 22NOxfwqYBWUPlrs
    22NOxfwqYBWUPlrs
    CARh1lwcVNDyBZHu
    GY6YNZXcYernCXhH
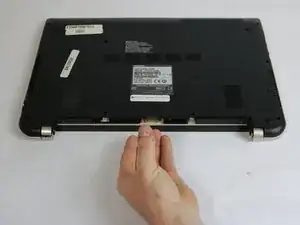
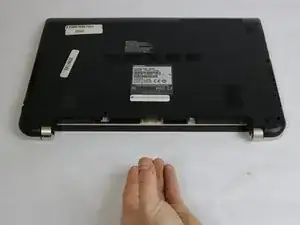
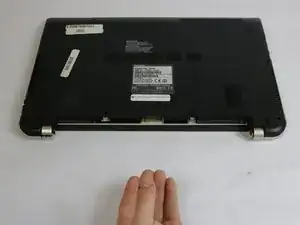
    • Pull the battery from laptop.

  3. 6WLAUEJAHdAonSU1
    6WLAUEJAHdAonSU1
    k1gloK4g2HOaeBpC
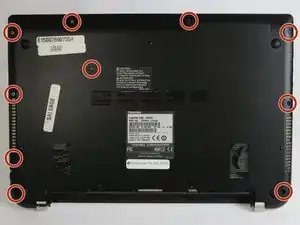
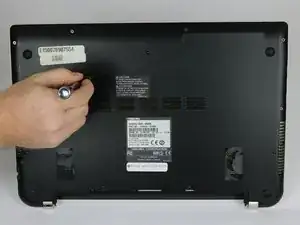
    • Remove the ten 7 mm Phillips #1 screws that secure the back cover.

  4. iJgaav4o6Fl5R5Zr
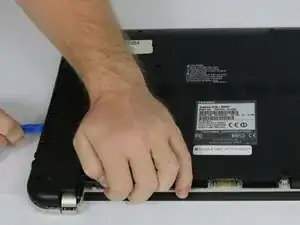
    • Wedge the tip of a plastic opening tool between the back cover and the metal frame.

    • Twist the plastic opening tool, while wedged, in order to release the retaining tabs from the frame.

    • Repeat these steps in a circular pattern around the laptop to release all retaining tabs.

  5. w5vlWaUh3UB4QOuD
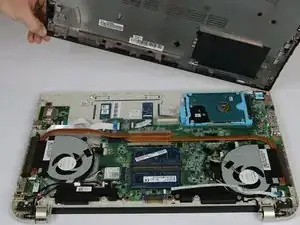
    • Once all retaining tabs are released from the frame, you can pull up on the back cover to remove it.

  6. tPkDWTpw2ZAEusQO
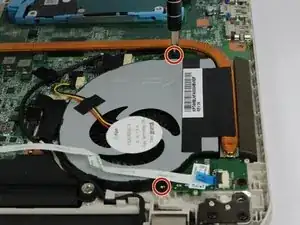
    • Remove the two 3.5 mm Phillips #1 screws that hold the cooling fan in place.

  7. eiHgWosTVxp1ZxEB
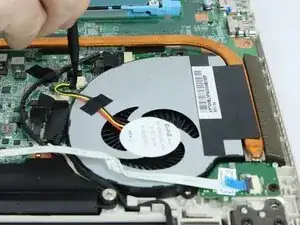
    • Wedge the flat end of the spudger between the connector and its socket.

    • Twist back and forth in order to pry the connector loose from its socket.

    • Although you can pull on the connector wires to remove it from the socket, it is not recommended until the connector is loose to prevent damage to the wires.

  8. pEPwqU2rgJ4WDNlm
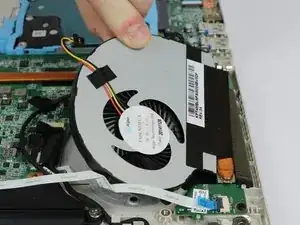
    • Lift up on the cooling fan to remove it from the laptop.

    • Repeat steps 6-8 for the other cooling fan.

  9. X2UWbLtIAwVLGEgL
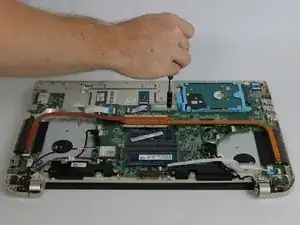
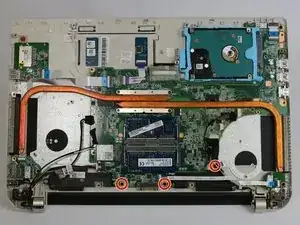
    • Remove the three 4 mm Phillips #1 screws holding the motherboard in place.

  10. wC1b4sqZiAnrIYta
    wC1b4sqZiAnrIYta
    fy4nXsZbfpGoC3KX
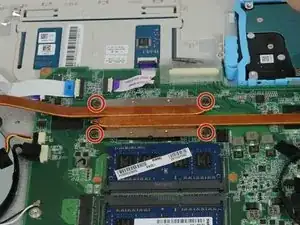
    • Remove the four 4 mm Phillips #1 screws mounting the heat sink to the motherboard.

  11. LJZ1NVwPy1OB6Sky
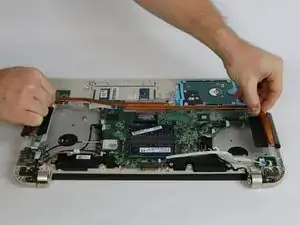
    • Gently lift on either side of the heat sink to separate it from the laptop.

    • When reassembling the device, be sure to apply new thermal paste to the heat sink and processor.

  12. CvZSqHl1H3VJXhrP
    CvZSqHl1H3VJXhrP
    CvjprEZgajSSgsrs
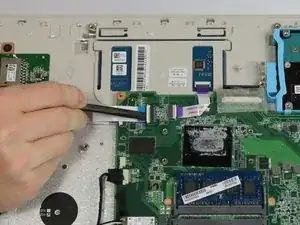
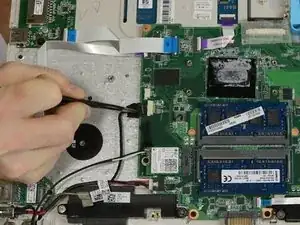
    • On all ZIF (Zero Insertion Force) connectors, use a spudger to lift the lock.

    • Use tweezers to pull on the designated pull tab to remove each ZIF connector.

  13. uMTFVnSQBwaZihAq
    uMTFVnSQBwaZihAq
    WZqihXLAdPNZFZO2
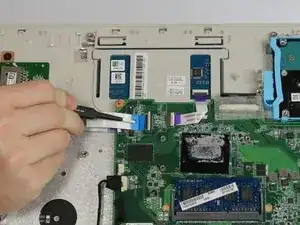
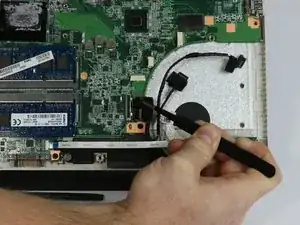
    • On all No-Fuss Ribbon Cable Connectors use tweezers, on the designated tabs, to remove them.

  14. qQQYGdt1OtyLBMXu
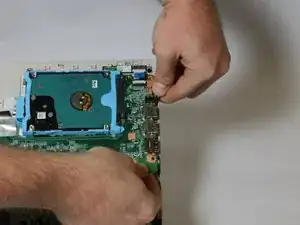
    • Lift on the motherboard from the USB port area while pulling the frame away from motherboard.

  15. TlsVQFATH6oDfRec
    TlsVQFATH6oDfRec
    cXdAIbP3VNEd6rIK
    DOmFiQDYInxpKHoT
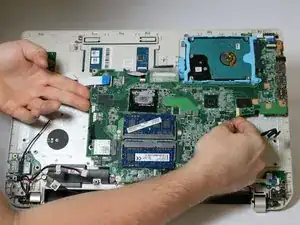
    • Once all connectors are separated from the motherboard and the USB port area is freed, carefully lift on either side of the motherboard to remove it.

Abschluss

To reassemble your device, follow these instructions in reverse order.

George Gillespie

Mitglied seit: 15/09/16

721 Reputation

Ein Kommentar

Hello

I got to this address through my search for a motherboard for toshiba satellite c55

Can you tell me where to buy it because the one that I own has broken down

Thank you

akad100@gmail.com
alakad100 -