Einleitung

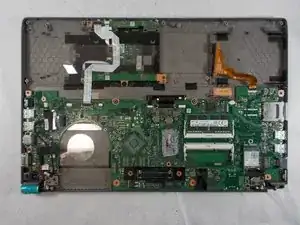
If your motherboard is damaged or causing an issue in your device, then it’s time for it to be replaced. Follow this guide to learn the steps on how to replace your device’s motherboard.

  1. RacYrT4ldNtotZen
    • Turn off the laptop.

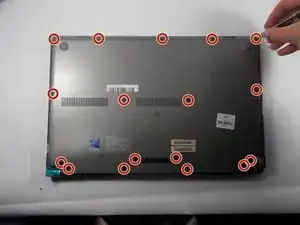
    • Flip the laptop over so the bottom is facing upwards and the hinges are closest to you.

    • Remove the fifteen 5 mm screws from the back panel using a Phillips #0 screwdriver.

  2. mmyLxxRmCQ4kccxM
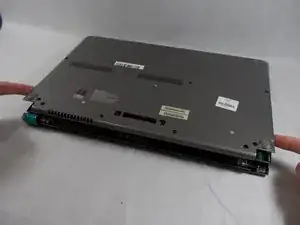
    • Lift up back panel using your hands and remove it from the rest of the laptop.

  3. 1emejiB4NGAcmQih
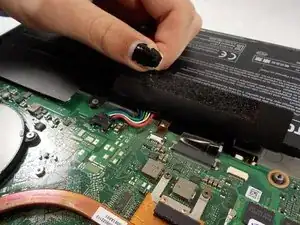
    • Lift the plastic covering over the battery plug.

  4. WARAXXQ25wmF4JOR
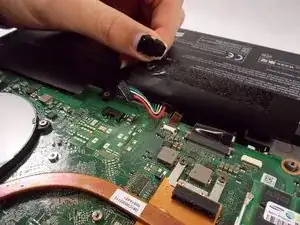
    • Pull the wired cable up towards the top of the laptop to disconnect it from its socket on the motherboard.

  5. YQ6JmMEYEyUSUTbI
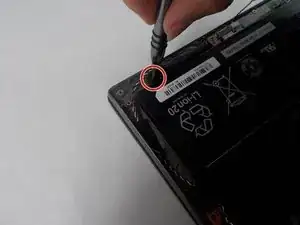
    • Remove the single 2 mm screw from the corner of the laptop using a Phillips #0 screwdriver.

  6. Pj21i1PEUNGbaLZP
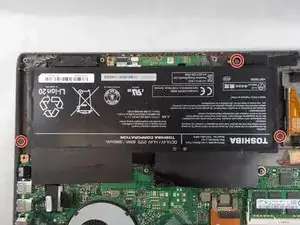
    • Remove the three 3 mm screws from the battery using a Phillips #0 screwdriver.

  7. Y5hQ5ubZOX6ivlpW
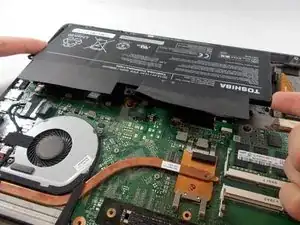
    • Lift up on the battery with your hands and remove it from the laptop.

  8. RuLfWRCiGHocvyVU
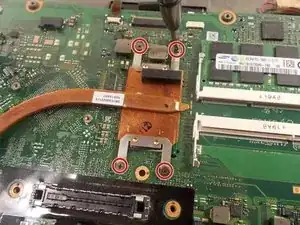
    • Remove the four 3 mm screws from the heat sink using a Phillips #0 screwdriver.

  9. 3DqOeTiEFmraPJAy
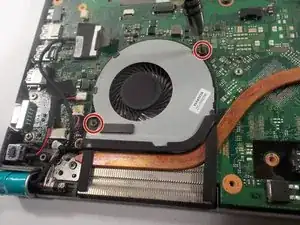
    • Remove the two 4 mm screws from the fan using a Phillips #0 screwdriver.

  10. ugPrfGFcIhgGJdwL
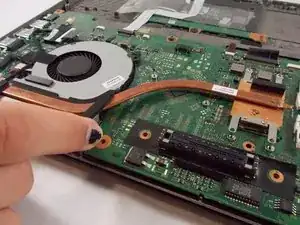
    • Remove the heat sink from the laptop.

  11. adyJGNpn1QuDSNPf
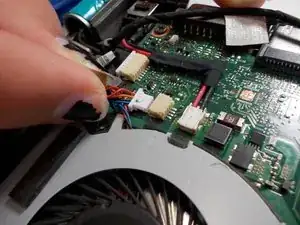
    • Pull towards the bottom of the laptop to disconnect the fan cable from its connector on the motherboard.

  12. VGvCwmnlYtv3JOp5
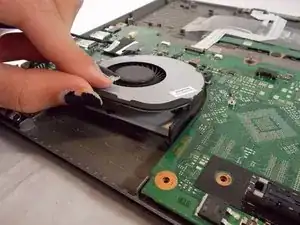
    • Lift up on the fan and remove it from the laptop.

    • When replacing the fan and heat sink, be sure to reapply thermal paste.

  13. wsXPwFd3pKclDHZu
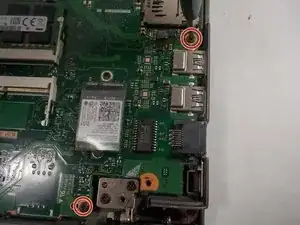
    • Remove the two 5 mm screws using a Phillips #0 screwdriver.

  14. D2iqsVYPHerwaBiA
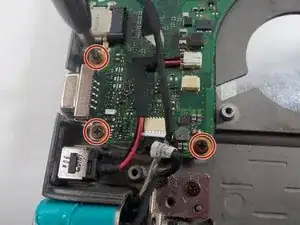
    • Remove the three 5 mm screws using a Phillips #0 screwdriver.

  15. ZHvIYCFeJnFsdLK2
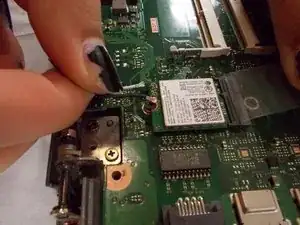
    • Lift up on plastic covering over the Wi-Fi card.

    • Disconnect the black and white coaxial cables from the Wi-Fi card.

  16. WRh4qOVAgwtXwHUp
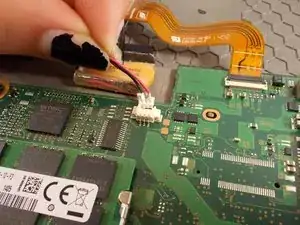
    • Unplug the bundled red and black cable from its connector on the motherboard.

  17. Ws4dyTwIgSu3FPjq
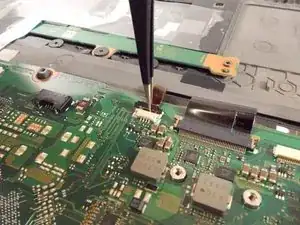
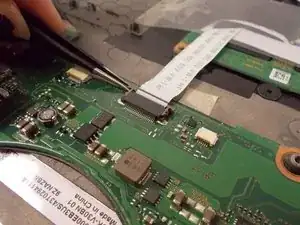
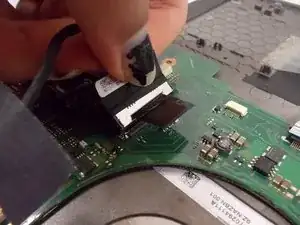
    • Lift up on the black retaining flap using a pair of tweezers.

  18. fEijN3HovVQlgfYn
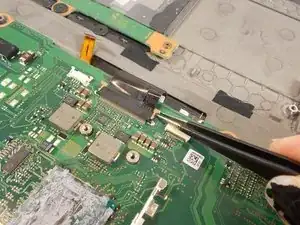
    • Push the tab on the right toward the top of the laptop.

  19. SZrQ2keZsQufXuRc
    • Push the tab on the left toward the top of the laptop.

  20. cJLjIhvI1rjLOfIj
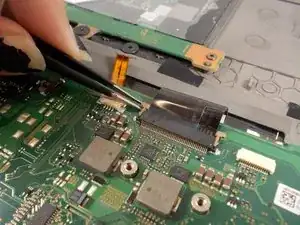
    • Push the tab on the right toward the top of the laptop.

  21. SldjrGqeneOxQXrt
    • Push the tab on the left toward the top of the laptop.

  22. niTwxrR3yPUJ6NAu
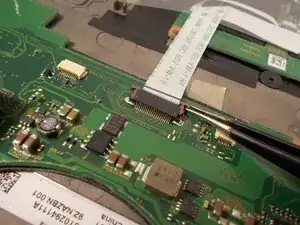
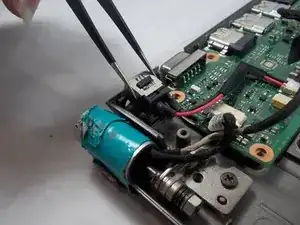
    • Lift up on the charging port with tweezers.

  23. BSMhjIYLYGgKrjw4
    • Lift up on the plastic tab.

  24. gVeqJvwLANuve4C2
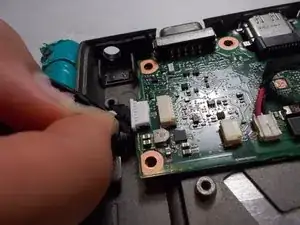
    • Pull plug towards the bottom of the laptop.

  25. 3QXyKVPK6plLv26V
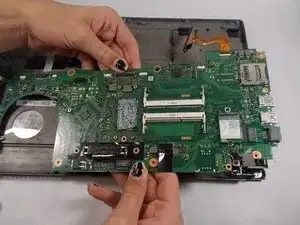
    • Grab the middle of the motherboard with your hands and lift up to remove it from the laptop.

Abschluss

To reassemble your device, follow these instructions in reverse order.
Luis Juen Baez

Mitglied seit: 25/10/21

585 Reputation

0 Kommentare