Einleitung
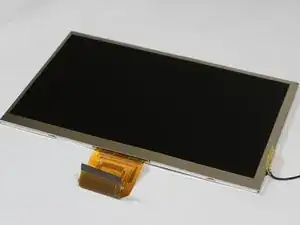
This guide will show you how to replace the LCD display if the screen breaks. Soldering and de-soldering will be necessary.
Werkzeuge
-
-
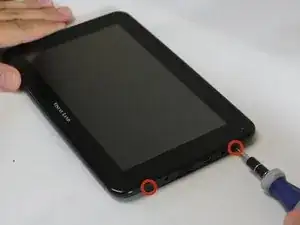
Unscrew the two 4.0mm Phillips head screws found near the ports at the bottom of the device using a PH #00 screwdriver.
-
-
-
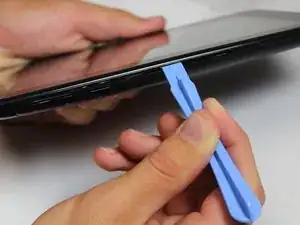
Slide the plastic prying tool in between the front and back panel and pry them apart on all 4 sides.
-
It may be easiest to start on one of the sides, and work your way around the device. The bottom, with the ports, is the most difficult side and can be saved for last.
-
-
-
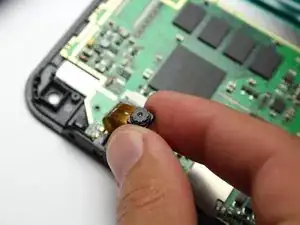
With the bottom of the device facing away from you, pull the camera out of its black housing.
-
-
-
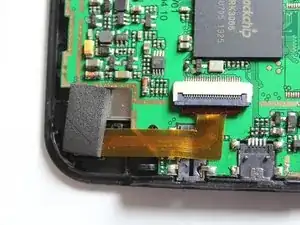
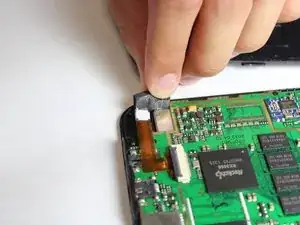
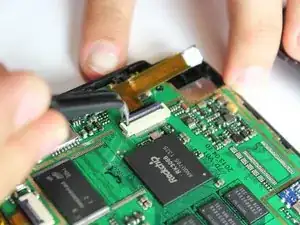
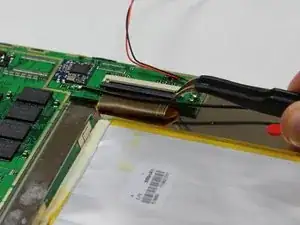
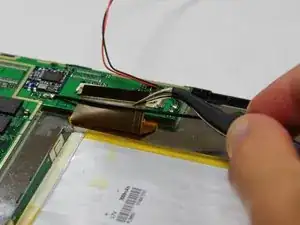
Use the tweezers to lift the grey connector, connecting the camera ribbon to the circuit board, up from the beige housing. It should rotate up, and allow you to slide the ribbon out from under the connector.
-
-
-
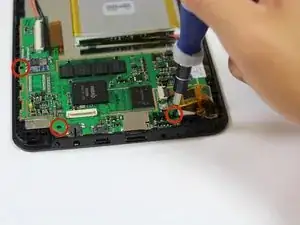
Remove the three 4.0mm screws holding down the circuit board with the Phillips #00 screwdriver.
-
-
-
Use the tweezers to lift the grey connector, located near the battery and speaker, up from the beige housing. It should rotate up, and allow you to slide the ribbon out from under the connector.
-
-
-
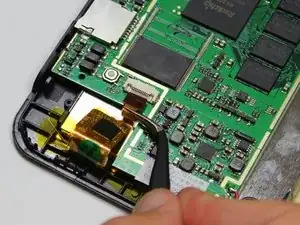
Use the tweezers to lift the grey connector, located near the reset button, up from the beige housing. It should rotate up, and allow you to slide the ribbon out from under the connector.
-
-
-
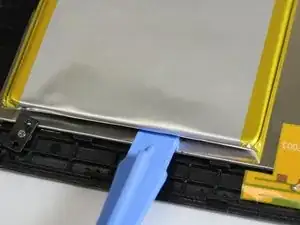
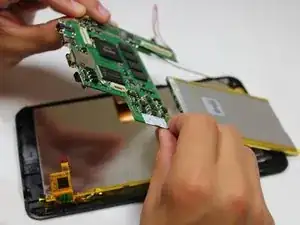
Turn the device around, and use the large plastic opening tool to pry the battery off of the back of the silver LCD.
-
-
-
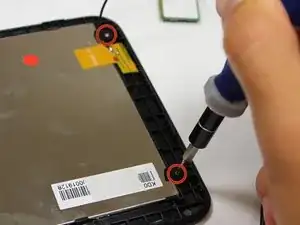
Remove the two 3.0mm screws holding down the black tabs using the Phillips #00 screwdriver.
-
-
-
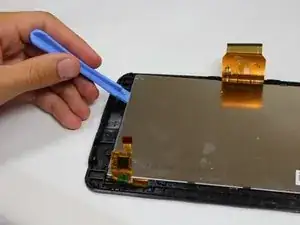
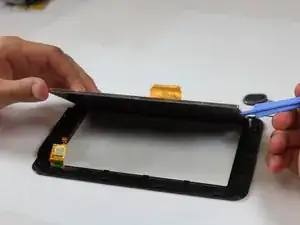
Use the Plastic Opening Tool to gently pry the black hooks away from the edges of the silver LCD. Then lift the LCD off of the front panel.
-
-
-
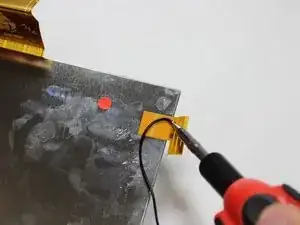
Desolder the black wire from the LCD.
-
For soldering information, see our guide: Wie man Lötverbindungen herstellt und entlötet.
-
To reassemble your device, follow these instructions in reverse order.
