Einleitung
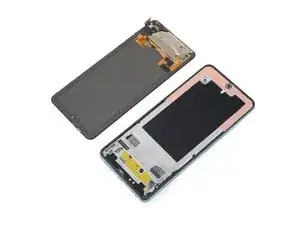
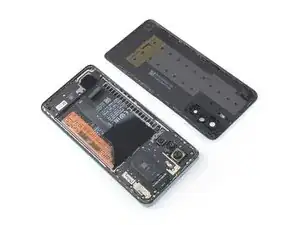
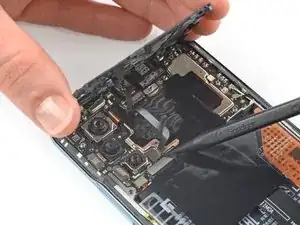
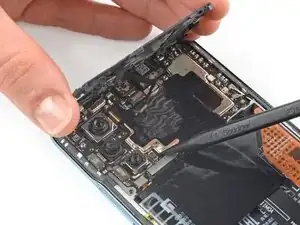
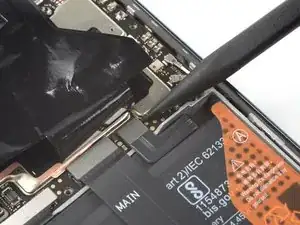
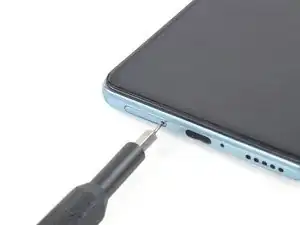
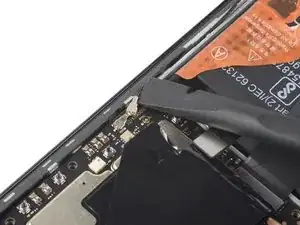
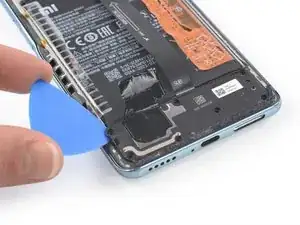
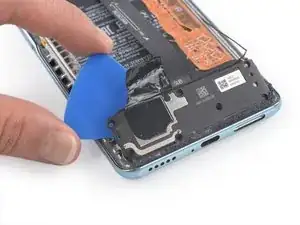
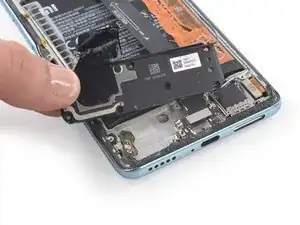
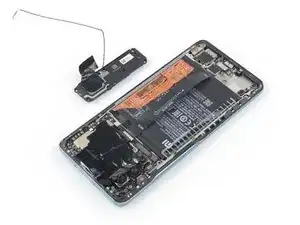
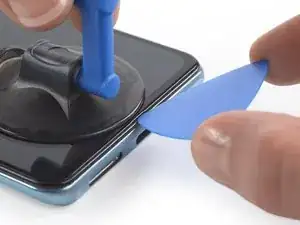
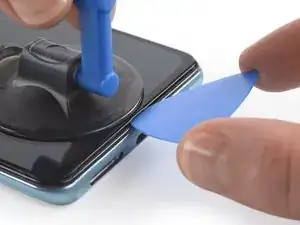
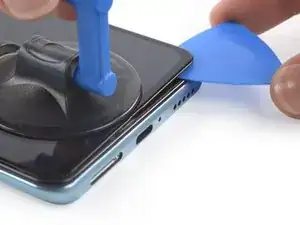
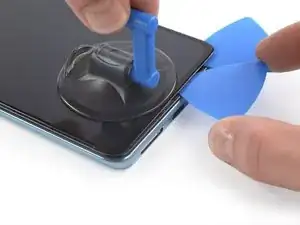
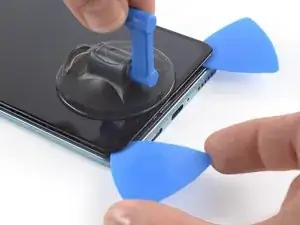
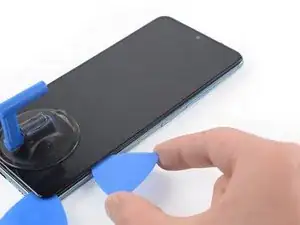
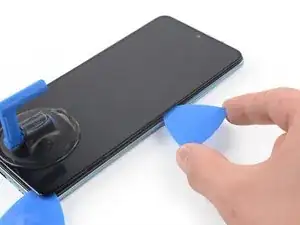
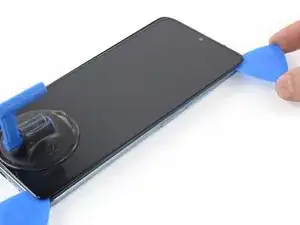
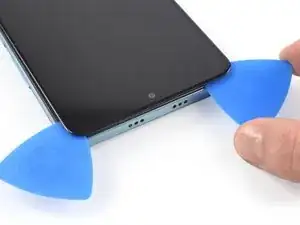
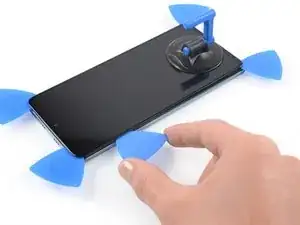
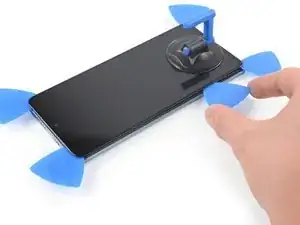
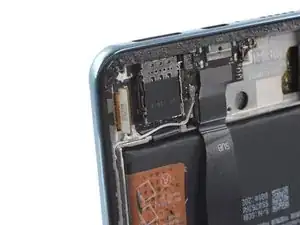
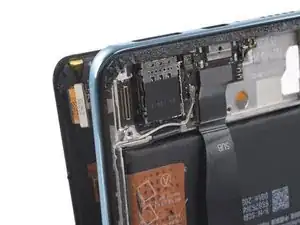
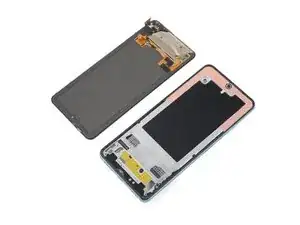
Use this guide to replace a cracked or broken screen on your Xiaomi Poco F3.
If the frame is deformed, it's important to replace it to make sure the new screen will mount correctly and won’t suffer damage from uneven pressure.
If your battery is swollen, take appropriate precautions. Before disassembling your device, discharge the battery below 25%. This reduces the risk of a dangerous thermal event if the battery is accidentally damaged during the repair.
Note: This guide instructs you to replace only the screen while leaving the original frame and motherboard in place. However, some replacement screens come pre-installed in a new frame (a.k.a. chassis), which requires a very different procedure. Make sure you have the correct part before starting this guide.
You'll need replacement adhesive in order to complete this repair.
Werkzeuge
Ersatzteile
-
-
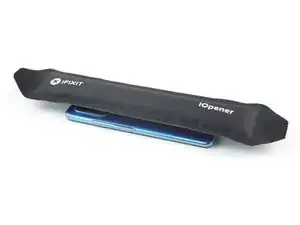
Prepare an iOpener and apply it to the rear glass for at least two minutes to loosen the adhesive underneath.
-
-
-
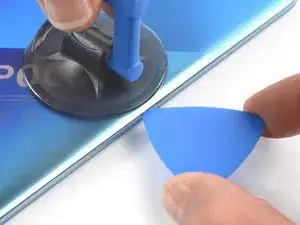
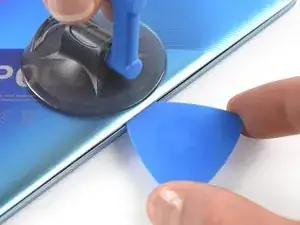
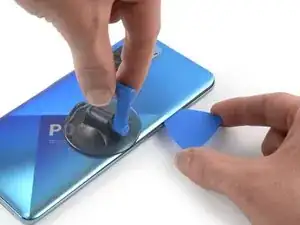
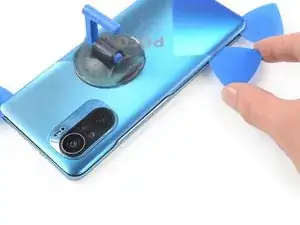
Secure a suction handle to the right edge of the rear glass, as close to the edge as possible.
-
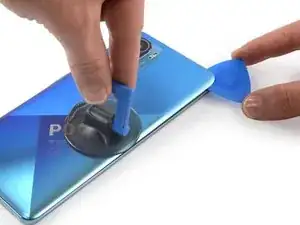
Lift the rear glass with the suction handle to create a small gap between the rear glass and the frame.
-
Insert an opening pick into the gap you created.
-
-
-
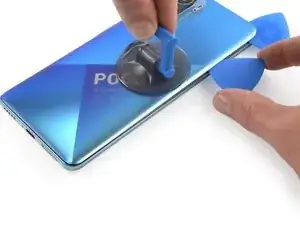
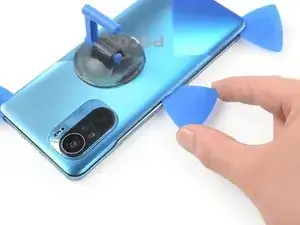
Slide the opening pick to the top right corner to slice the adhesive.
-
Leave the opening pick in place to prevent the adhesive from resealing.
-
-
-
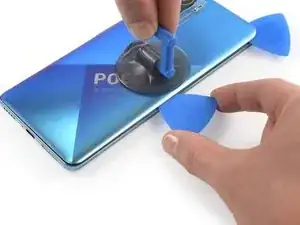
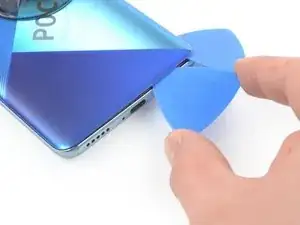
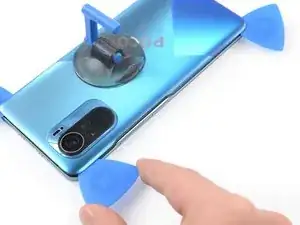
Insert a second opening pick at the top right corner.
-
Slide the opening pick to the bottom right corner to slice the adhesive.
-
Leave the opening pick in place to prevent the adhesive from resealing.
-
-
-
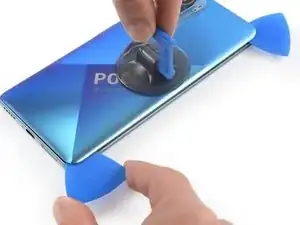
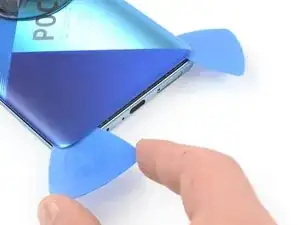
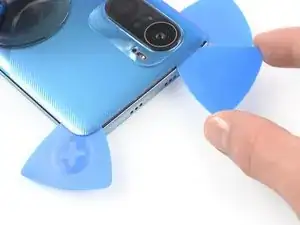
Insert a third opening pick in the bottom right corner.
-
Slide the opening pick along the bottom edge of your phone to slice the adhesive.
-
Leave the opening pick in the bottom left corner to prevent the adhesive from resealing.
-
-
-
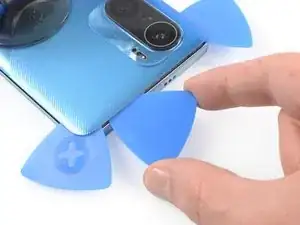
Insert a fourth opening pick in the bottom left corner of your phone.
-
Slide the opening pick along the left edge to slice the adhesive.
-
Leave the opening pick in the top left corner to prevent the adhesive from resealing.
-
-
-
Insert a fifth opening pick underneath the top left corner.
-
Slide the opening pick along the top edge of the rear glass to slice the remaining adhesive.
-
-
-
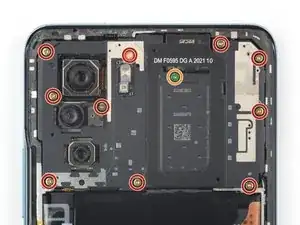
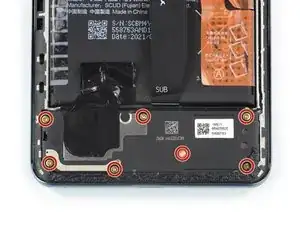
Use a Phillips screwdriver to remove the eleven screws securing the motherboard cover:
-
Ten 3.4 mm-long screws
-
One 1.5 mm-long screw
-
-
-
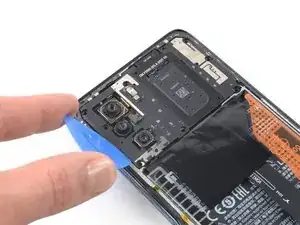
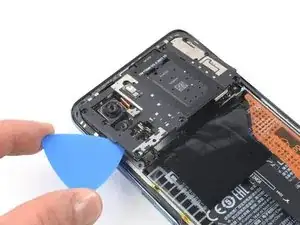
Insert the tip of an opening pick under the bottom left edge of the motherboard cover.
-
Use the opening pick to lift up the motherboard cover and release the plastic clips that hold the cover in its place.
-
-
-
Use your fingers to lift up the motherboard cover to access the connector on the motherboard.
-
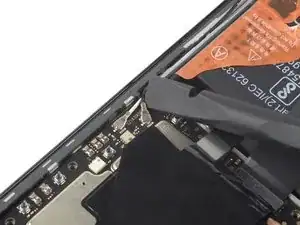
Use a spudger to disconnect the motherboard cover by prying the connector straight up from its socket at the motherboard.
-
Remove the motherboard cover.
-
-
-
Use a spudger to disconnect the battery by prying the connector straight up from its socket.
-
-
-
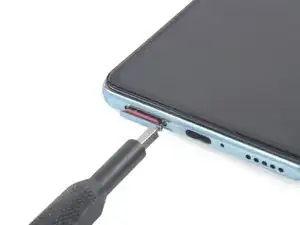
Insert a SIM card eject tool or a paperclip into the small hole in the SIM card tray, located on the left bottom edge of the Poco F3.
-
Press firmly to eject the tray.
-
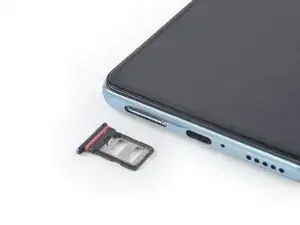
Remove the SIM card tray from the phone.
-
-
-
Use a Phillips screwdriver to remove the seven 3.5 mm-long screws securing the loudspeaker.
-
-
-
Insert an opening pick between the frame and the top left of the loudspeaker.
-
Use the opening pick to pry up the loudspeaker by tilting it downwards.
-
-
-
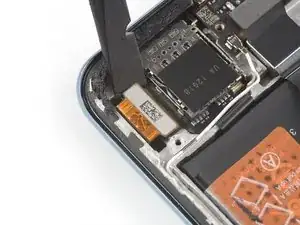
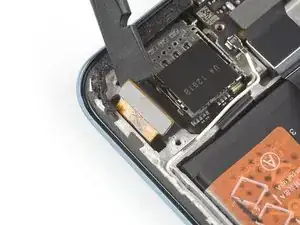
Use the flat end of a spudger to pry up and disconnect the screen flex cable connector on the daughterboard.
-
-
-
Apply a heated iOpener to the screen to loosen the adhesive underneath. Apply the iOpener for at least two minutes.
-
-
-
Secure a suction handle to the bottom of the screen, as close to the edge as possible.
-
Lift the screen with the suction handle to create a small gap between the screen and the frame.
-
Insert an opening pick into the gap.
-
Slide the opening pick to the bottom right corner.
-
-
-
Insert a second opening pick in the gap you just created and slide it to the bottom left corner to cut the adhesive.
-
Leave the pick in place to prevent the adhesive from resealing.
-
-
-
Insert a third opening pick under the bottom right corner of the phone.
-
Slide the opening pick up to the top right corner to slice the adhesive. Leave it there to prevent the adhesive from resealing.
-
-
-
Insert a fourth opening pick at the top right corner.
-
Slide the opening pick along the top edge of the phone to cut the adhesive.
-
Leave the pick in the top left corner of the screen to prevent the adhesive from resealing.
-
-
-
Insert a fifth opening pick and slide it along the left edge of the phone to cut the remaining adhesive.
-
If possible, turn on your device and test your repair before installing new adhesive and resealing.
Compare your new replacement part to the original part—you may need to transfer remaining components or remove adhesive backings from the new part before installing.
To reassemble your device, follow these instructions in reverse order.
Take your e-waste to an R2 or e-Stewards certified recycler.
Repair didn’t go as planned? Try some basic troubleshooting, or ask our Answers community for help.
