Einleitung
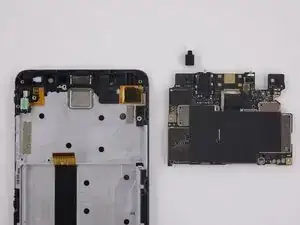
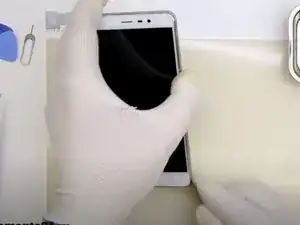
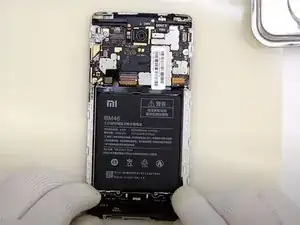
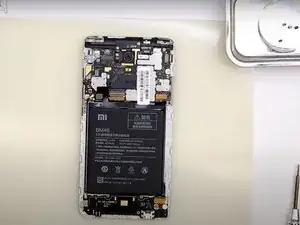
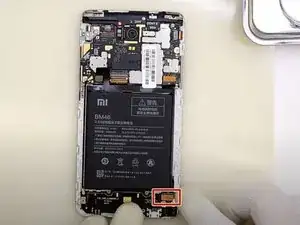
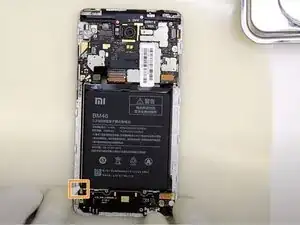
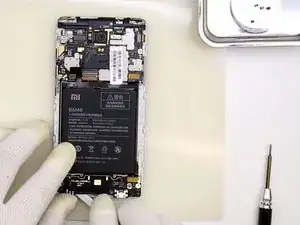
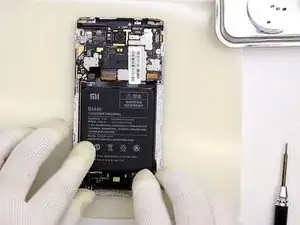
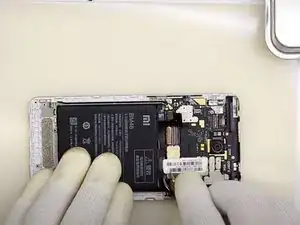
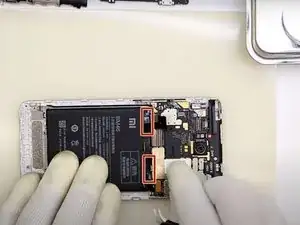
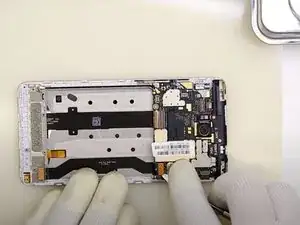
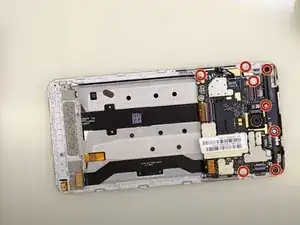
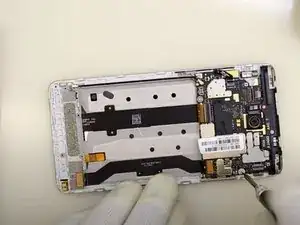
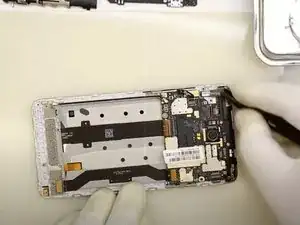
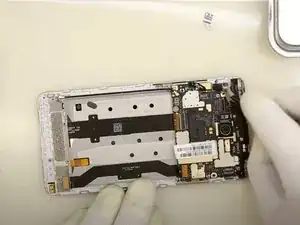
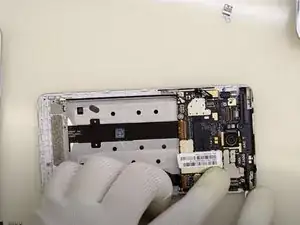
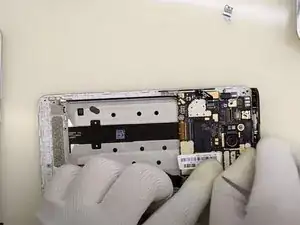
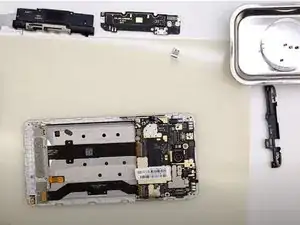
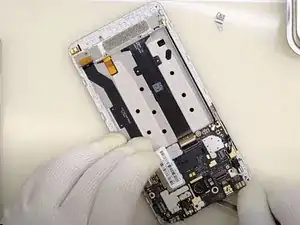
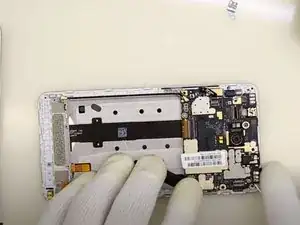
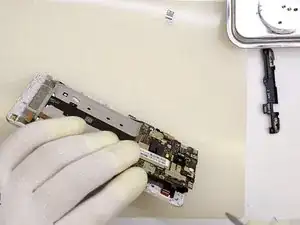
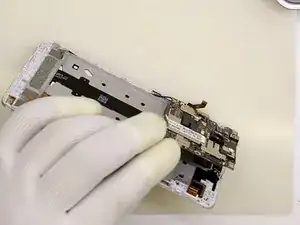
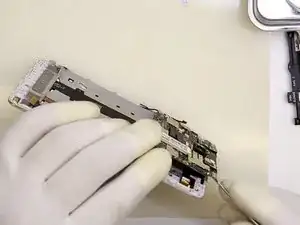
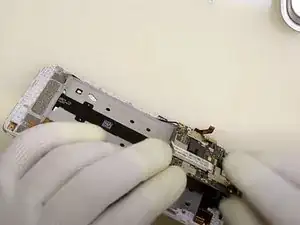
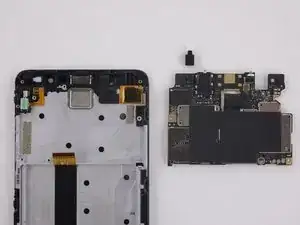
Use this guide to replace or remove the motherboard in your Xiaomi Redmi Note 3.
Before disassembling your device, be sure the battery is charged below 25%. If accidentally punctured or damaged, the battery can catch fire and/or explode; if discharged below 25%, the chances of fire/explosion is decreased.
Werkzeuge
-
-
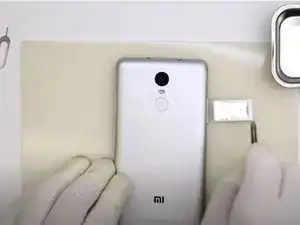
Insert and gently push the SIM card ejector tool (or an unfolded paperclip) into the small hole on the left side of the phone's top edge.
-
Press gently to eject the SIM tray
-
Remove the SIM card tray from the device.
-
-
-
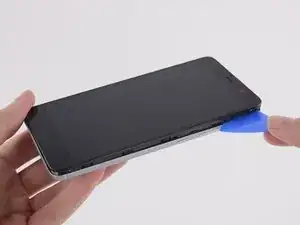
Insert a putty knife or opening tool into the seam between the phone's back cover and front cover.
-
Run the opening tool along the seam to loosen the back cover.
-
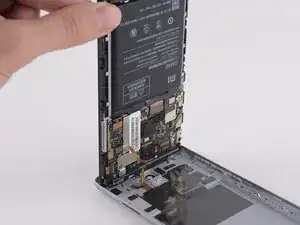
Open the back cover slightly so that you can see the flex cable connected between both halves of the phone.
-
-
-
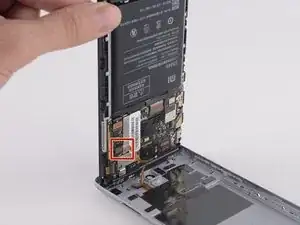
Disconnect the flex cable using the flat end of a spudger or a pair of tweezers.
-
Remove the phone's back cover.
-
-
-
Use a Phillips screwdriver to remove the five screws in the plastic covering at the bottom of the device.
-
-
-
Insert the flat end of a spudger under the plastic assembly cover at the bottom of the device.
-
Pry upwards with the spudger to lift the assembly cover.
-
Remove the assembly cover.
-
-
-
Use the flat end of a spudger to disconnect the battery flex cable from the lower assembly.
-
Use the flat end of a spudger to disconnect the ribbon cable on the left-hand side of the device.
-
-
-
Insert the flat end of a spudger under the assembly at the bottom of the device near the right-hand corner.
-
Pry upwards with the spudger to release the right-hand corner of the assembly.
-
Insert the flat end of a spudger under the assembly at the bottom of the device near the left-hand corner.
-
Pry upwards with the spudger to release the left-hand corner of the assembly.
-
Use your fingers to remove the assembly.
-
-
-
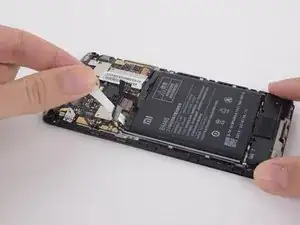
Peel back the barcode sticker so that it is disconnected from the battery.
-
Use your fingers to grasp the black battery adhesive tab and pull outwards firmly until the entire adhesive strip is released.
-
Repeat for the second battery adhesive strip.
-
-
-
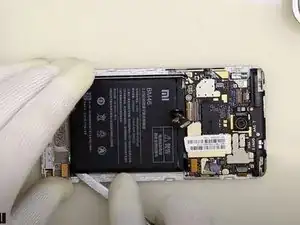
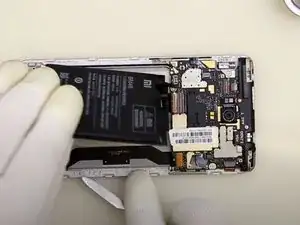
Insert the flat end of a spudger underneath the battery.
-
Use your fingers to remove the battery.
-
-
-
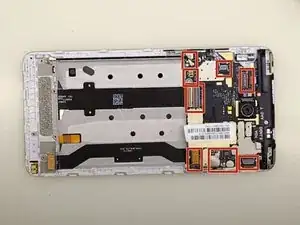
Use a Phillips #00 screwdriver to remove the eight screws fastening the motherboard to the phone's interior.
-
-
-
Slide an opening tool underneath the plastic assembly covering the upper portion of the motherboard.
-
Use your fingers or the opening tool to remove the plastic covering.
-
-
-
Slide an opening tool or the flat end of a spudger underneath the motherboard.
-
Pry upwards to loosen the motherboard from the phone's front cover.
-
-
-
Gently lift the motherboard from its slot.
-
Use the flat end of a spudger to disconnect the cable from the bottom of the motherboard.
-
To reassemble your device, follow these instructions in reverse order.
