Einleitung
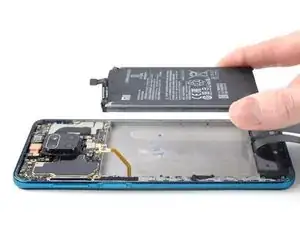
Use this guide to replace a worn-out or dead battery in your Xiaomi Redmi Note 9S.
If your battery is swollen, take appropriate precautions.
For your safety, discharge your battery below 25% before disassembling your phone. This reduces the risk of a dangerous thermal event if the battery is accidentally damaged during the repair.
You’ll need replacement adhesive to reattach components when reassembling the device.
Werkzeuge
Ersatzteile
-
-
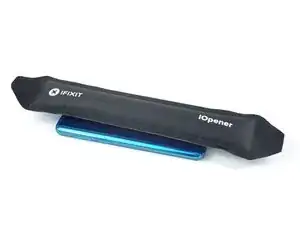
Prepare an iOpener and apply it to the back cover for at least two minutes to loosen the adhesive underneath.
-
-
-
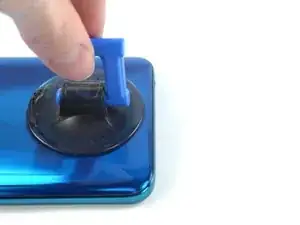
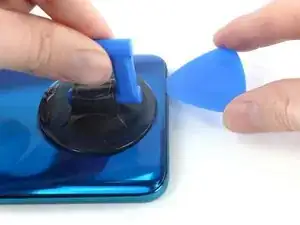
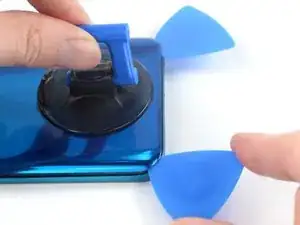
Secure a suction handle to the bottom edge of the rear glass, as close to the edge as possible.
-
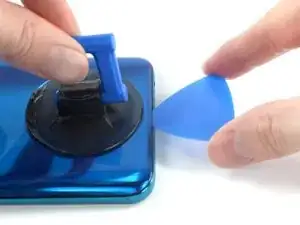
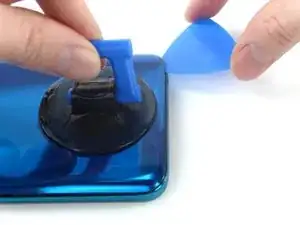
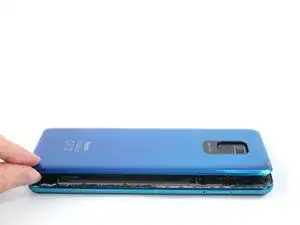
Lift the rear glass with the suction handle to create a small gap between the back cover and the frame.
-
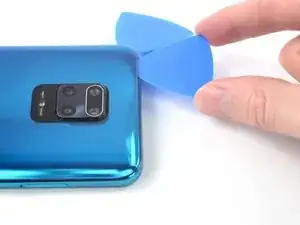
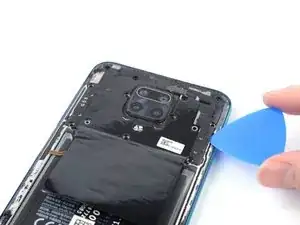
Insert an opening pick into the gap you created.
-
-
-
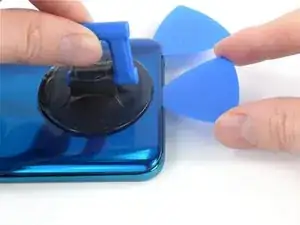
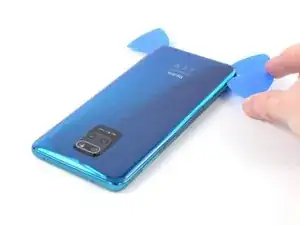
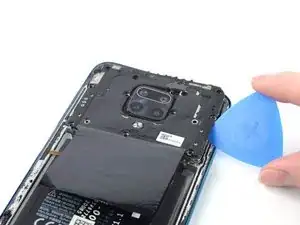
Slide the opening pick to the bottom right corner to slice the adhesive.
-
Leave the opening pick in place to prevent the adhesive from resealing.
-
-
-
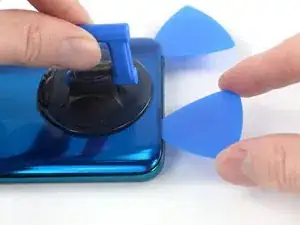
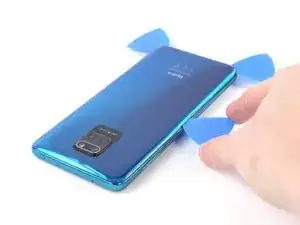
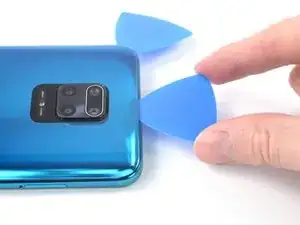
Insert a second opening pick at the bottom edge of your phone.
-
Slide the opening pick to the bottom left corner to slice the adhesive.
-
Leave the opening picks in place to prevent the adhesive from resealing.
-
-
-
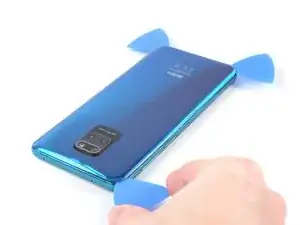
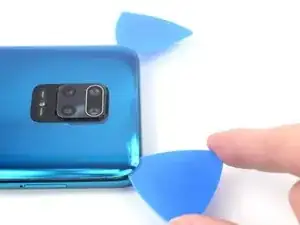
Insert a third opening pick at the bottom left corner of your phone.
-
Slide the opening pick along the left edge of your phone to slice the adhesive.
-
Leave the opening pick in the top left corner to prevent the adhesive from resealing.
-
-
-
Insert a fourth opening pick underneath the top left corner of your phone.
-
Slide the opening pick along the top edge to slice the adhesive.
-
Leave the opening pick in the top right corner to prevent the adhesive from resealing.
-
-
-
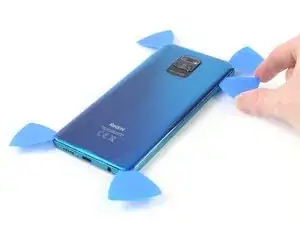
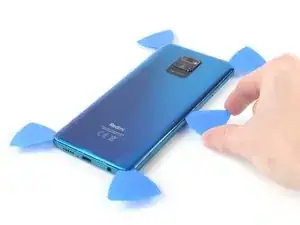
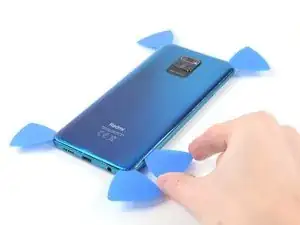
Insert a fifth opening pick underneath the top right corner.
-
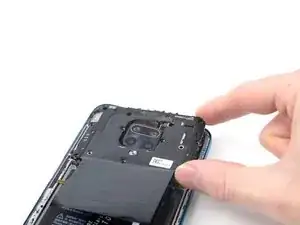
Slide the opening pick along the right edge of the rear glass to slice the remaining adhesive.
-
-
-
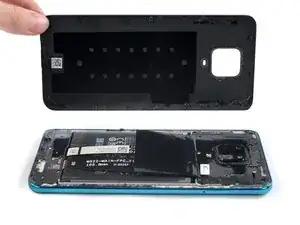
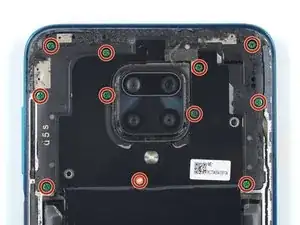
Use a Phillips screwdriver to remove the eleven 3.8 mm-long screws securing the motherboard cover.
-
-
-
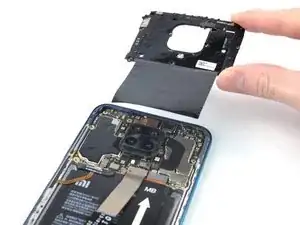
Insert the tip of an opening pick underneath the right edge of the motherboard cover.
-
Twist the opening pick sideways to pry up the motherboard cover.
-
-
-
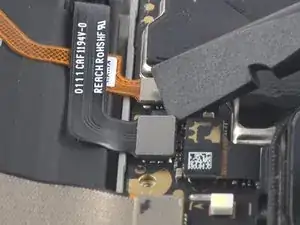
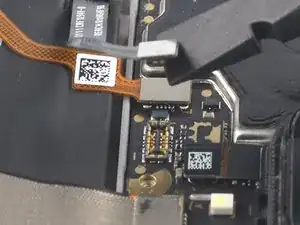
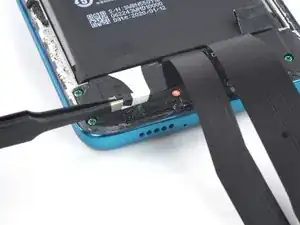
Use a spudger to disconnect the battery flex cable by prying the connector straight up from its socket.
-
-
-
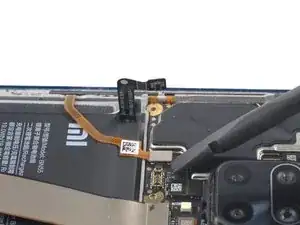
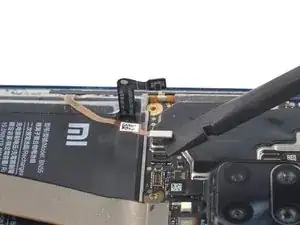
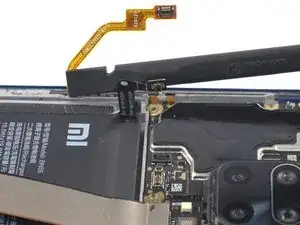
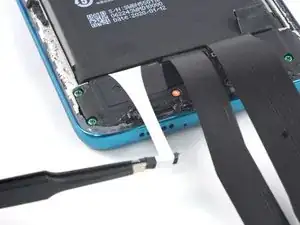
Use a spudger to disconnect the power and volume button cable by prying the connector straight up from its socket.
-
Use your spudger to carefully fold the power and volume button cable to the side to free the battery.
-
-
-
Use a spudger to disconnect the display cable by prying the connector straight up from its socket.
-
-
-
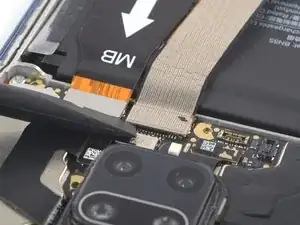
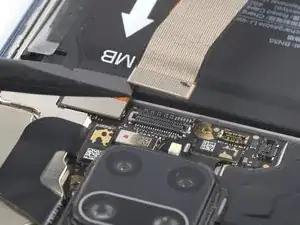
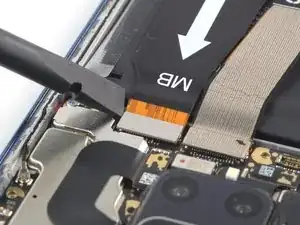
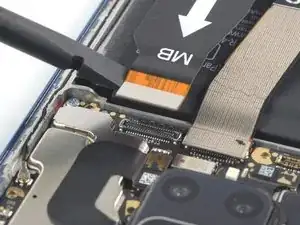
Use a spudger to disconnect the motherboard interconnect cable by prying the connector straight up from its socket.
-
-
-
Fold the display and the motherboard interconnect flex cable towards the charging port in order to get free access to the battery pull tabs.
-
-
-
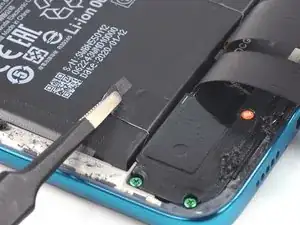
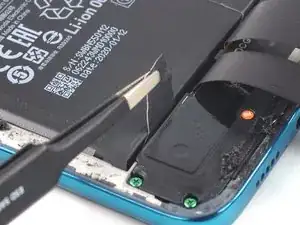
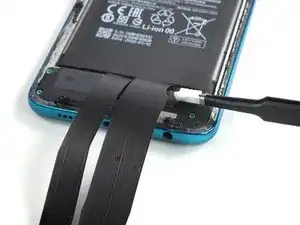
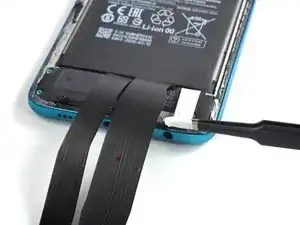
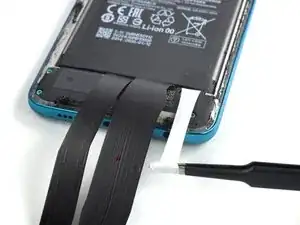
Use a pair of blunt nose tweezers or a clean fingernail to peel down both battery adhesive pull-tabs to un-stick them from the top edge of the battery.
-
-
-
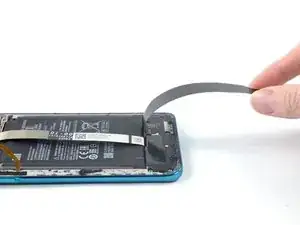
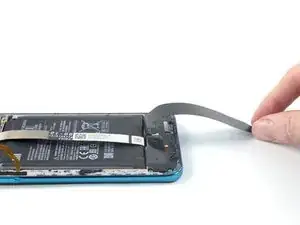
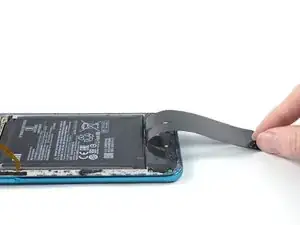
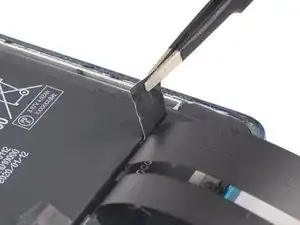
Grab the first pull-tab with a pair of blunt nose tweezers or your fingers and slowly pull it away from the battery and towards the bottom edge of your phone.
-
Pull hard enough to maintain tension on the strip, but don't force it. Give it plenty of time to stretch and un-stick from under the battery.
-
Don't press down on the battery. Hold the phone firmly by its sides.
-
Keep the strip flat and unwrinkled. Try to pull evenly on the whole strip, rather than pulling mainly in the middle or on one side.
-
Pull at a low angle so the strip doesn't snag on the edge of the battery.
-
-
-
Repeat the previous pull-tab removal procedure on the second pull-tab.
-
Follow the same procedure as with the previous strip: don't press down on the battery, keep the strip flat and unwrinkled, and pull at a low angle.
-
Wait about one minute for the alcohol solution to weaken the adhesive.
-
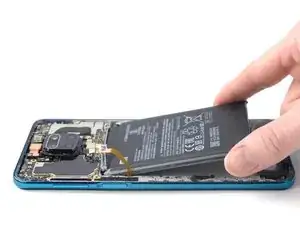
Use the flat end of a spudger to gently lift the battery.
-
If possible, turn on your device and test your repair before installing new adhesive and resealing.
Compare your new replacement part to the original part—you may need to transfer remaining components or remove adhesive backings from the new part before installing.
To reassemble your device, follow these instructions in reverse order.
The best way to secure the new screen is to apply a sheet of custom-cut double-sided tape to the back of the screen.
Take your e-waste to an R2 or e-Stewards certified recycler.
Repair didn’t go as planned? Try some basic troubleshooting, or ask our Answers community for help.
