Einleitung
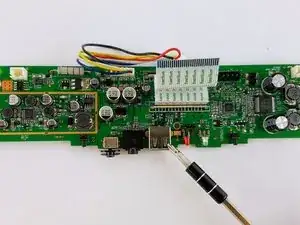
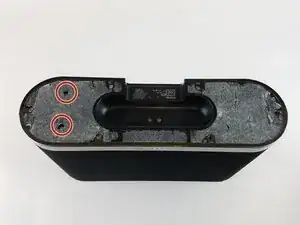
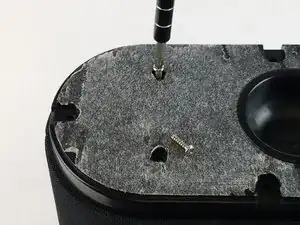
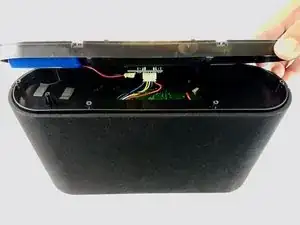
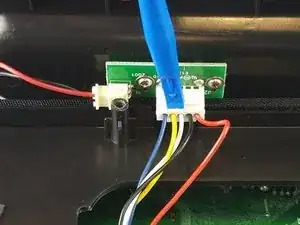
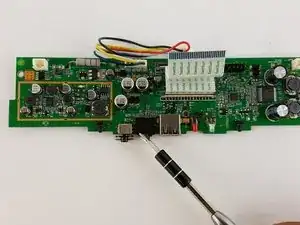
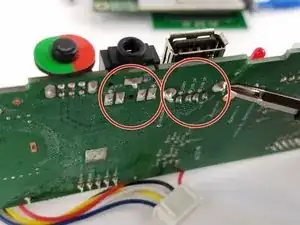
If you are having trouble charging you iPod/iPhone or the audio is not working, you may need to replace the USB and AUX port. This guide demonstrates how to perform these replacements.
Werkzeuge
-
-
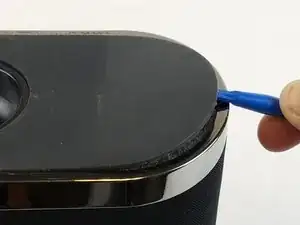
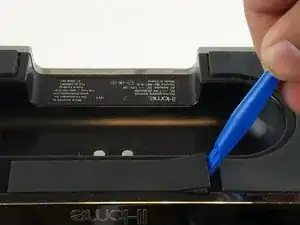
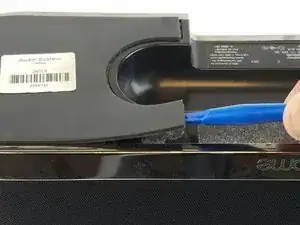
Remove the rubber from the bottom of the speaker, use a medium blue plastic spudger to gently work its way under the rubber and slowly peel off for each of the three feet. The order does not matter.
-
-
-
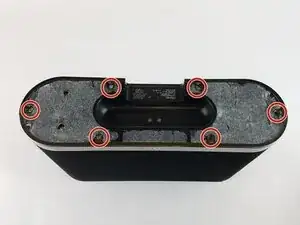
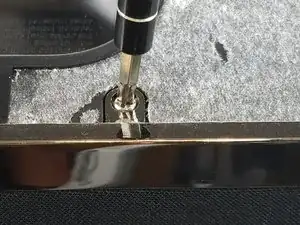
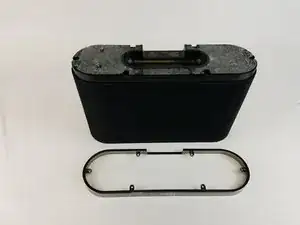
Remove the six 11 mm Philips #1 screws found underneath the foam to remove the steel outer metal frame.
-
Once the screws come off, keep them safely off to the side.
-
-
-
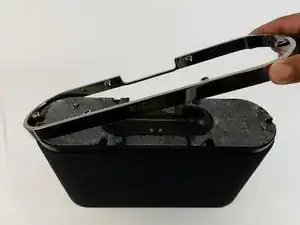
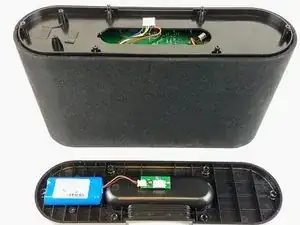
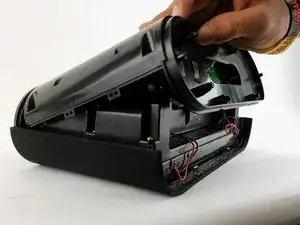
Lift the base up gently keeping in mind that the base is connected with wires to internal parts of the speaker.
-
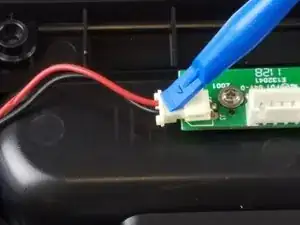
Disconnect the white bundled cable connector attached to the charging node using a spudger. The base of the speaker is now free to be removed.
-
-
-
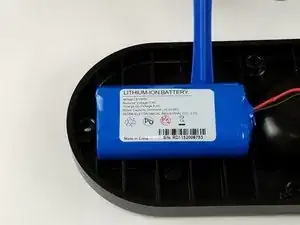
Remove the white power cable connector that connects the charging node to the battery, using the plastic spudger.
-
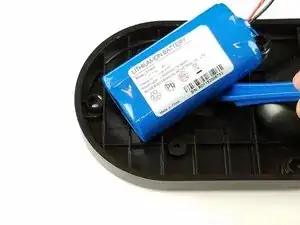
Pry the battery off using the plastic spudger.
-
-
-
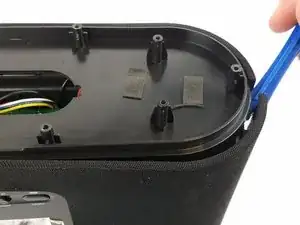
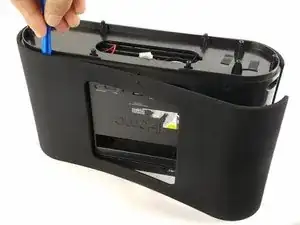
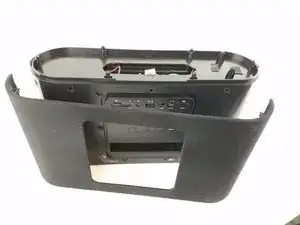
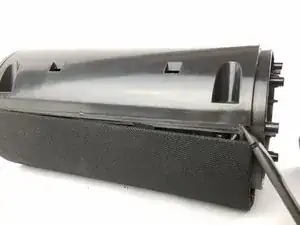
Pry off the mesh frame from the back side of the speaker with a plastic spudger until you hear a click noise when the clip is removed.
-
-
-
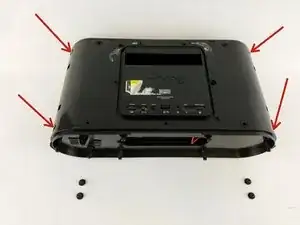
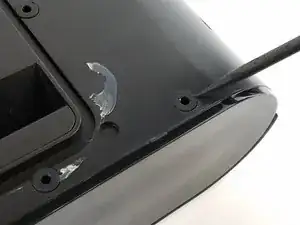
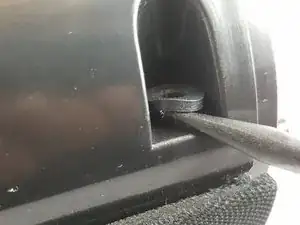
Use a plastic spudger to remove the rubber grommets from the four corners of the speaker underneath the mesh frame.
-
-
-
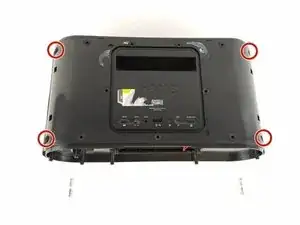
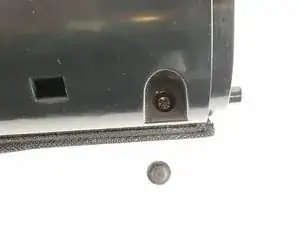
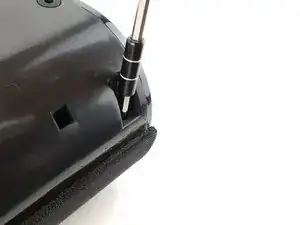
Remove the four 11 mm Philips #1 screws from beneath the rubber grommet that was removed from the previous step in all four corners.
-
-
-
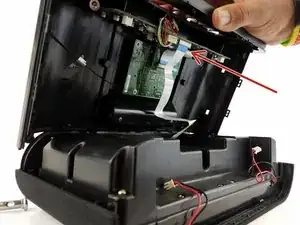
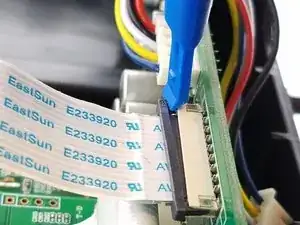
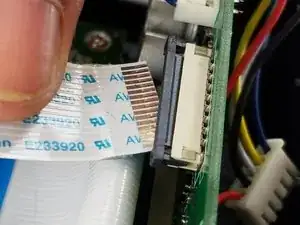
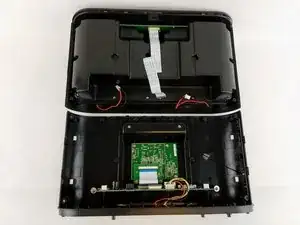
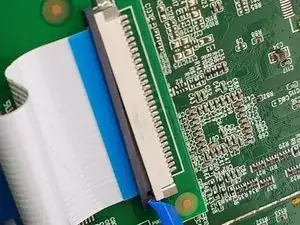
Remove the ribbon cable by pulling the black clip towards the cable, then gently pull the ribbon cable to fully separate the mesh frame and plastic frame.
-
-
-
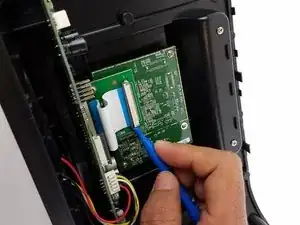
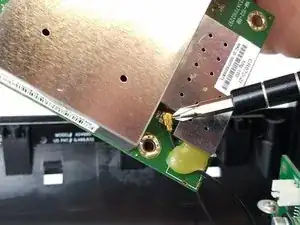
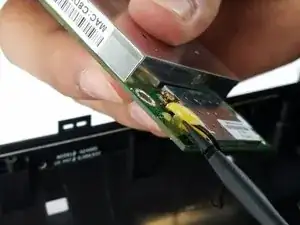
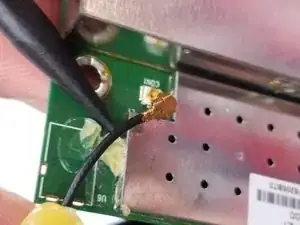
Remove the second ribbon cable that is connected to the main circuit board and the WiFi adapter.
-
-
-
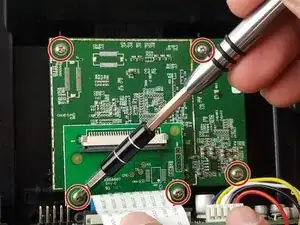
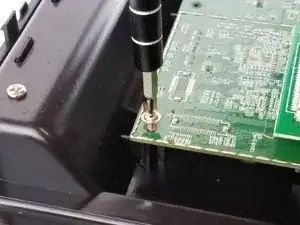
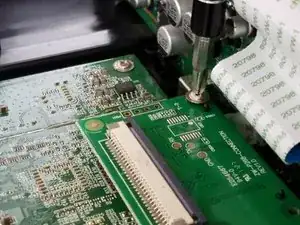
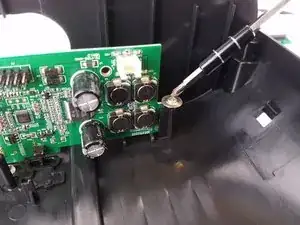
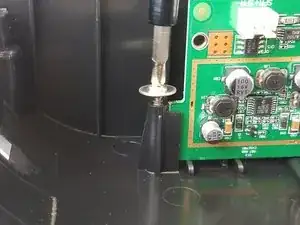
Remove the two 11 mm Philips #1 screws holding down the motherboard.
-
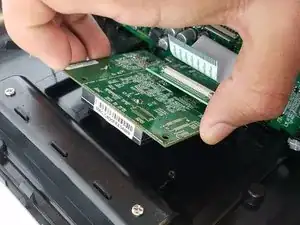
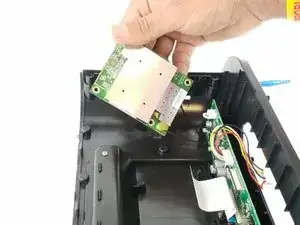
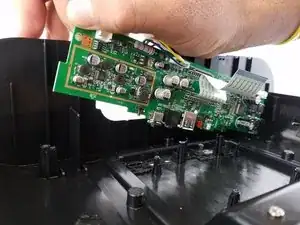
Lift the motherboard from the plastic frame.
-
To reassemble your device, follow these instructions in reverse order.
