Einleitung
Here are detailed instructions showing how to turn your iMac 4,1 into an iMac 5,1. I'm filling in some gaps in this procedure for upgrading a 2006 iMac.
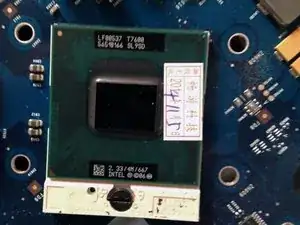
I replaced the Core Duo T2600 CPU in my iMac4,1 with a Core 2 Duo T7600, which is the fastest replacement CPU for this iMac. I bought the replacement CPU on eBay for $25.89 from an overseas seller. The price was right but it took almost a month for the CPU to show up in my mailbox.
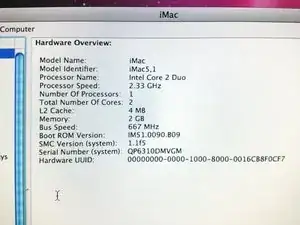
After replacing the CPU and updating the firmware, the resulting computer is equivalent to an iMac 5,1. It is now possible to install 4 GB of RAM, though the computer can only address 3 GB.
The best reason for upgrading the CPU is to be able to install MacOS X 10.7 Lion. This is surprisingly tricky to do.
Werkzeuge
-
-
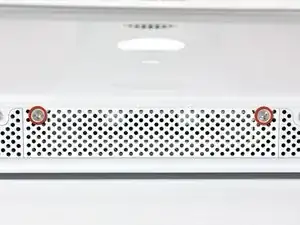
Loosen the two Phillips screws securing the access door to your iMac.
-
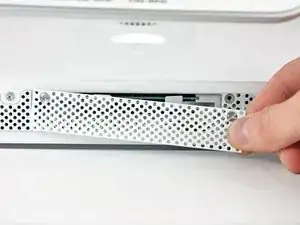
Remove the access door.
-
-
-
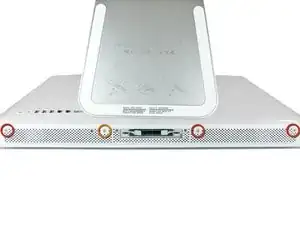
Remove the following screws along the lower edge of your iMac:
-
Three 6 mm T8 Torx screws
-
One 8 mm T8 Torx screw (Right side of the RAM slot on 2105)
-
-
-
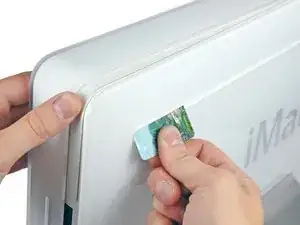
Insert a plastic card up into the corner of the air vent slot near the top of the rear case.
-
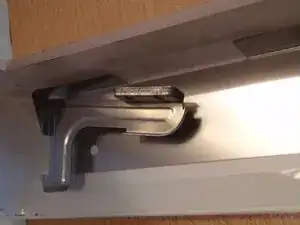
Push the card toward the top of the iMac to release the front bezel latch.
-
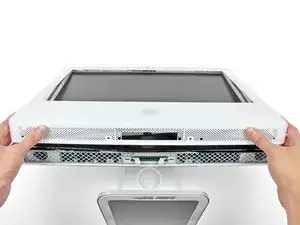
Pull the front bezel away from the rear case.
-
Repeat this process for the other side of the front bezel.
-
If the bezel refuses to release, try lifting the lower edge of the front bezel slightly away from the rear case (detailed in the next few steps) and repeat the latch release process.
-
-
-
Lay your iMac stand-side down on a flat surface.
-
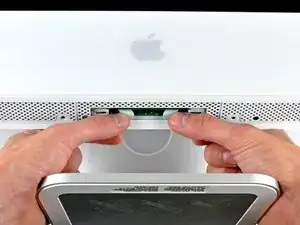
To lift the front bezel off the iMac, simultaneously:
-
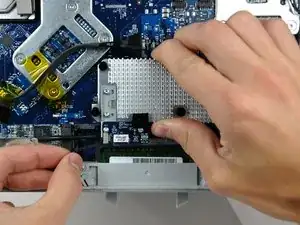
Use your thumbs to press in the RAM arms and hold the iMac down.
-
Use your index fingers to pull the small bridge of material on the front bezel toward yourself.
-
Pull the front bezel up with your index fingers.
-
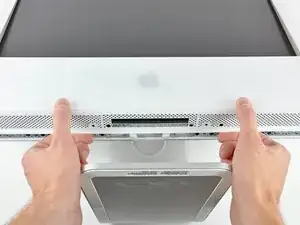
Once the small bridge of material has cleared the RAM arms, lift the front bezel by its lower edge just enough to clear the bottom edge of the rear case.
-
-
-
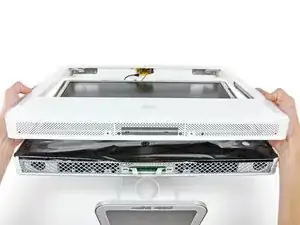
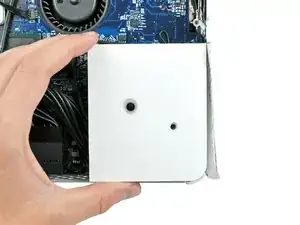
Lift the front bezel off the rear case and rotate it away from the bottom edge of the iMac, minding the camera and microphone cables still attached to its upper edge.
-
-
-
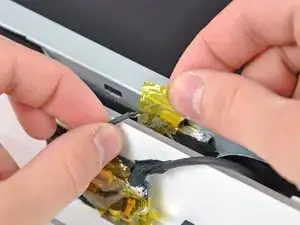
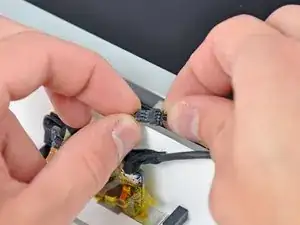
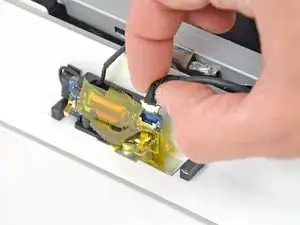
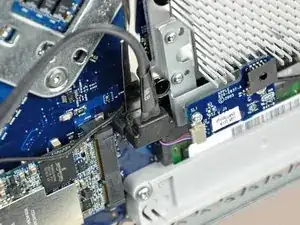
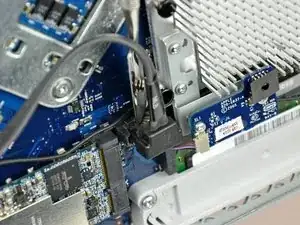
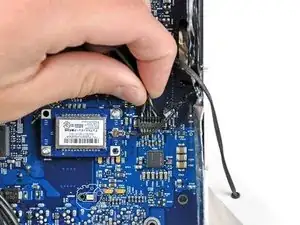
Disconnect the microphone cable.
-
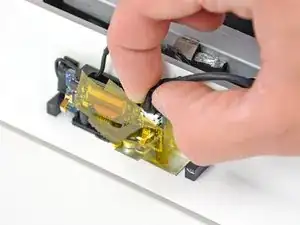
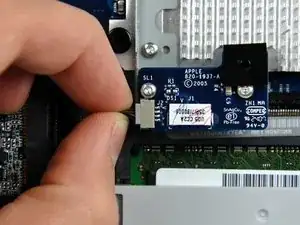
Disconnect the camera cable by pulling its connector away from the socket on the camera board.
-
-
-
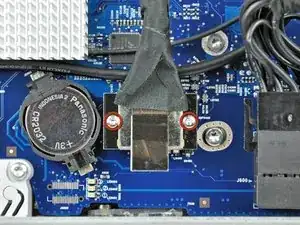
Remove the two 5 mm T6 Torx screws securing the display data cable connector to the logic board.
-
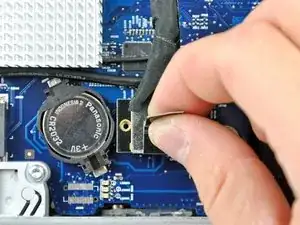
Pull the display data cable connector up off the logic board by its black pull tab.
-
-
-
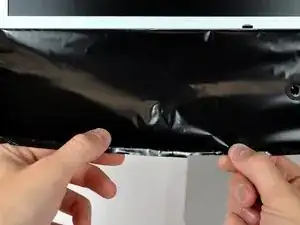
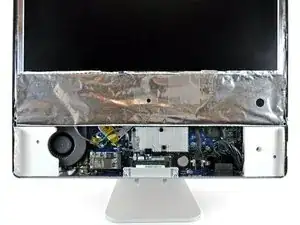
Allow the lower EMI shield to hang down from the display.
-
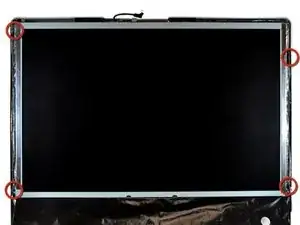
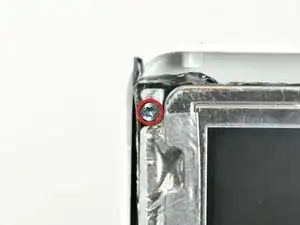
Remove the four 7.5 mm T10 Torx screws securing the display to the rear case.
-
-
-
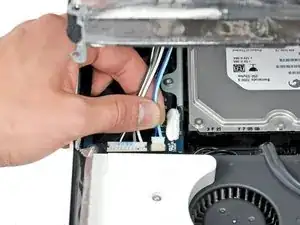
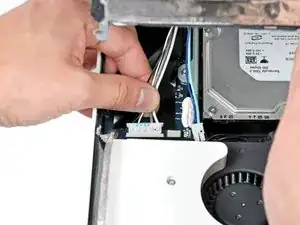
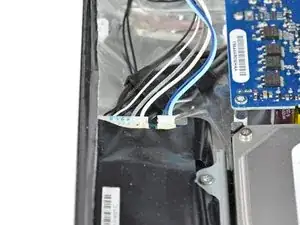
Disconnect the two inverter cables at the top edge of the inverter using the method explained in the previous step.
-
-
-
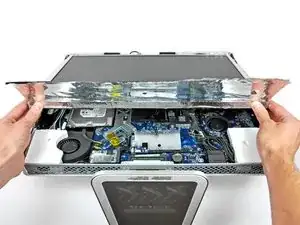
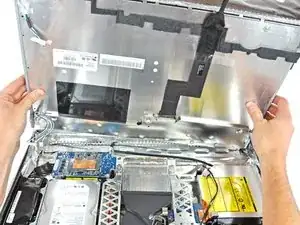
Rotate the display until it is nearly perpendicular to the rear case and lift it up to peel it off the EMI shield stuck to its top edge.
-
-
-
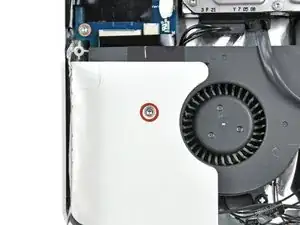
Remove the single T10 Torx screw securing the left speaker to the rear case.
-
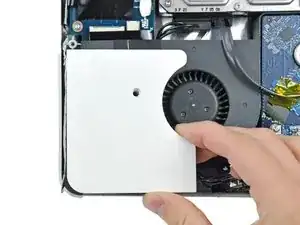
Pull the left speaker out of the rear case.
-
-
-
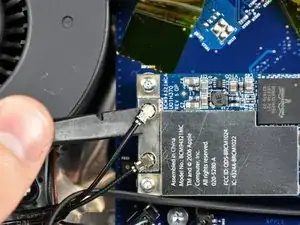
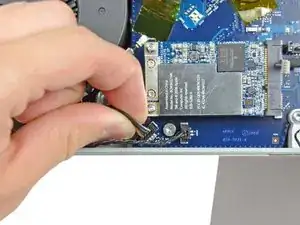
Use the flat end of a spudger to pry both antenna connectors up off the AirPort Extreme card.
-
-
-
Remove the single T10 Torx screw securing the right speaker to the logic board.
-
Lift the right speaker out of the rear case and move it out of the way.
-
-
-
Disconnect the speaker cable connector by lifting it straight up off its socket on the logic board.
-
-
-
Disconnect the HDD fan and power button from the logic board by pulling their connectors straight up off the sockets on the logic board.
-
-
-
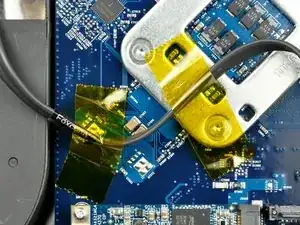
If necessary, remove the pieces of tape holding the SATA data cable to the logic board.
-
Move the SATA data cable away from the face of the logic board.
-
-
-
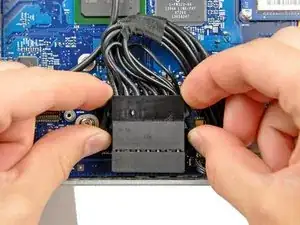
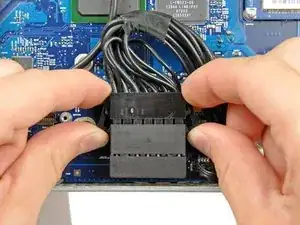
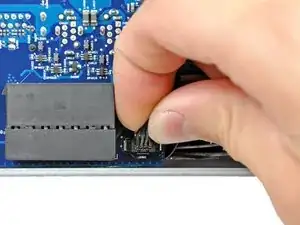
Disconnect the DC-In cable by simultaneously depressing both locking arms and pulling its connector away from the socket on the logic board toward the top of your iMac.
-
-
-
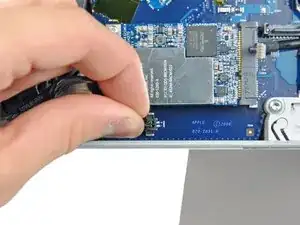
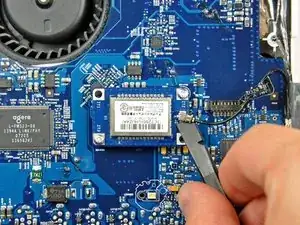
Use the flat end of a spudger to pry the Bluetooth antenna cable connector up off the Bluetooth board.
-
-
-
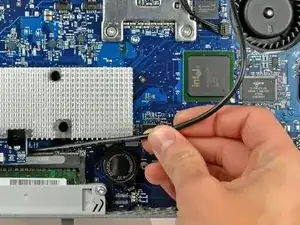
Carefully de-route the IR board cable out from under the IR board and move it out of the way of the logic board.
-
-
-
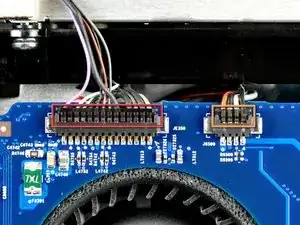
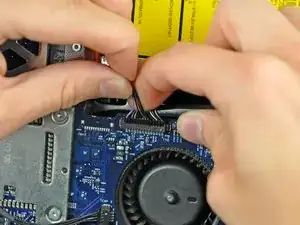
Disconnect the following connectors from the logic board:
-
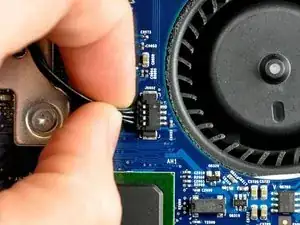
Camera/IR board cable.
-
Optical drive fan.
-
-
-
Disconnect the optical drive thermal sensor cable from the logic board by pulling its connector away from the socket on the logic board.
-
-
-
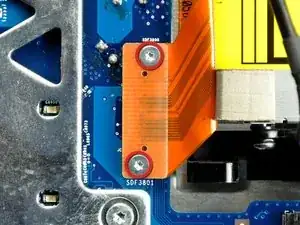
Remove the two T6 Torx screws securing the optical drive ribbon cable connector to the logic board.
-
-
-
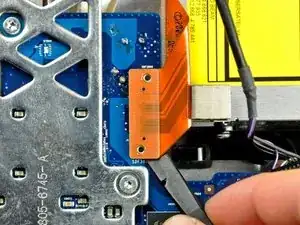
Use the flat end of a spudger to pry the optical drive ribbon cable connector up off the logic board.
-
Bend the optical drive ribbon cable back away from the logic board.
-
-
-
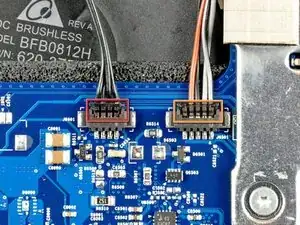
Disconnect the following connectors from the logic board:
-
Hard drive thermal sensor cable.
-
CPU fan cable.
-
-
-
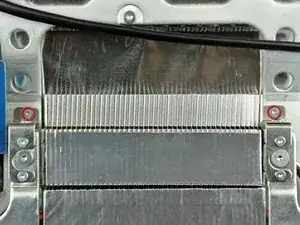
Remove the two T6 Torx screws securing the top of the heat sink framework to the chassis.
-
-
-
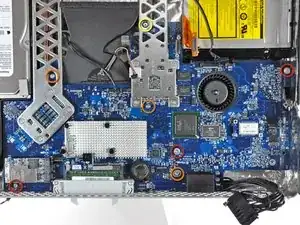
Remove the following seven screws securing the logic board to the rear case:
-
Three coarse-thread T10 Torx.
-
Three fine-thread T10 Torx.
-
One long coarse-thread T10 Torx.
-
-
-
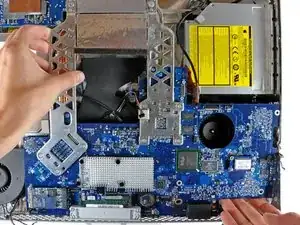
Carefully rotate the top edge of the logic board out of the rear case and lift the board up out of the iMac, minding the RAM arms and any cables that may get caught.
-
-
-
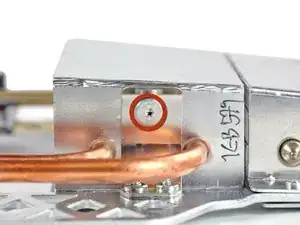
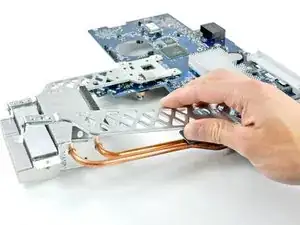
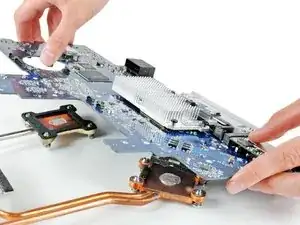
Remove the 6.1 mm T8 Torx screw from both sides of the heat sink nearest the logic board (two screws total).
-
-
-
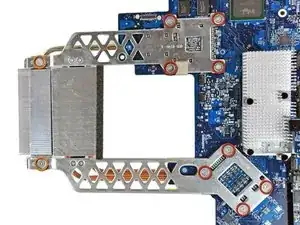
Remove the following ten screws:
-
Eight 7.8 mm T8 Torx.
-
Two 6.1 mm T8 Torx.
-
If the eight screws around the processors refuse to unscrew, use a Phillips screwdriver to hold the lug from the one side of the board while you remove the Torx screw from the other side.
-
-
-
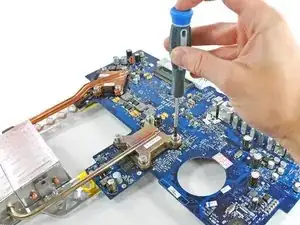
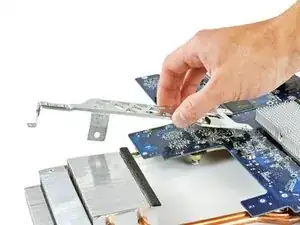
The CPU is mounted in a Zero Insertion Force (ZIF) socket. If you (gently!) try to pull the CPU out of its socket, you will find that it does not budge. You first need to release the chip from the socket. Turn the screw on the CPU socket 180 degrees counter-clockwise to release the old CPU. Then pull up on the CPU chip to remove it.
-
-
-
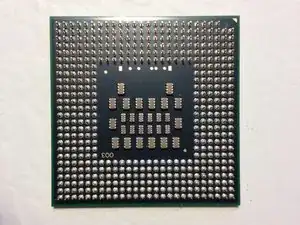
Insert your new CPU into the ZIF socket. Note that two pins are missing from one corner of the grid. Match that corner with the corner of the socket that is missing the corresponding holes. Drop the chip in; it should go in without effort. Rotate the screw on the socket 180 degrees clockwise to lock the new CPU in place.
-
-
-
When reassembling don't forget to scrape off the old thermal paste and apply a new dose. The iFixit guide is good, but I was too cheap/impatient to follow those instructions. Instead I used a q-tip to swab rubbing alcohol on the heat sink and chip tops. Then I put on a dab of leftover heat sink paste that came with a CPU cooler for my PC.
-
-
-
Download the iMac41-iMac51 firmware updater from netkas.org. You have to register (free) before you can see the download. Follow the instructions there to update your firmware. After rebooting, your iMac4,1 now reports that it is an iMac5,1!
-
-
-
Here is a link for purchasing MacOSX 10.7 from the App Store. Wait a few days to receive the download key. The App Store will not let you download the Lion installer on your modified Mac. Download it instead from a newer Macintosh, by clicking the Download button under Purchases. Ignore any warnings. Find the download in /Applications.
-
-
-
Installing Lion on your modified Mac is surprisingly tricky. I used the instructions in posting #8 on this page
-
To reassemble your device, follow these instructions in reverse order.
4 Kommentare
So I basically performed this: https://www.tekrevue.com/stayin-alive-up...
EXCEPT it does NOT boot with the new CPU in it. It is already an iMac 5,1 with the newer Firmware and already recognizes the 4GB of RAM and already has the latest Firmware version as well from Apple. It boots with 10.9.5 on a SSD with all the modified kexts etc. everything works based on what it can do. the CPU is the ONLY variable that causes problems. There is NO boot chime, the fans spin up super fast and loud. There is also NO screen display as well. Attempting to do CMD+OPT+P+R has no effect with the newer T7600 2.33 installed. I even swapped out the RAM module between single installs 1 at a time and in different banks, no change. And I only get 2/3 LED 1&2 of the lights that come on not LED 3. But it does come on with the original CPU. Any thoughts would be greatly appreciated, thanks.
Cory S -
My only experience is with EMC2105, not EMC2118 (I inherited EMC2118 from an existing guide that I leveraged). I wonder what would happen if you downgraded your firmware to an iMac 4,1 and then performed the CPU upgrade procedure. That might work if the firmware installer detects the CPU and does some CPU-specific setup. On the other hand, that would be risky as it might brick your system. I’d probably just live with the slightly slower original iMac 5,1 CPU (T7400 at 2.16 GHz) unless you feel lucky or want to contribute to the collective knowledge.
Will the SSD work with this model instead of original HDD?
vadim10 -
Yes, an SSD will work. There’s even a repair guide (authored by someone else) explaining how to install a new hard drive or SSD. iMac Intel 20" EMC 2105 and 2118 Hard Drive Replacement





Swapping in a new CPU and an SSD took me about 10 hours. I did take a dinner break and spent another hour rooting around in my garage to find my thermal paste. Still, this procedure can take a long time.
gordonhamachi -
Only a french translation proposal. We use to say “démontage” instead of “installation'“ in that specific case. ;-) (Dismantling)
francis barbier -