Einleitung
Um das Display am iMac Intel 21,5 " EMC 2638 auszutauschen benötigst du ein spezielles iMac Opening Tool.
Werkzeuge
Ersatzteile
-
-
Wenn du die iFixit-Reparaturhilfe aus Karton verwendest, dann baue sie zuerst mit Hilfe dieser Anleitung zusammen.
-
Bevor du beginnst an deinem iMac zu arbeiten: Ziehe den Netzstecker, drücke und halte den Ausschaltknopf für mindestens zehn Sekunden. Dadurch werden die Kondensatoren im Netzteil entladen.
-
-
-
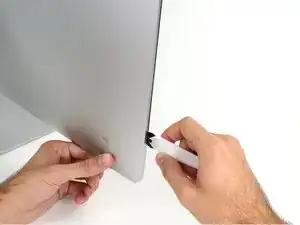
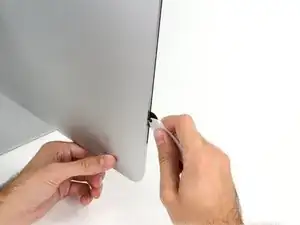
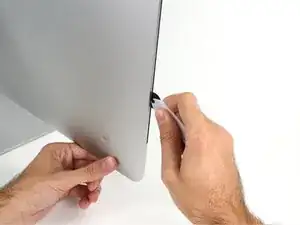
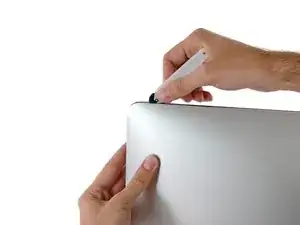
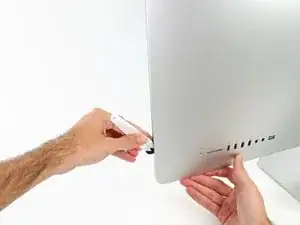
Setze das iMac Opening Tool an der linken Seite des Displays, in der Nähe des An/Aus Schalters beginnend, in die Spalte zwischen Glaspanel und Rückgehäuse ein.
-
-
-
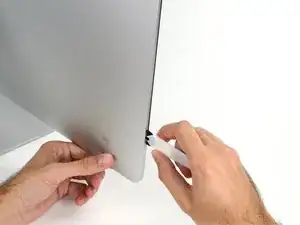
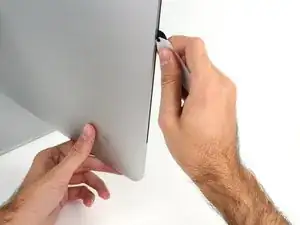
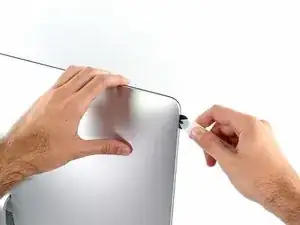
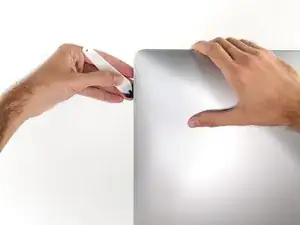
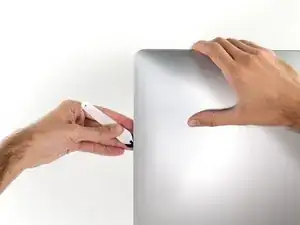
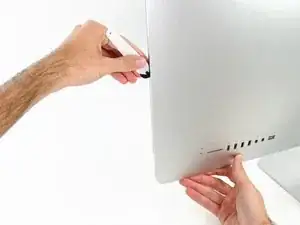
Benutze es wie einen Pizzaschneider - Rolle es entlang des Spalts und trenne dabei den Klebeschaum in der Mitte.
-
Lasse das Werkzeug die linke Seite des Displays entlang laufen.
-
-
-
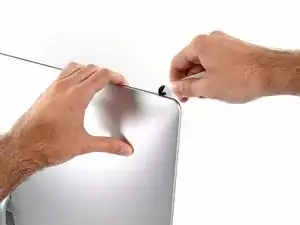
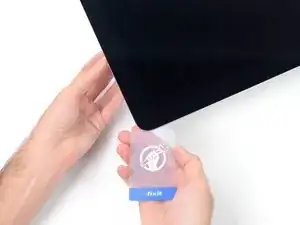
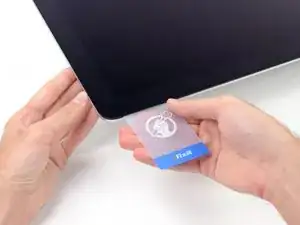
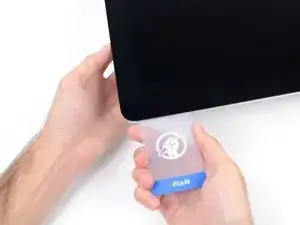
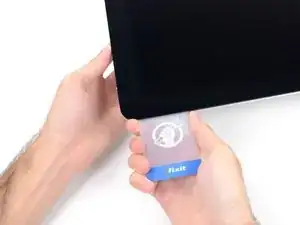
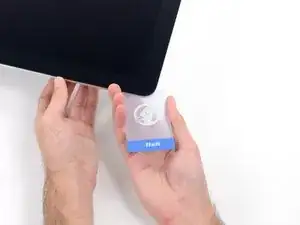
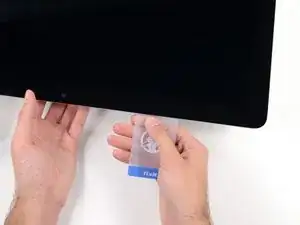
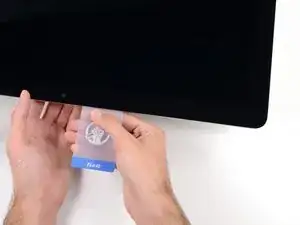
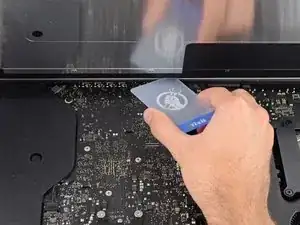
Beginne in der oberen rechten Ecke und zwänge eine Plastikkarte zwischen Display und Rahmen.
-
-
-
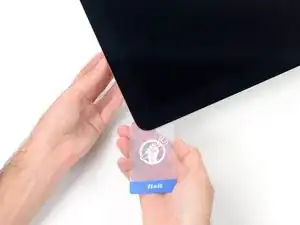
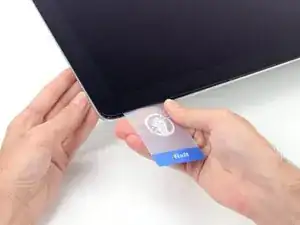
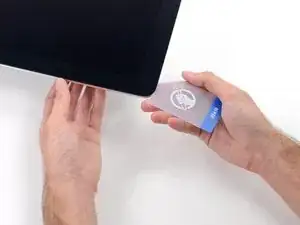
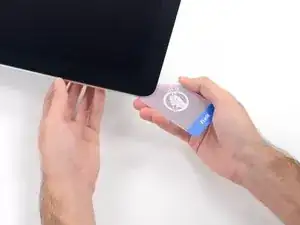
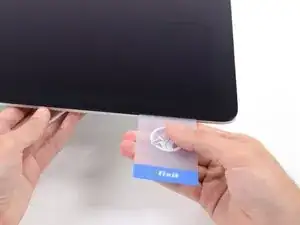
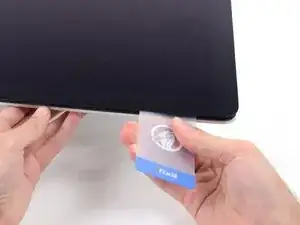
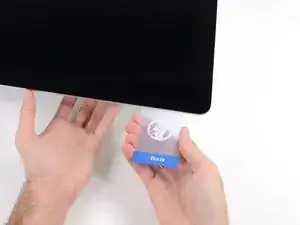
Verdrehe die Plastikkarte seitlich und vergrößere so den Spalt zwischen Display und Rahmen.
-
Bewege die Karte vorsichtig und langsam, damit das Displayglas nicht zu stark belastet wird - du brauchst nur einen Spalt von etwa 6 mm Breite zu öffnen.
-
-
-
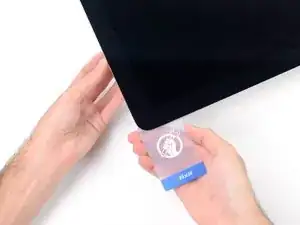
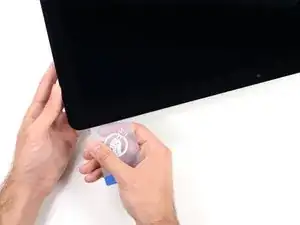
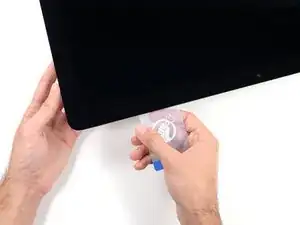
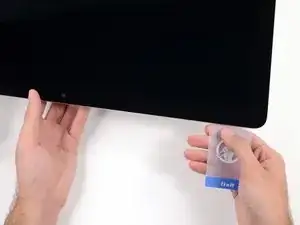
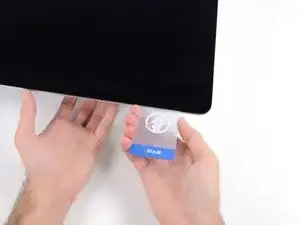
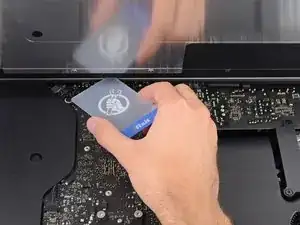
Schiebe die Karte zur Mitte des Displays hin und schneide so allen Kleber an der rechten oberen Ecke des iMac auf.
-
-
-
Zwänge die Plastikkarte erneut in die obere rechte Ecke ein und lasse sie dort stecken. Damit verhinderst du, dass sich die Teile wieder verkleben.
-
-
-
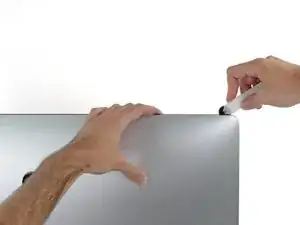
Setze eine zweite Plastikkarte an der oberen linken Ecke des iMac in den Spalt zwischen Rahmen und Display ein.
-
-
-
Verdrehe die Karte nach oben, vergrößerte so den Spalt zwischen Rahmen und Display ein wenig.
-
-
-
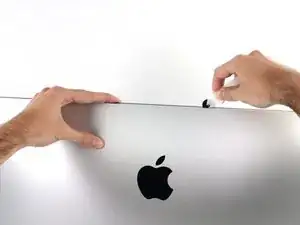
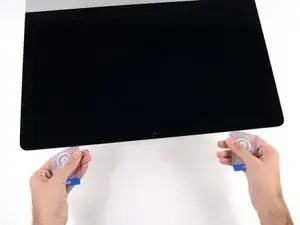
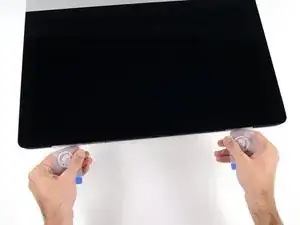
Verdrehe nun beide Karten seitlich, wie im Bild zu sehen an den Ecken eingesetzt, und vergrößere den Spalt zwischen Gehäuse und Display.
-
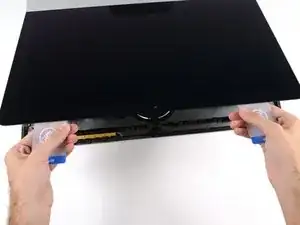
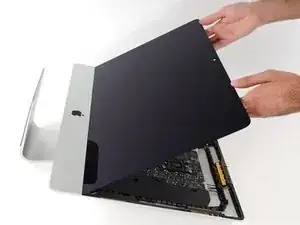
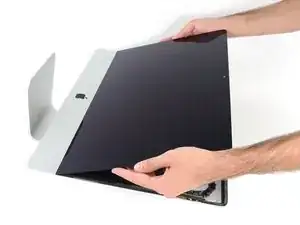
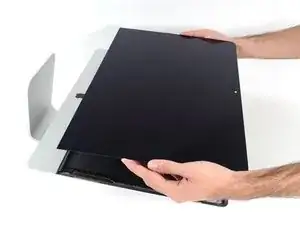
Fange an, die Oberkante des Displays vom Rahmen weg zu heben.
-
-
-
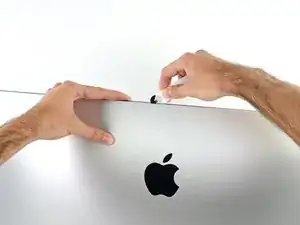
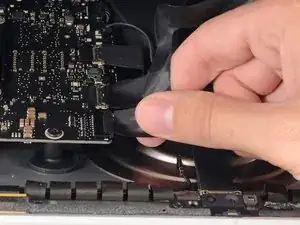
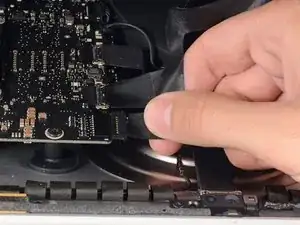
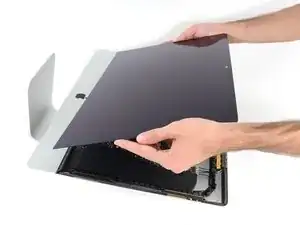
Während du das Display mit einer Hand nach oben hältst, trenne mit der anderen Hand das Stromkabel des Displays.
-
-
-
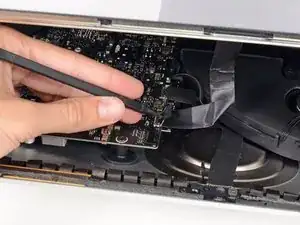
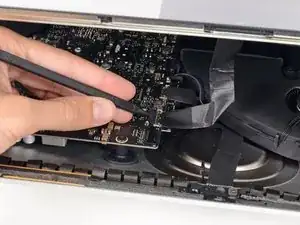
Klappe die Metalllasche am Anschluss des Display-Datenkabels mit einem Spudger hoch.
-
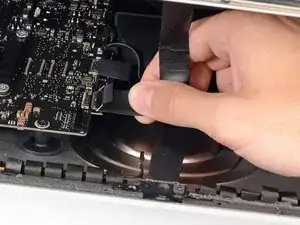
Ziehe das Display-Datenkabel vorsichtig aus seinem Sockel auf dem Logic Board.
-
-
-
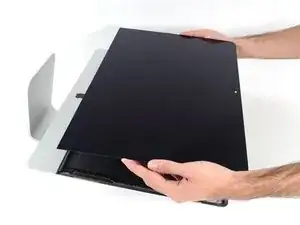
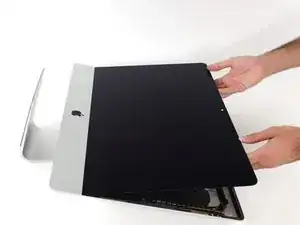
Hebe das Display nach oben aus dem Rahmen und entferne es aus dem iMac heraus.
-
Möglicherweise musst du an einer Seite anfangen, das Display langsam anzuheben, um den Rest des Klebebandes zu lösen.
-
Um dein Gerät wieder zusammenzusetzen, folge den Schritten in umgekehrter Reihenfolge.
5 Kommentare
I just broke mine... when i put inside the master card.... :(((( how to proceed? its a screen not a glass - need to repair whole screen from apple.... i was trying to put ssd drive inside...
Сracks only at the edge in one place and its work but :(((((( how can get in now???
Anushka -
Hi, where can I buy a replacement display for my iMac EMC 2742 (2742 is the same as 2638, I assume?)...Thanks so much!
Cameron -
I put off replacing my hdd with an ssd on my late 2013 iMac because it looked a bit tricky. This guide and an iMac opening tool made the job really strait-forward. Just be gentle and patient and the screen comes off with very little bother. Thanks ifixit!
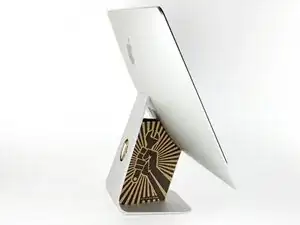






The wedge is an extremely tight fit for this model. I was worried that the amount of force needed to use it as shown might damage the stand, so I used it with the long side down instead. It worked fine that way and didn’t need anywhere near as much force to insert.
roberttrevellyan -
Here’s a good YouTube vid on upgrading the RAM: Can a Normal Person Upgrade the RAM in the 2017 21.5" iMac?
Dan -
Here are a couple tips from me:
1) Expose the adhesive to extreme temperatures. I did this by transporting my iMac in my car, screen-down on a piece of cardboard on a cold February morning (in Chicago). When I went to pick up the iMac, the screen practically fell off the chassis. I would have been distraught by this if I hadn’t already planned this replacement. So it was a happy accident.
2) Remember to expell the residual power from the power supply by pushing the power button while the iMac is unplugged. This does NOT guarantee it’s safe to touch, but when I accidentally brushed the solder and exposed capacitors, I didn’t get shocked.
jerrid_foiles -
Instead of using the wedge, I placed the iMac faced up with the top side (web cam) facing me while I ran the pizza roller around. It worked out great!
Sam Fung -
“All iMacs also come with a traditional hard drive” mine doesn’t!! it’s HDD bay is completely empty, no SATA cable or anything. I guess I’ll have to upgrade the PCIe SSD instead.
Chris Hughes -
There is no replacement glass for this model, it is part of the LCD and impossible to remove or replace- the entire LCD has to be replaced unfortunately if the glass is cracked or damaged. You will have to Google search for a replacement. Also be careful with some of the lock tight tork screws as I broke one of my screw mounts taking one out.
Phil Tesone -
I used this service wedge but also found it a very tight fit. The same stabilization can be achieved by using a big rolled up towel.
Ernst -
While this is a good instruction guide, I recommend to also look at OWC’s instruction video about drive installation, before starting the exercise. Those install videos are very detailed and useful.
Ernst -
Main advice: TAKE YOUR TIME with the pizza roller.
Make several passes, until you really feel like there's no more sticker in the way. Stay away from the camera though (approx. 1inch / 2.5cm on both sides). This will reduce the work left with the plastic card. Adhesive is really on the edge of the screen so there is absolutely no need to go any further than the recommended 1cm / 3/8inch depth.
Where are the sensitive parts?
Facing your iMac, imagine you're looking at a watch. There are antennas on 1, 2 and 4 o'clock. Do not insert any metal piece there (nor anywhere else, btw). Other than that AND the screen cables underneath the camera, not much danger.
Froggy Manny -