Einleitung

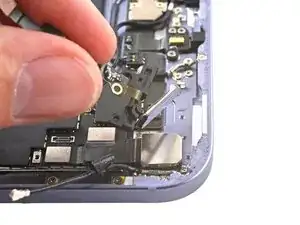
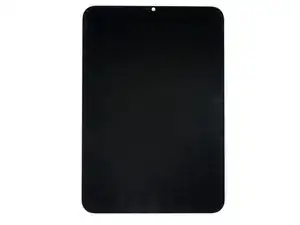
Use this guide to replace the power button in your iPad mini 6.

You'll need replacement adhesive in order to complete this repair.

  1. tRdI2UIft2qxOFIN
    tRdI2UIft2qxOFIN
    5RBFjAKwPDlb4xeD
    6CI34V1KjOV1jdDS
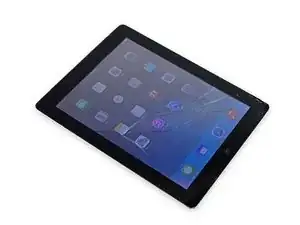
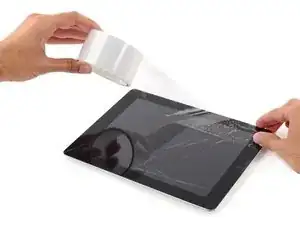
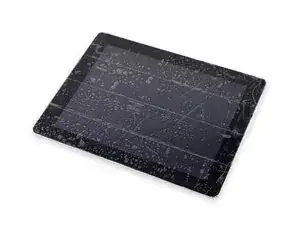
    • If your display glass is cracked, keep further breakage contained and prevent bodily harm during your repair by taping the glass.

    • Lay overlapping strips of clear packing tape over the iPad's display until the whole face is covered.

    • This will keep glass shards contained and provide structural integrity when prying and lifting the display.

    • Do your best to follow the rest of the guide as described. However, once the glass is broken, it will likely continue to crack as you work, and you may need to use a metal prying tool to scoop the glass out.

    • Wear safety glasses to protect your eyes, and be careful not to damage the LCD screen.

  2. 6f5cwYWXuWWJVaNf
    • Completely power off your device before you begin.

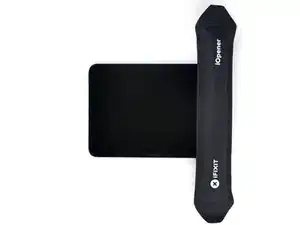
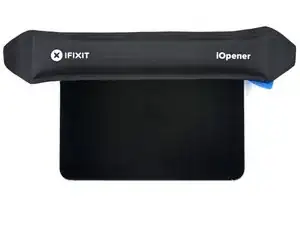
    • Apply a heated iOpener to the bottom edge of the device for 90 seconds to loosen the adhesive underneath.

    • A hair dryer, heat gun, or hot plate may also be used, but be careful not to overheat the device.

  3. CBTrHGelQq1MAPGs
    CBTrHGelQq1MAPGs
    IkfCqHSn1SUQlMDY
    GvxCyBLMGkKcVxeS
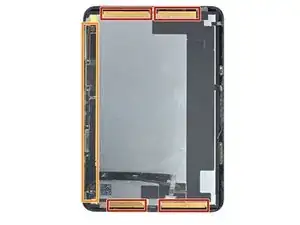
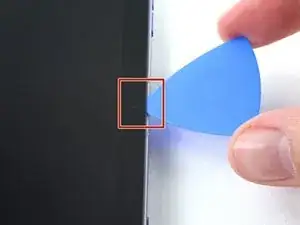
    • While you're waiting for the adhesive to loosen, note the following:

    • The areas at the top and bottom of the screen are sensitive to prying.

    • Don't insert a pick more than 3 mm to avoid damaging the screen.

    • There's a long circuit board attached to the screen that sits parallel to the left edge.

    • Don't insert a pick more than 1.5 mm to avoid damaging the circuit board.

    • The first two images are mirrored for demonstration purposes.

  4. jBRmI2AmLGgNjBv6
    jBRmI2AmLGgNjBv6
    GnTGI4S6ZKU6ETlp
    nQNNHljOKMZKNSYM
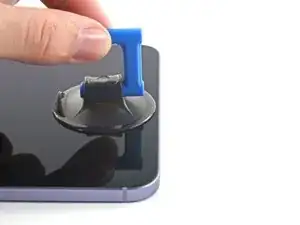
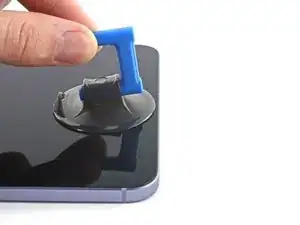
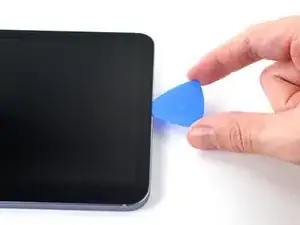
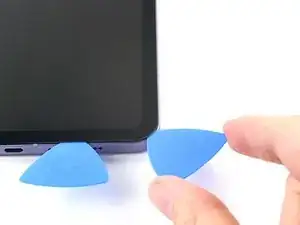
    • Once the screen is warm to touch, apply a suction handle to the bottom edge of the screen and as close to the edge as possible.

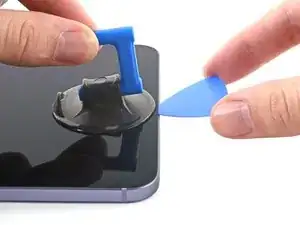
    • Lift the screen with the suction handle to create a small gap between the screen and the frame.

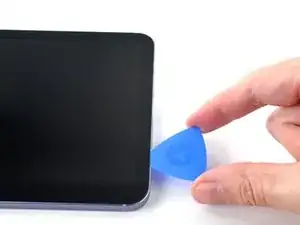
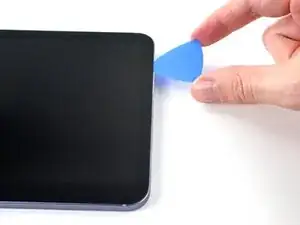
    • Insert an opening pick into the gap between the frame and the screen.

    • Don't insert the pick more than 1.5 mm to avoid damaging the circuit board.

    • Leave the opening pick in place to prevent the adhesive from resealing.

  5. Yy31n4MZH6DCFnog
    Yy31n4MZH6DCFnog
    sk2hXaBWoM3Emufi
    RSsTTuhxIrgNSZAF
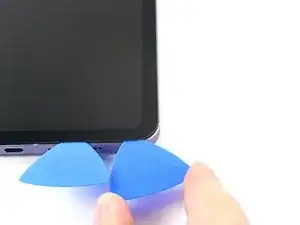
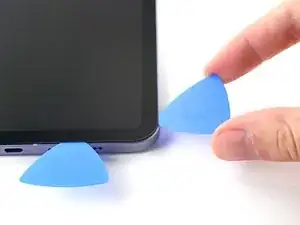
    • Slide the pick along the bottom edge of the device towards the bottom-right corner.

    • Leave the pick in to prevent the adhesive from resealing.

  6. 1tusVFsCodAyPUEf
    • Apply a heated iOpener to the right edge of the device for 90 seconds to loosen the adhesive underneath.

  7. Qacb1FfcaIO2Qqq4
    Qacb1FfcaIO2Qqq4
    qYlCMwyDKpONbAGZ
    JUoBTfYToMQrrZeP
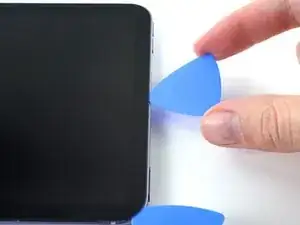
    • Rotate the opening pick around the bottom-right corner of the device.

  8. ELYsAYihRWkRiIWS
    ELYsAYihRWkRiIWS
    akKValC6eG1NuCAS
    • Repeat the heating, slicing, and leaving opening picks for the remaining edges of the device.

    • When you slice near the front camera, don't insert the pick more than 1.5 mm to avoid damaging or smearing the camera.

  9. 4cybPPJSiBHZLPiq
    4cybPPJSiBHZLPiq
    ljyFfa3HWtE4YqyO
    xKFHDbltjZqmNa5X
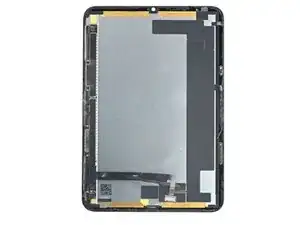
    • If there's still resistance around the edges of the screen, use an opening pick to cut the adhesive again.

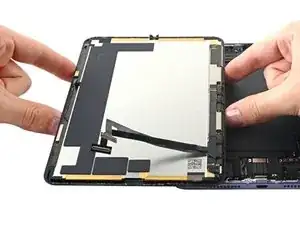
    • Don't try to remove the screen all the way yet; it's still connected to the frame by a flex cable.

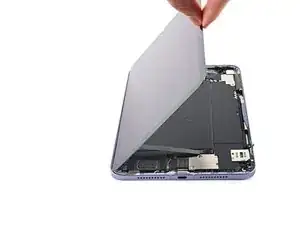
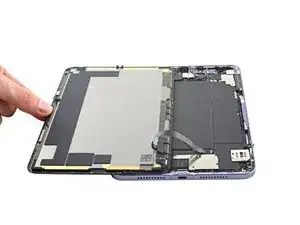
    • With the bottom of the device facing you, pull the right edge of the screen up and towards the left edge of the device.

    • Rest the screen upside down and parallel to the frame before continuing.

    • Don't twist the screen or move it too far away from the frame to avoid damaging the flex cable.

  10. 5xEK6Uho1fHoHDII
    5xEK6Uho1fHoHDII
    dFV5DMj6H2MEuudx
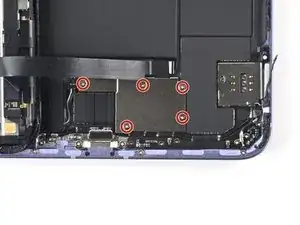
    • Use a Phillips #000 screwdriver to remove the five 1.2 mm-long screws securing the frame bracket to the frame.

  11. 5ifUFrAhO2DVovhN
    5ifUFrAhO2DVovhN
    2IUrmAYGHZo1uACo
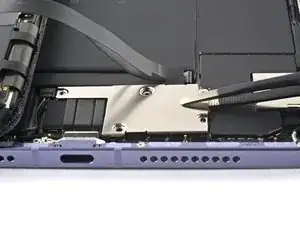
    • Use tweezers, or your fingers, to remove the display cable bracket from the frame.

  12. iolrKrQL6EwoL1xL
    iolrKrQL6EwoL1xL
    doepJNDiO2mfMasD
    LUGFReutdZ1DWmWt
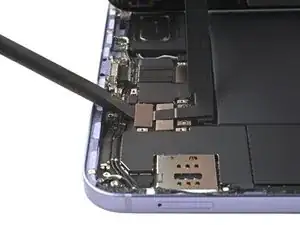
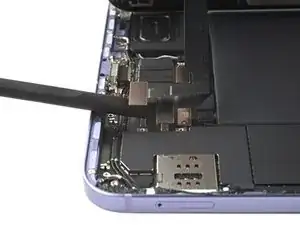
    • Use the flat end of a spudger to pry up and disconnect the display cable's two press connectors secured to the frame.

  13. nxKsX1upNNxxIkeC
    nxKsX1upNNxxIkeC
    xJYapfWHKQjsfVJM
    • Remove the screen from the frame.

  14. lmpMqgonTXLcxvYk
    lmpMqgonTXLcxvYk
    VSTaOSXXsvJUxOST
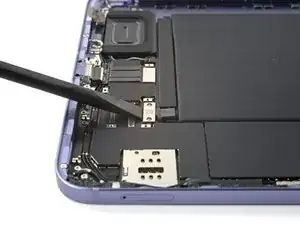
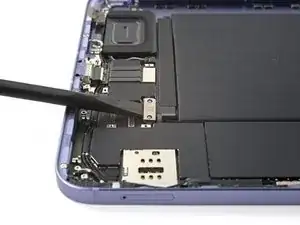
    • The the flat end of a spudger to pry up and disconnect the battery's press connector secured to the frame.

    • To re-attach press connectors like this one, carefully align and press down on one side until it clicks into place, then repeat on the other side. Do not press down on the middle. If the connector is misaligned, the pins can bend, causing permanent damage.

  15. y4EZM5qkVY3VoTVU
    y4EZM5qkVY3VoTVU
    Tve2pyJqJipYV6fL
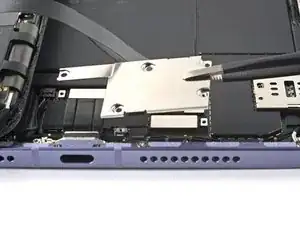
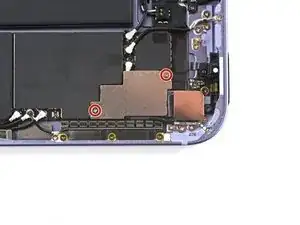
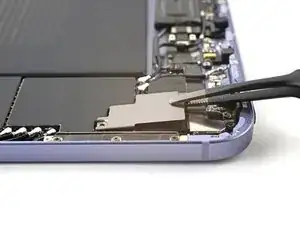
    • Use a Phillips #000 screwdriver to remove the two 1.2 mm screws securing the rear camera shield to the frame.

  16. XOIHmIabdZDRlfRR
    XOIHmIabdZDRlfRR
    6aMbr6oYZUdJOgWL
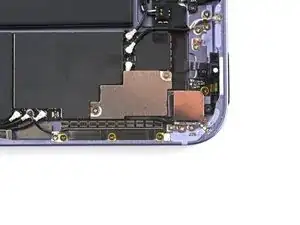
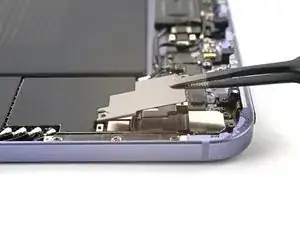
    • Use tweezers, or your fingers, to remove the rear camera shield.

  17. xBQKCkhUdFNaSRFt
    xBQKCkhUdFNaSRFt
    v4kYhFWFmxfCRfZP
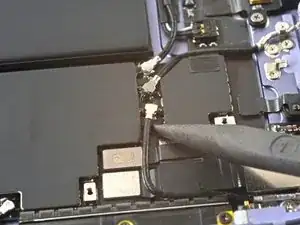
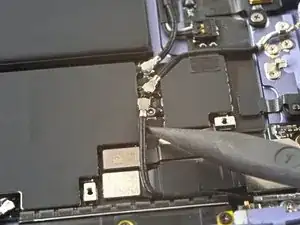
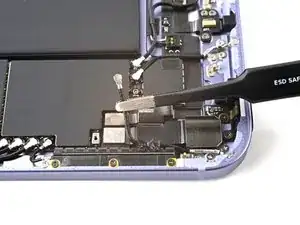
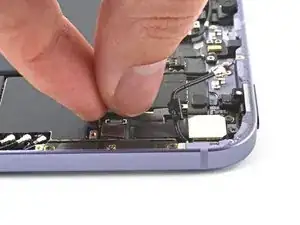
    • Use the tip of a spudger to pry up and disconnect the antenna's coaxial cable.

    • During reassembly, these can be tricky to reconnect. Hold each connector in place over its socket and press down with the flat end of a spudger. The connector should snap into place.

  18. xyIZJ5Y2iNGjm4J2
    xyIZJ5Y2iNGjm4J2
    u1ToLHi2dVckc1tW
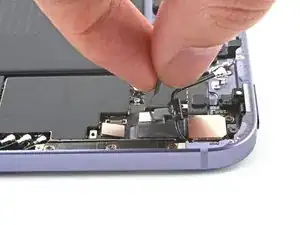
    • Use tweezers, or your fingers, to pull the coaxial cable away from the frame, making sure to separate the tape keeping it in place.

  19. pEC5TI2IeUt2JSQu
    pEC5TI2IeUt2JSQu
    HFwwLeBM2nZNAbYC
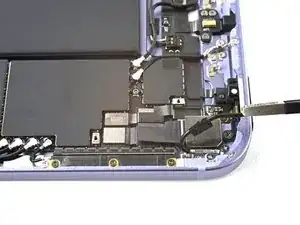
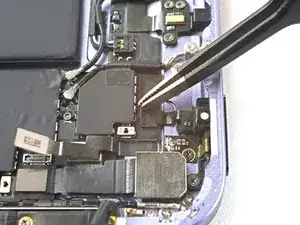
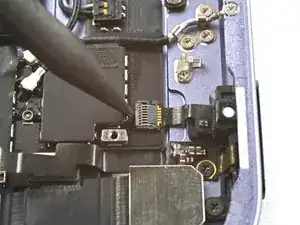
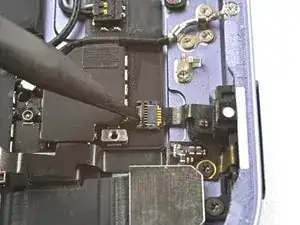
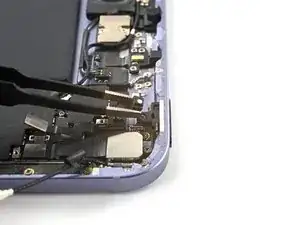
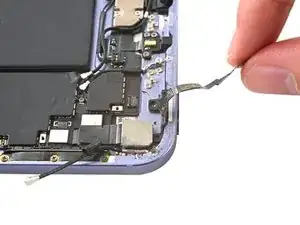
    • Use the tip of a spudger to pry up and disconnect the power button board's press connector.

  20. XYuu3QDXOmYUSYIx
    XYuu3QDXOmYUSYIx
    hpJsMVHqlLGdSn3I
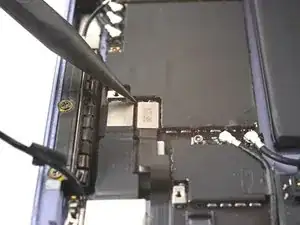
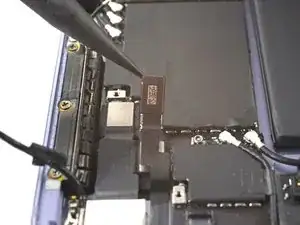
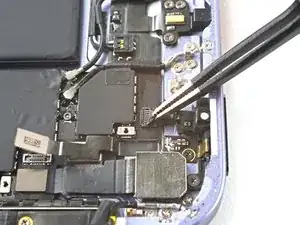
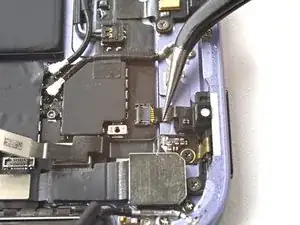
    • The power button board's cable is lightly adhered to the rear camera's press connector.

    • Gently peel back on the power button board's cable to separate it from the rear camera's press connector.

  21. TEDJDYYp3TNkwGhE
    TEDJDYYp3TNkwGhE
    MAwyGMWPYYDXXI6P
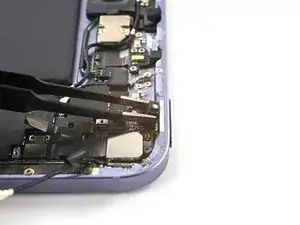
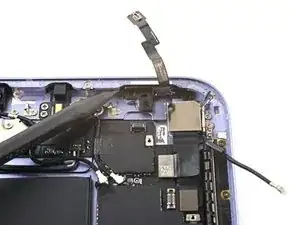
    • Use tweezers, or your fingers, to remove the black tape on top of the power button board's ZIF connector.

  22. GV3pGVCDdrUfARNx
    GV3pGVCDdrUfARNx
    uHIOYKtAcImWJxqv
    • Use a spudger, an opening tool, or your fingernail to flip up the small, hinged locking flap on the power button board cable's ZIF connector.

  23. 3vuIFmXTiJ3jPmSM
    3vuIFmXTiJ3jPmSM
    a6amMSsmVTXZ6vvb
    • Use a pair of tweezers to pull the power button board's cable straight out of its ZIF connector on the frame.

  24. LO2OoECDRdSSsOgK
    LO2OoECDRdSSsOgK
    tkutuXBwUbl6WLRq
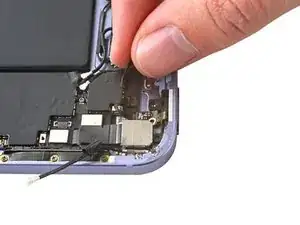
    • Use tweezer, or your fingers, to remove the power button cable from the frame.

    • Since the cable is lightly adhered to the frame, you may feel some resistance.

  25. GZyPdSWMTmm6IABx
    GZyPdSWMTmm6IABx
    hc3EvObRDbf2MGYN
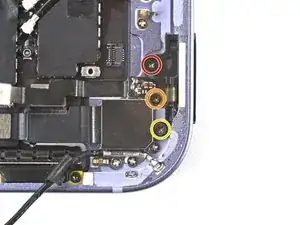
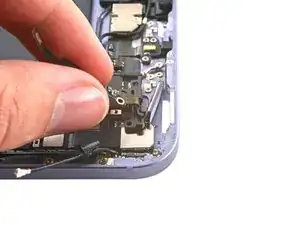
    • Use a Phillips #000 screwdriver to remove the three screws securing the power button board to the frame:

    • One 2.2 mm screw

    • One 1.4 mm screw

    • One 1.7 mm screw

  26. vsCW2AY5BnUHNJeV
    vsCW2AY5BnUHNJeV
    2tHlNFy6kQwjFLcW
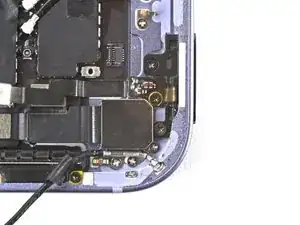
    • The power button board is lightly adhered to the frame.

    • Gently peel back on the power button board to separate its adhesive.

  27. P6POwIbMZD4UBxRa
    P6POwIbMZD4UBxRa
    TQPDoekOSdKytgrV
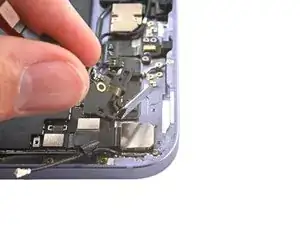
    • Insert the tip of a spudger between the power button and the frame.

    • Pry sideways to separate the power button from the frame.

  28. VygnTnd5FKkElnog
    VygnTnd5FKkElnog
    jrOOFtsfBnGESWU3
    • Remove the power button.

Abschluss

To reassemble your device, follow these instructions in reverse order.

Compare your new replacement part to the original part—you may need to transfer remaining components or remove adhesive backings from the new part before you install it.

Repair didn’t go as planned? Try some basic troubleshooting, or ask our iPad mini 6 Answers community for help.

Alex Diaz-Kokaisl

Mitglied seit: 16/01/22

69204 Reputation

Ein Kommentar

Does changing the button disable Touch ID?

Alex -