Einleitung

Use this guide to replace the top speaker in your iPad mini 6.

This is a prerequisite-only guide! This guide is part of another procedure and is not meant to be used alone.

There is a significant chance that you may break the unreinforced and fragile display panel during this procedure. Be sure to apply plenty of heat and be extremely careful during the prying stage.

You'll need replacement adhesive in order to complete this repair.

  1. VvA61vJFRiaYKiYM
    VvA61vJFRiaYKiYM
    P3HHWXdi2UWi4MSY
    • The next 11 steps will show how to remove the top speaker.

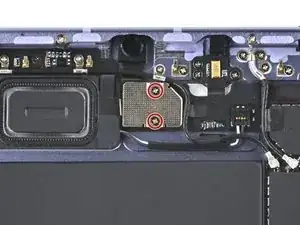
    • Use a Phillips #000 screwdriver to remove the two 1.2 mm screws securing the front camera shield to the frame.

  2. saCvOGhcaINAkvSx
    saCvOGhcaINAkvSx
    dbMjBQN6ohZXdgqJ
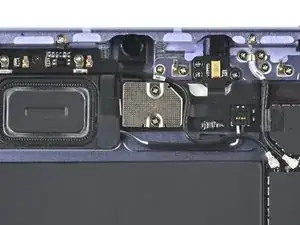
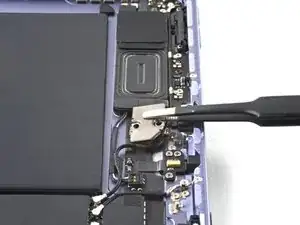
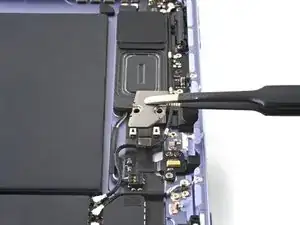
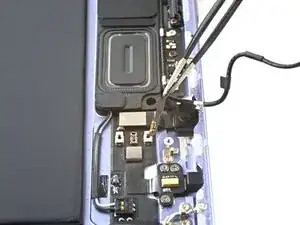
    • Use tweezers, or your fingers, to remove the front camera shield.

  3. hx2UUWuZ1SBG1nKI
    hx2UUWuZ1SBG1nKI
    QLsdERTBYdZbLGnp
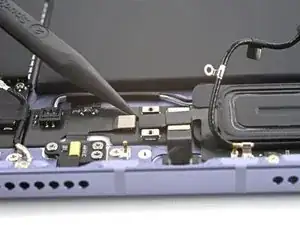
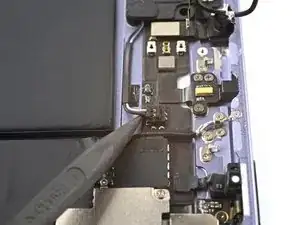
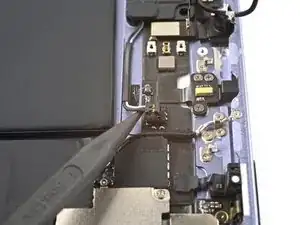
    • Use a spudger to pry up and disconnect the volume button board's press connector secured to the frame.

  4. mZZIChYiYWKdKjTc
    mZZIChYiYWKdKjTc
    UuWA6JleaReN3KQ4
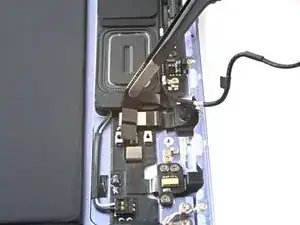
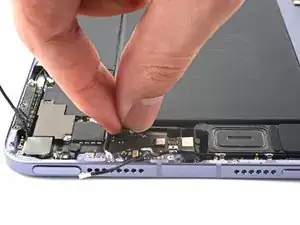
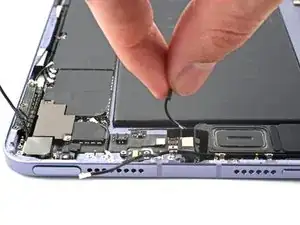
    • Use tweezers, or your fingers, to peel back the volume button board's cable from the top speaker.

  5. OZrMOOS2uTX36IjH
    OZrMOOS2uTX36IjH
    UNNvYBCwhUj3FJpX
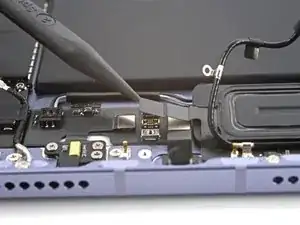
    • Use the point of spudger to pry up and disconnect the top speaker's cable.

    • Be very careful when performing this step; apply equal force to both cords to prevent any damage to the connector.

  6. nySBOUJOkoq3QpWt
    nySBOUJOkoq3QpWt
    elIMBReAB4RIQJkF
    • The top speaker's cable is lightly adhered to the frame.

    • Gently peel back the cable to separate it from the frame.

  7. CGCLwiSgeTqXmYXr
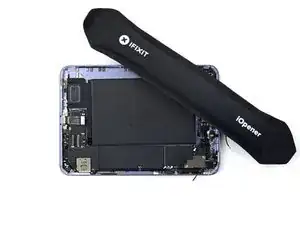
    • Apply a heated iOpener to the top-left edge of the device for 90 seconds to loosen the top speaker's adhesive.

  8. dASwPkDcYHjNGpXA
    dASwPkDcYHjNGpXA
    oVhHOubHGXsSjtke
    • While you're waiting for the adhesive to loosen, note the following:

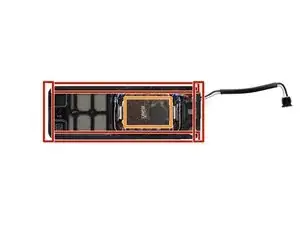
    • Adhesive is located around the perimeter of the speaker.

    • Insert a pick 2 mm to separate this adhesive.

    • Adhesive is also located in the center of the speaker.

    • Insert a pick 7 mm to separate this adhesive.

  9. eKAAPxVgWKTfmVcJ
    eKAAPxVgWKTfmVcJ
    JEJUCjhQytmVPRyJ
    xSZVmNFaR42esSIZ
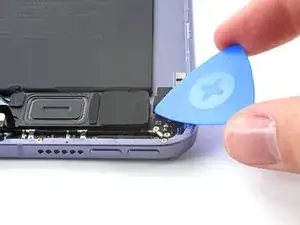
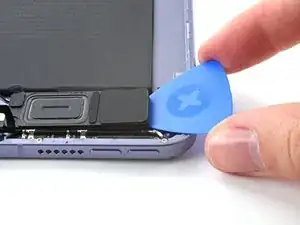
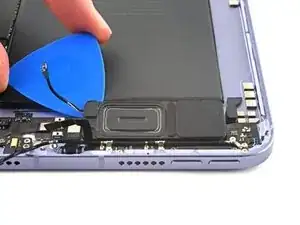
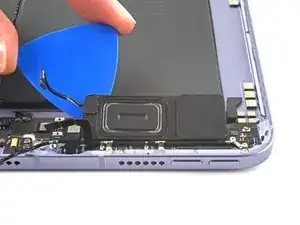
    • Insert an opening pick between the top speaker and the frame.

    • Insert the pick at least 7 mm to separate the center adhesive.

  10. PkEvt4YB3SPePACu
    PkEvt4YB3SPePACu
    I4o3WqkeBbhvCQjU
    KVGipZeNEUKODD2M
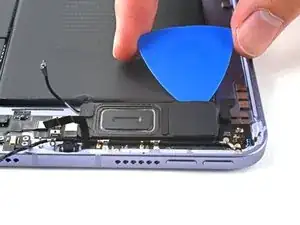
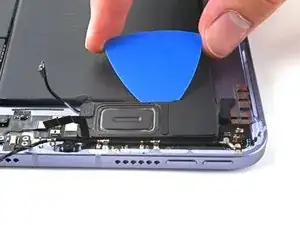
    • Slice along the perimeter of the top speaker to separate the adhesive.

  11. WhZTxtigrtEMlIZZ
    WhZTxtigrtEMlIZZ
    TPvGYvPDXyZZQC4B
    VFxMnfo6QPXe3y3l
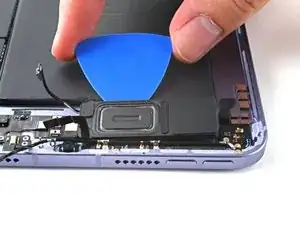
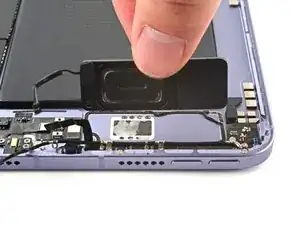
    • At this point, the perimeter of the speaker should be separated from the frame. If there's still resistance around the edges of the speaker, use an opening pick to cut the adhesive again.

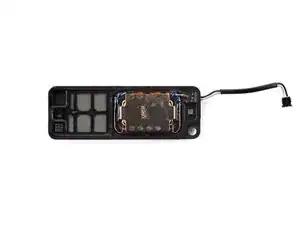
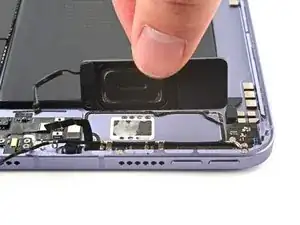
    • Pry up with the opening pick to completely separate the top speaker from the frame.

    • Remove the top speaker.

Abschluss

To reassemble your device, follow these instructions in reverse order.
Alex Diaz-Kokaisl

Mitglied seit: 16/01/22

69204 Reputation

0 Kommentare