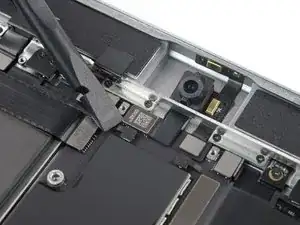
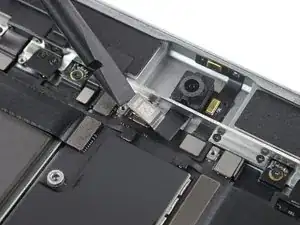
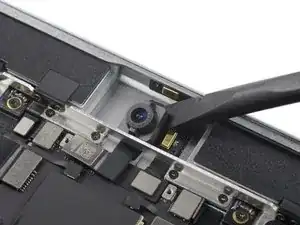
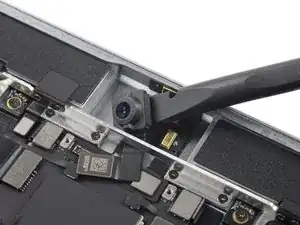
Einleitung
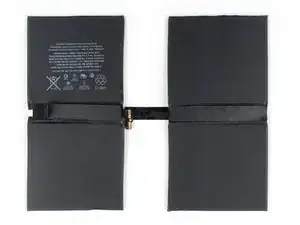
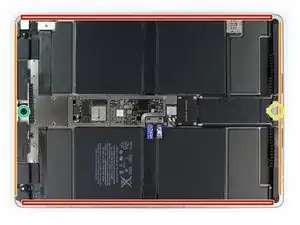
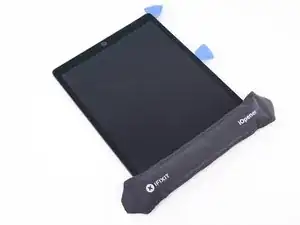
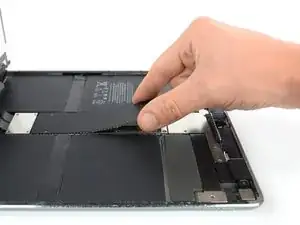
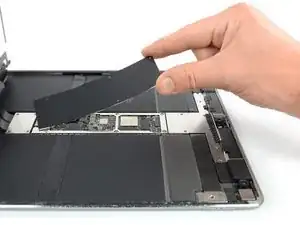
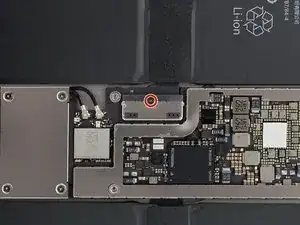
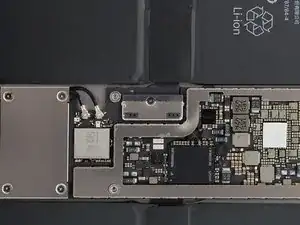
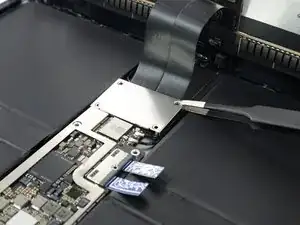
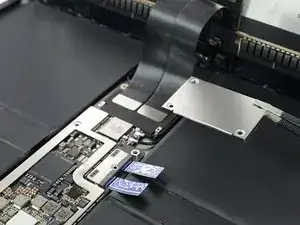
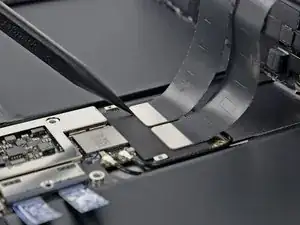
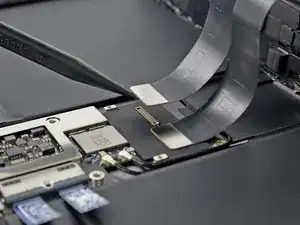
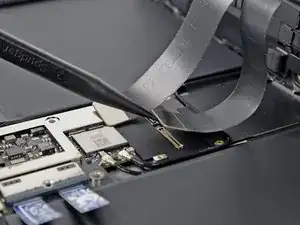
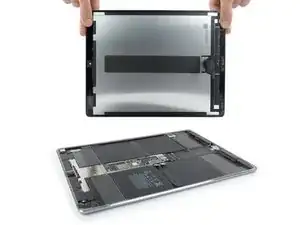
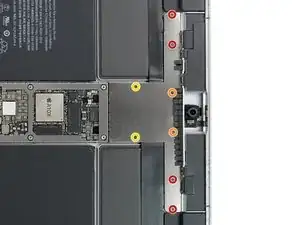
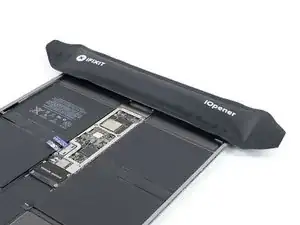
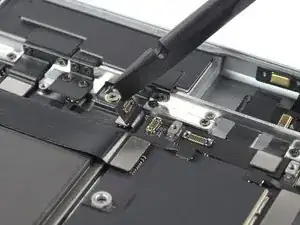
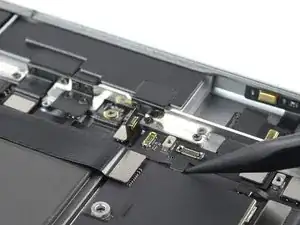
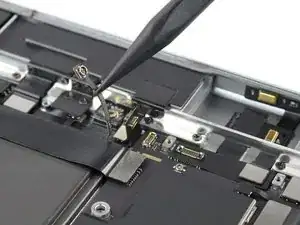
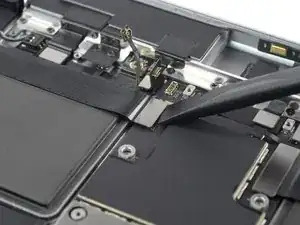
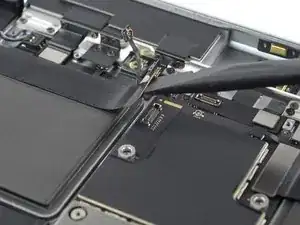
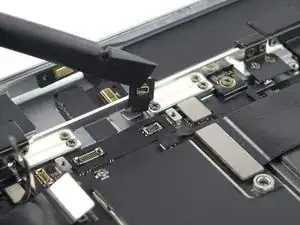
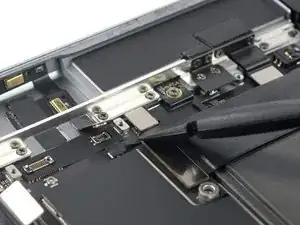
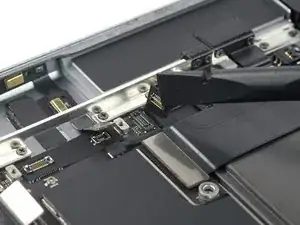
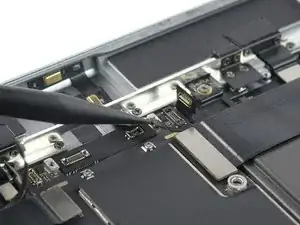
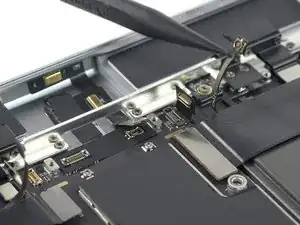
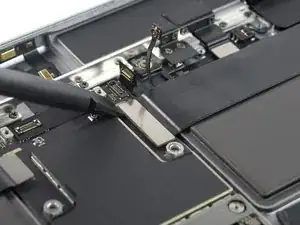
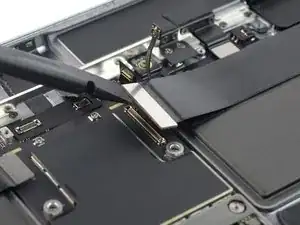
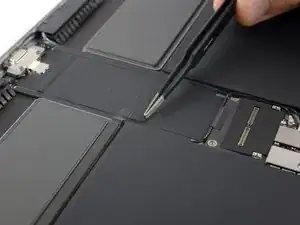
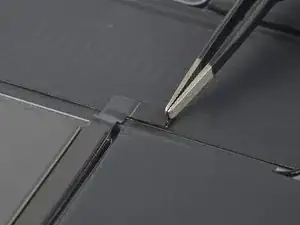
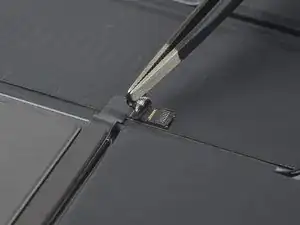
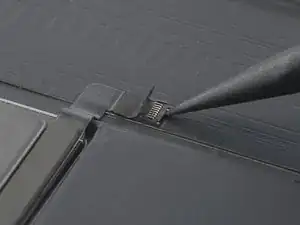
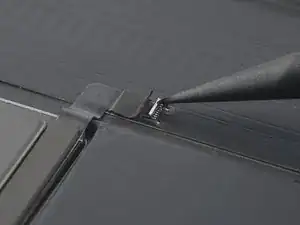
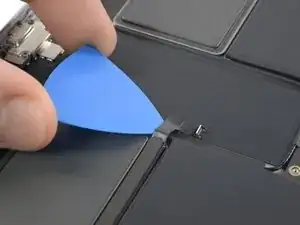
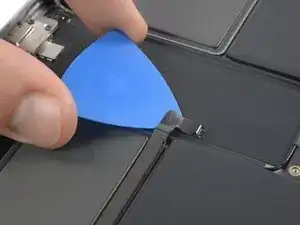
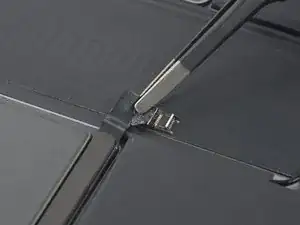
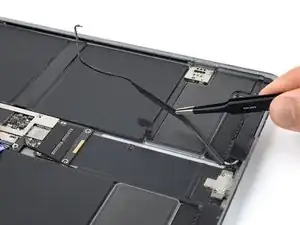
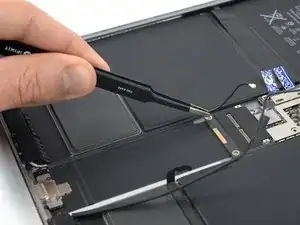
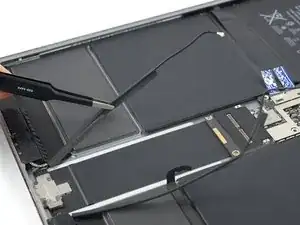
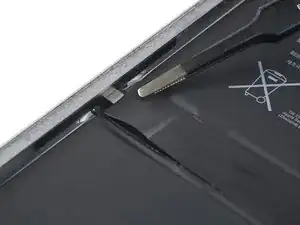
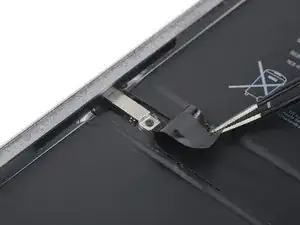
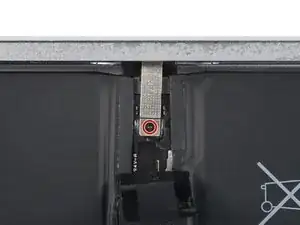
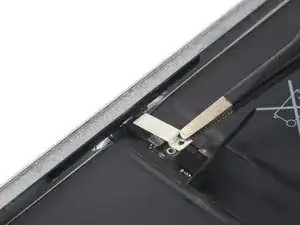
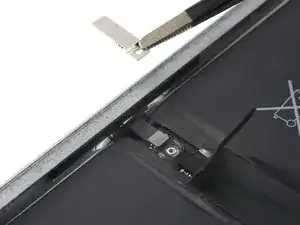
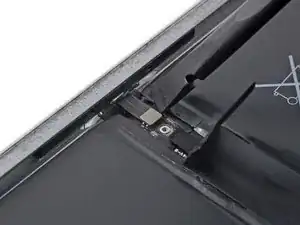
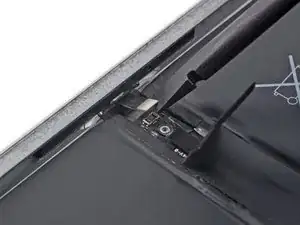
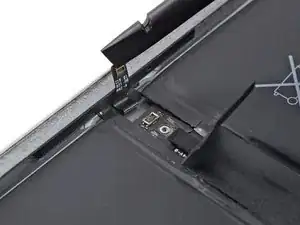
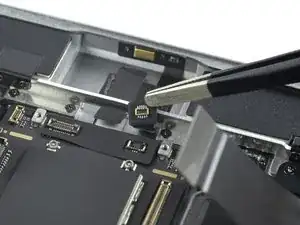
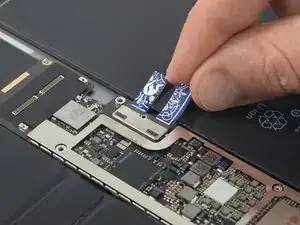
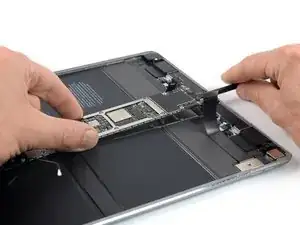
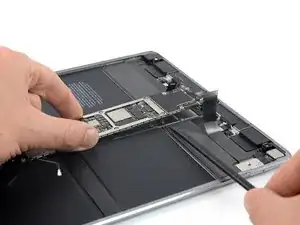
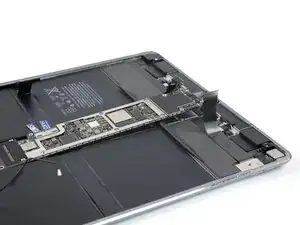
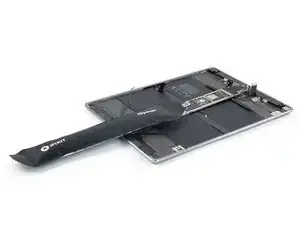
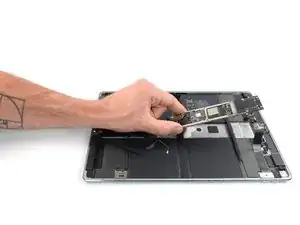
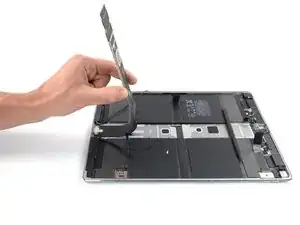
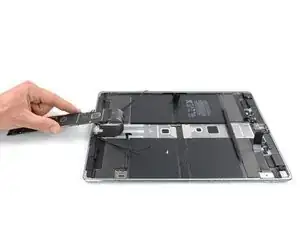
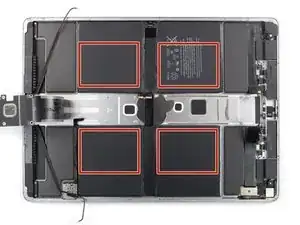
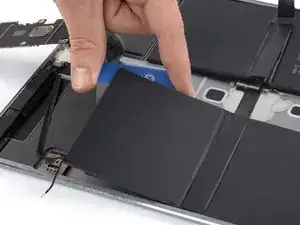
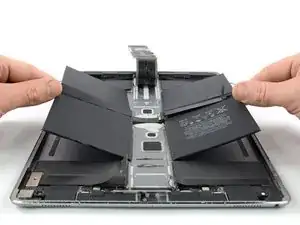
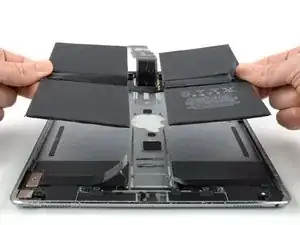
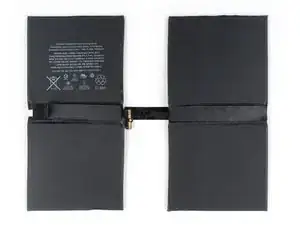
Use this guide to remove and replace a worn out battery for the Apple iPad Pro 12.9” 2nd gen. You’ll need to move the logic board out of the way in order to remove the battery.
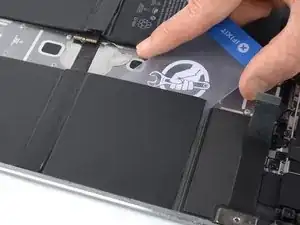
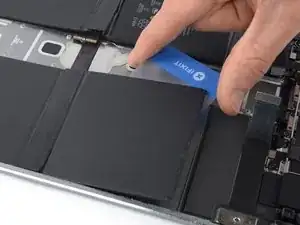
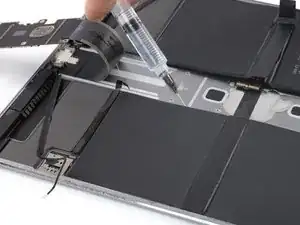
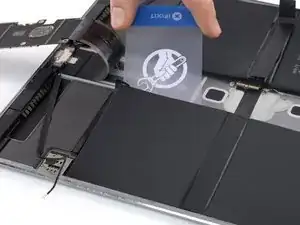
The battery in this iPad is held in place by large adhesive pads. Use plenty of high concentration isopropyl alcohol or iFixit adhesive remover to help remove the battery and to clean any adhesive residue.
For your safety, discharge your battery below 25% before disassembling your device. This reduces the risk of a dangerous thermal event if the battery is accidentally damaged during the repair. If your battery is swollen, take appropriate precautions.
This guide is written for the Wi-Fi model. If you have the cellular model, you’ll need to do some additional disassembly (not noted in this guide).
You’ll need replacement adhesive to reattach components when reassembling the device.
Werkzeuge
Ersatzteile
-
-
Before starting repairs, take your iPad off the charger and power it down.
-
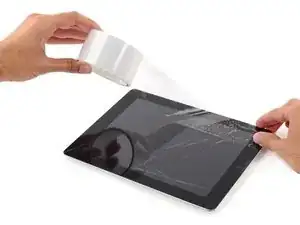
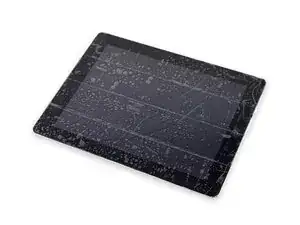
Do your best to follow the rest of the guide as described. However, once the glass is broken, it will likely continue to crack as you work, and you may need to use a metal prying tool to scoop the glass out.
-
-
-
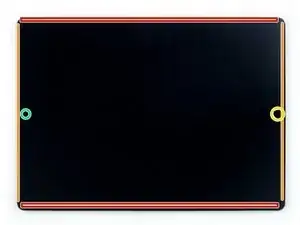
As you slice through the adhesive, note the following:
-
The adhesive on the long edges of the iPad is about 4 mm wide. Avoid slicing deeper than that, or you risk damaging the display panel.
-
The adhesive on the short edges of the iPad is about 2 mm wide. Avoid slicing deeper than that.
-
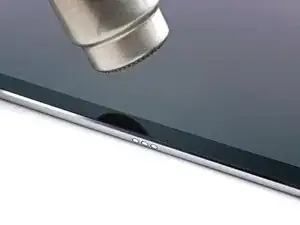
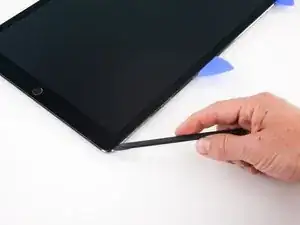
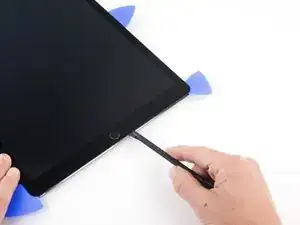
Take especially care when slicing near the home button and charging port to avoid damaging the flex cables.
-
Take extra care when you slice near the front facing camera, to avoid damaging or smearing it.
-
-
-
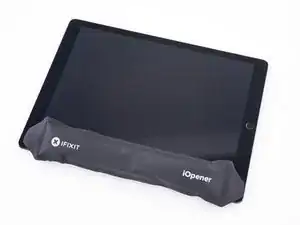
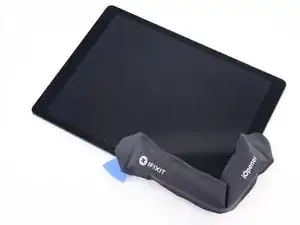
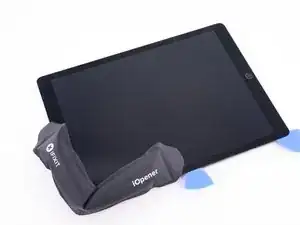
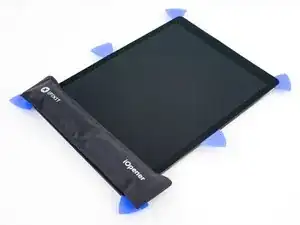
Apply a heated iOpener to the left edge of the screen to loosen the adhesive underneath. Apply the iOpener for at least 5 minutes.
-
-
-
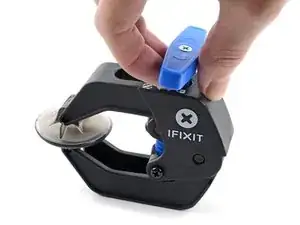
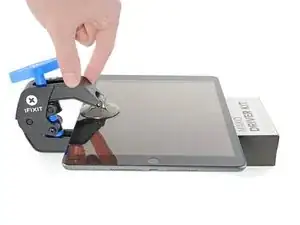
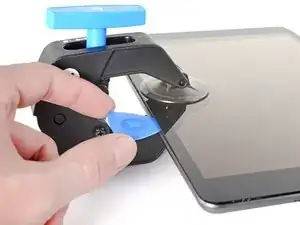
Pull the blue handle towards the hinge to disengage opening mode.
-
Elevate the iPad enough for the Anti-Clamp's arms to rest above and below the screen.
-
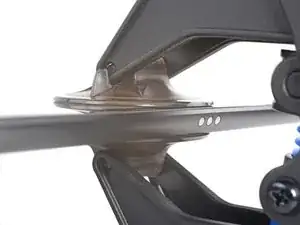
Position the suction cups near the left edge of the iPad—one on the front, and one on the back.
-
Push down on the cups to apply suction to the desired area.
-
-
-
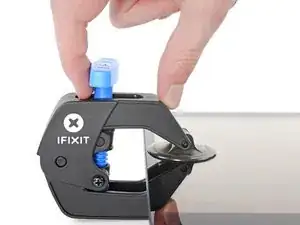
Push the blue handle away from the hinge to engage opening mode.
-
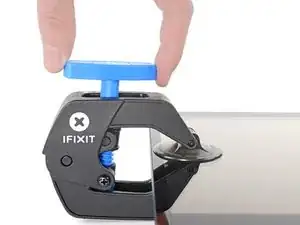
Turn the handle clockwise until you see the cups start to stretch.
-
Wait one minute to give the adhesive a chance to release and present an opening gap.
-
Insert an opening pick under the screen when the Anti-Clamp creates a large enough gap.
-
Skip the next two steps.
-
-
-
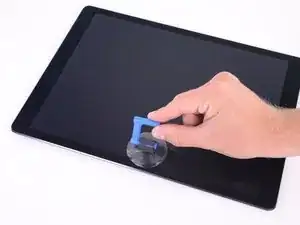
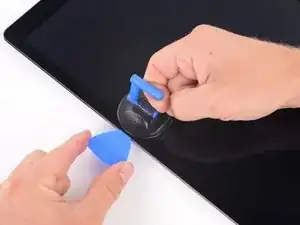
Once the screen is warm to touch, apply a suction handle to the left edge of the iPad's screen, above the Smart Connector port and as close to the edge as possible.
-
-
-
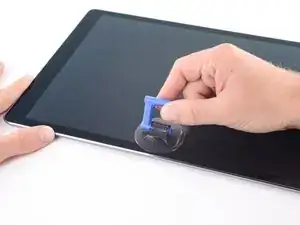
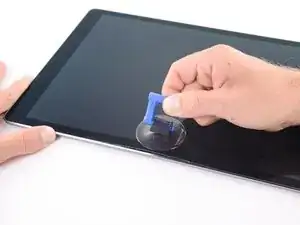
While holding down the corners of the iPad, repeatedly pull up on the screen, then ease it back down to weaken the adhesive. This will eventually create a small gap in the seam.
-
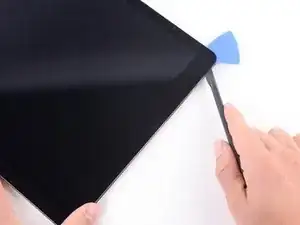
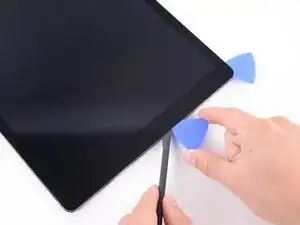
Once you've created a small gap, insert the tip of an opening pick into the gap.
-
-
-
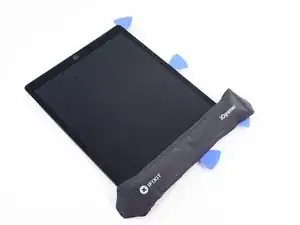
Reapply the iOpener to the bottom left corner of the iPad for at least 2 minutes, spanning from the opening pick to the home button.
-
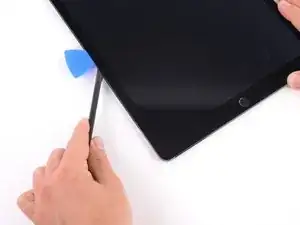
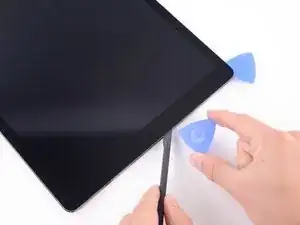
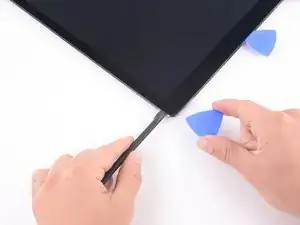
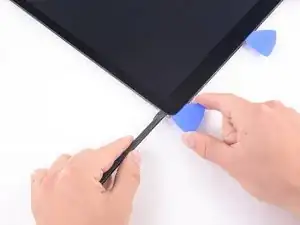
After letting the adhesive soften, insert an opening pick or halberd spudger into the gap next to the opening pick.
-
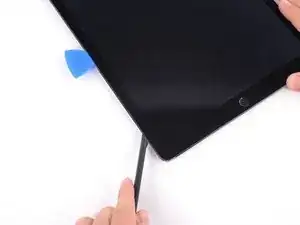
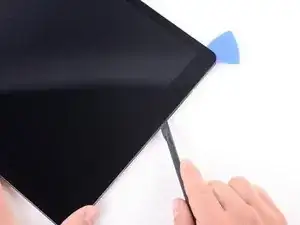
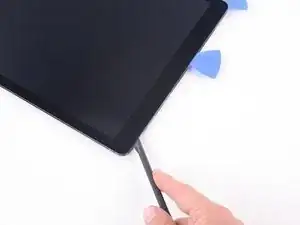
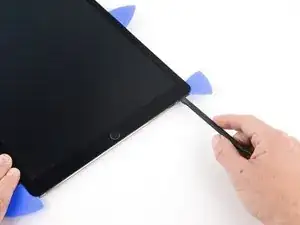
Use an opening pick or halberd spudger to slice the adhesive along the bottom left side of the iPad. If the slicing becomes difficult, reheat the edge and try again.
-
-
-
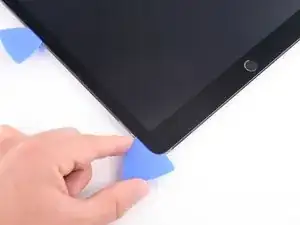
Insert an opening pick underneath the bottom left corner of the screen to prevent the adhesive from resealing.
-
-
-
Reapply the iOpener to the upper left corner of the iPad for at least 2 minutes, spanning from the opening pick to the front facing camera.
-
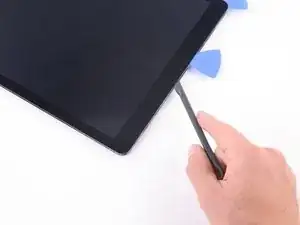
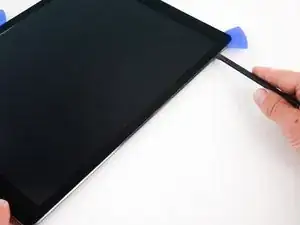
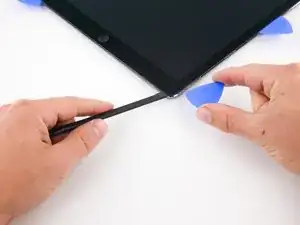
Use an opening pick or halberd spudger and slide along the upper left edge of the iPad to slice the adhesive.
-
-
-
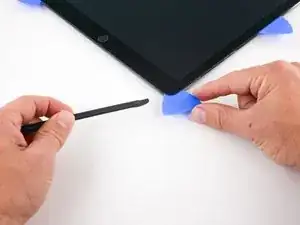
Insert an opening pick underneath the top left corner of the screen to prevent the adhesive from resealing.
-
-
-
Reheat your iOpener and apply it the top edge of the device for at least 2 minutes.
-
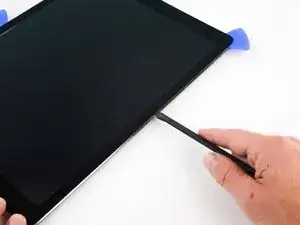
Use an opening pick or halberd spudger and slide along the top edge of the iPad to slice the adhesive. Stop before you reach the front-facing camera.
-
-
-
Insert an opening pick underneath the screen just before the front-facing camera to prevent the adhesive from resealing.
-
-
-
Reheat your iOpener and apply it to the top edge of the device for at least 2 minutes.
-
Insert an opening pick or a halberd spudger just past the front-facing camera.
-
Use your cutting tool to slice the remaining adhesive underneath the top edge of your device.
-
-
-
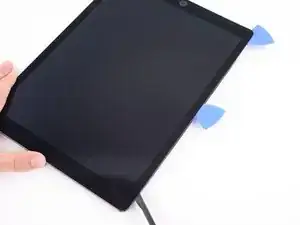
Insert an opening pick underneath the upper right corner of the screen to prevent the adhesive from resealing.
-
-
-
Apply a heated iOpener to the right edge of the screen for 5 minutes to loosen the adhesive underneath.
-
Use an opening pick or halberd spudger and slide along the right edge of the iPad to slice the adhesive.
-
Insert an opening pick underneath the center of the right edge to prevent the adhesive from resealing.
-
-
-
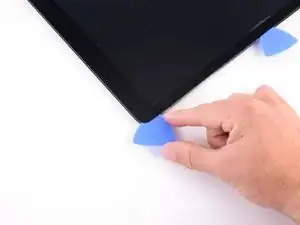
Insert an opening pick underneath the bottom right corner of the iPad to prevent the adhesive from resealing.
-
-
-
Reheat your iOpener and apply it to the bottom edge of the device for at least 2 minutes.
-
Insert an opening pick or a halberd spudger underneath the bottom right corner of the iPad.
-
Slide the opening pick along the bottom edge of the iPad, stopping short about 12 mm before reaching the home button.
-
-
-
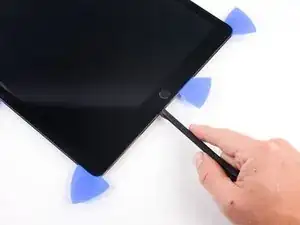
Insert an opening pick underneath the screen just before the home button to prevent the adhesive from resealing.
-
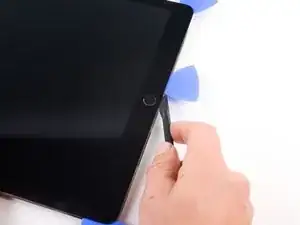
Use the tip of an opening pick or an halberd spudger to slice the adhesive beneath the home button.
-
-
-
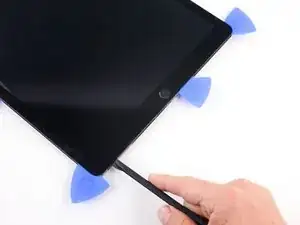
Insert an opening pick or a halberd spudger just past the home button.
-
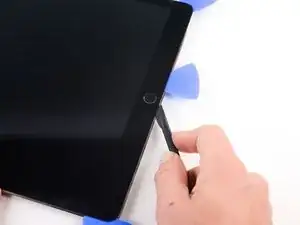
Use your cutting tool to slice the remaining adhesive underneath the bottom edge of your device.
-
-
-
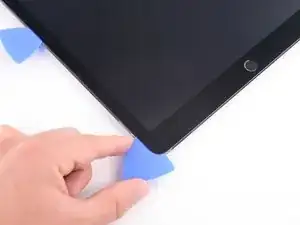
At this point, you've sliced through most of the screen adhesive. Use an opening pick to carefully slice any remaining adhesive along the edges until the screen is freed.
-
-
-
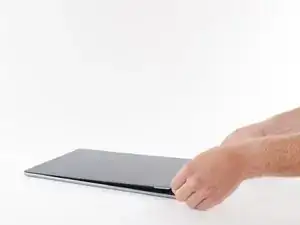
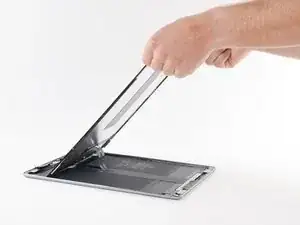
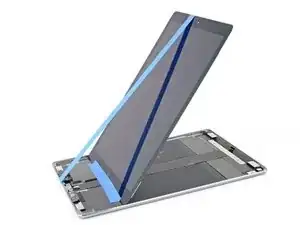
Lift up the upper edge of the screen and slide the entire screen towards the front-facing camera to access the iPad's internal components.
-
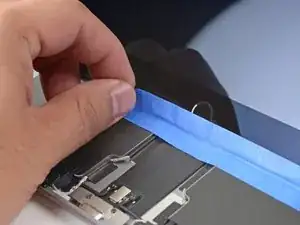
Use masking tape to tape the lower edge of the screen to the frame to prevent the screen from slipping.
-
-
-
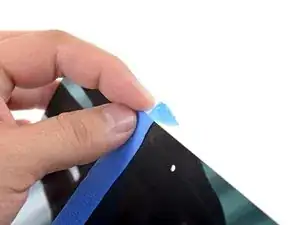
Attach a long strip of masking tape to the top edge of the screen. Fold the tape over the edge and make sure that the tape is attached securely.
-
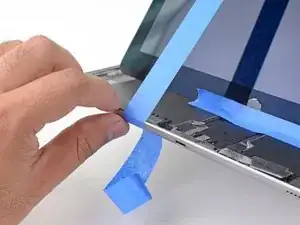
Attach the other end of the strip to the bottom edge of the iPad frame to hold the screen at an angle. Make sure the tape attaches securely to the frame.
-
-
-
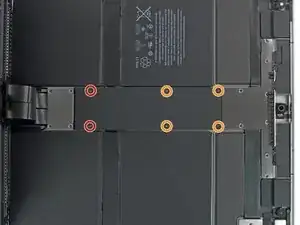
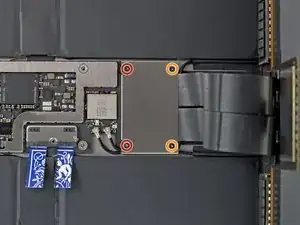
Use a Phillips screwdriver to remove the six screws securing the logic board EMI shield:
-
Two 2.4 mm-long screws
-
Four 1.2 mm-long screws
-
-
-
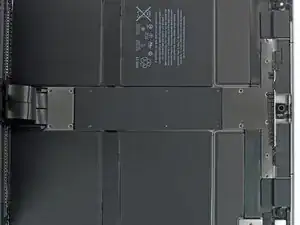
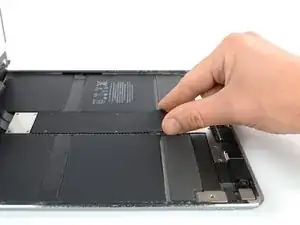
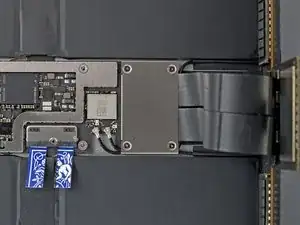
Lift the logic board EMI shield from the edge nearest the top of the iPad.
-
Peel up the EMI shield from the logic board.
-
Remove the logic board EMI shield.
-
-
-
Use a Phillips screwdriver to remove the 1.6 mm-long screw securing the battery connector.
-
-
-
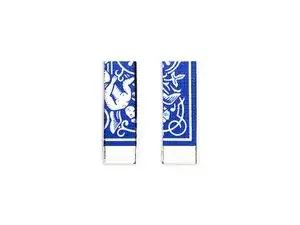
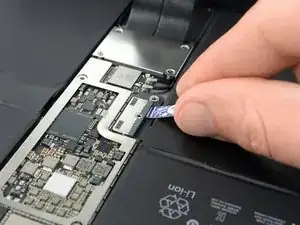
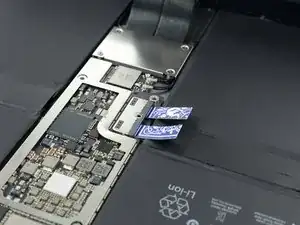
Use a piar of scissors to cut two 6 mm x 20 mm strips of a playing card to use as a battery blocker.
-
-
-
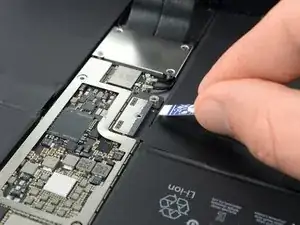
Gently insert the card strips on each side of the battery connector as far as they will go.
-
-
-
Use a Phillips screwdriver to remove the four screws securing the display connector bracket:
-
Two 1.2 mm-long screws
-
Two 2.4 mm-long screws
-
-
-
Use the pointed end of a spudger to pry up and disconnect the display and digitizer cables from their logic board sockets.
-
-
-
Use a Phillips screwdriver to remove the eight screws securing the top bracket:
-
Four 2.2 mm-long screws
-
Two 1.2 mm-long screws
-
Two 2.4 mm-long screws
-
-
-
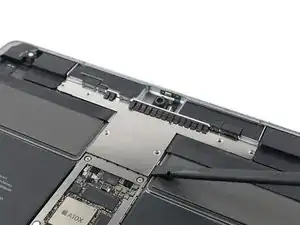
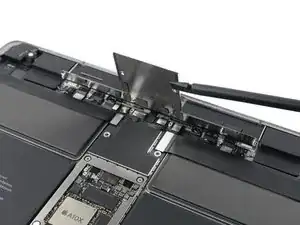
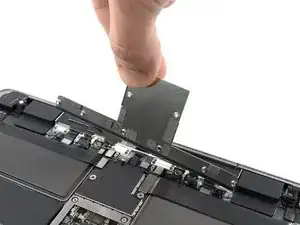
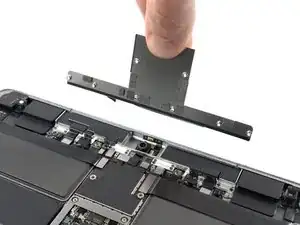
Slide the flat end of a spudger underneath the top bracket and lift it up until you can grab it with your fingers.
-
-
-
Use a spudger to disconnect the front facing camera flex cable by prying the connector straight up from its socket.
-
-
-
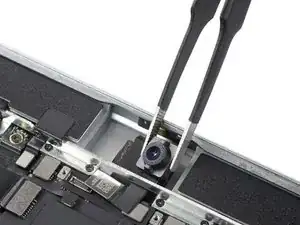
Use the flat end of a spudger to carefully pry up the front camera and to separate it from the frame.
-
-
-
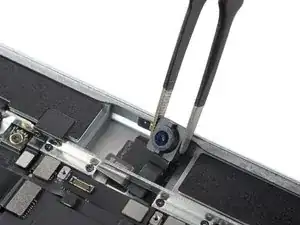
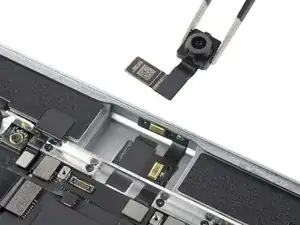
Use a pair of tweezers to pull the front facing camera from underneath the frame and remove it.
-
-
-
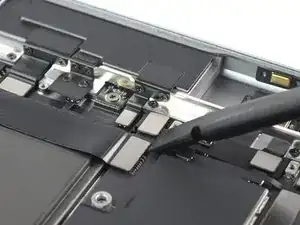
Use a spudger to disconnect the top left interconnect cable by prying the connector straight up from its socket.
-
-
-
Slide the point of a spudger under the top left coxial connector.
-
Pry straight up to disconnect the top left coxial cable.
-
Carefully bend the coxial cable upwards to free the logic board.
-
-
-
Use a spudger to disconnect the speaker and headphone jack cable by prying the connector straight up from its socket.
-
Carefully bend the cable upwards to free the logic board.
-
-
-
Use a spudger to disconnect the microphone cable by prying the connector straight up from its socket.
-
-
-
Use a spudger to disconnect the top right interconnect cable by prying the connector straight up from its socket.
-
-
-
Slide the point of a spudger under the top right coxial connector.
-
Pry straight up to disconnect the top right coxial cable.
-
Carefully bend the coxial cable upwards to free the logic board.
-
-
-
Use a spudger to disconnect the sensor and volume button cable by prying the connector straight up from its socket.
-
Carefully bend the cable upwards to free the logic board.
-
-
-
Use the point of a spudger to open the ZIF connector by bringing its black flap in an upright position.
-
-
-
Carefully slide an opening pick underneath the SIM card reader cable to separate it from the logic board cable.
-
-
-
Disconnect the SIM card reader cable by carefully pulling it out of the ZIF connector with a pair of tweezers.
-
Carefully bend the SIM card reader cable upwards to free the logic board.
-
-
-
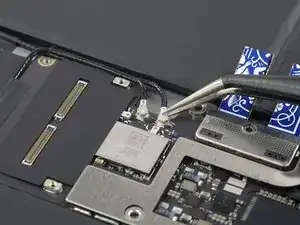
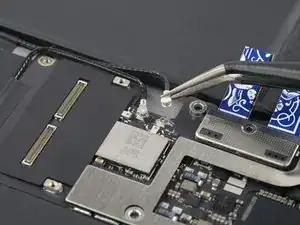
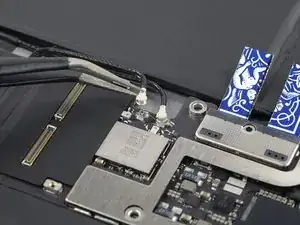
Slide a pair of tweezers under the upper antenna cable at the bottom edge of the logic board until they're snug against the metal connector.
-
Disconnect the upper antenna cable by prying it straight up from the logic board.
-
Repeat the procedure with the lower antenna cable.
-
-
-
Apply a heated iOpener to the antenna cables for 1 minute to loosen the adhesive underneath.
-
-
-
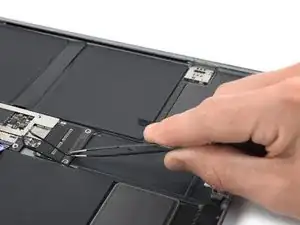
Use tweezers to gently lift the right antenna cable connector away from the frame.
-
Use your fingers or tweezers to lift and peel up the the right antenna cable from the iPad frame.
-
Don't pull the cable forcefully. If the cable feels stuck, reapply a heated iOpener to further soften the adhesive.
-
-
-
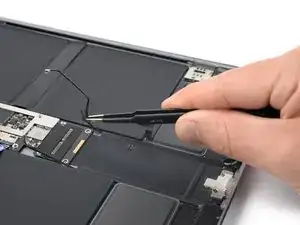
Repeat the previous step and use your fingers or tweezers to lift and peel up the the left antenna cable from the iPad frame.
-
-
-
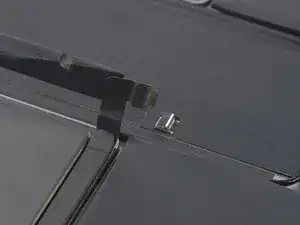
Use a pair of tweezers to fold the smart connector tape to the side to get free access to the smart connector bracket.
-
-
-
Use a Phillips screwdriver to remove the single 1.3 mm-long screw securing the smart connector bracket.
-
-
-
Use a pair of tweezers to pull the smart connector bracket from underneath the frame and remove it.
-
-
-
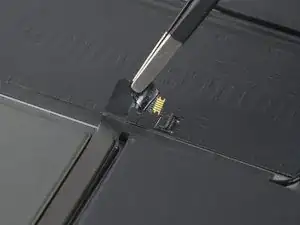
Use a spudger to disconnect the smart connector cable by prying the connector straight up from its socket.
-
Carefully bend the smart connector cable upwards to free the battery.
-
-
-
Be careful not to trap any of the connectors underneath the logic board.
-
Reinsert the battery blocker into position.
-
-
-
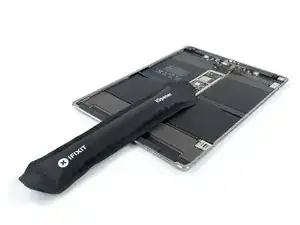
Apply a heated iOpener to the back of the device where the logic board is located to loosen the adhesive underneath. Apply the iOpener for at least 2 minutes.
-
-
-
Insert the flat end of a spudger underneath the top edge of the logic board.
-
Carefully lift the logic board by levering the spudger downwards.
-
-
-
Relocate the spudger and place it at a right angle underneath the logic board to prevent the adhesive from resealing.
-
-
-
Reapply a heated iOpener to the logic board cable for 2 minutes to loosen the adhesive underneath.
-
-
-
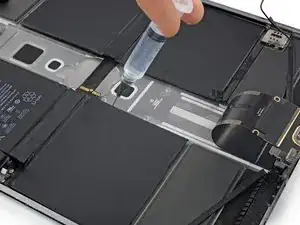
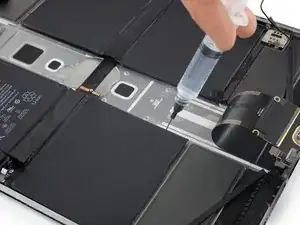
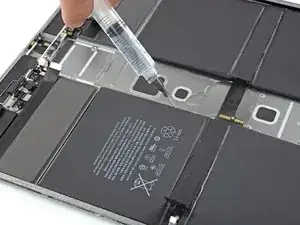
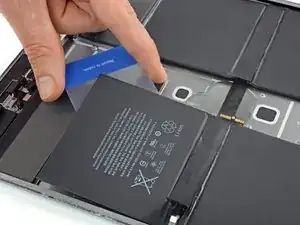
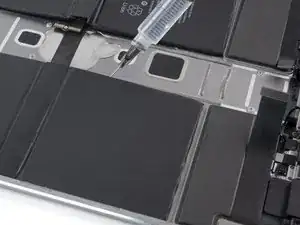
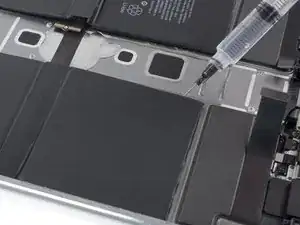
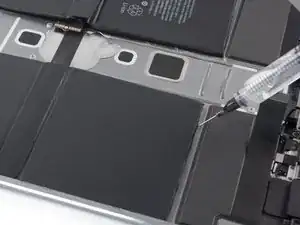
Tilt the iPad and apply a few drops of high concentration (>90%) isopropyl alcohol to the inside and bottom edge of the bottom left battery cell.
-
Wait about two minutes for the alcohol solution to weaken the adhesive.
-
-
-
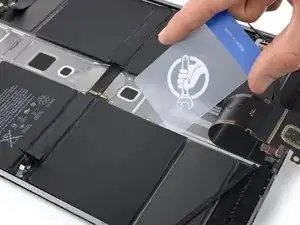
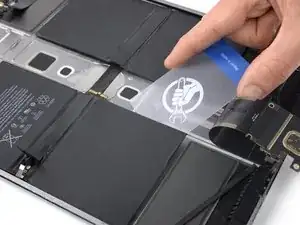
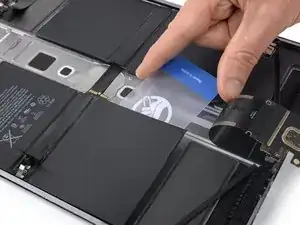
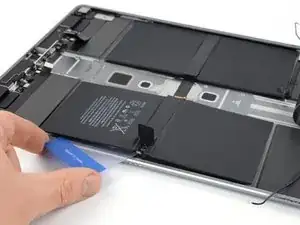
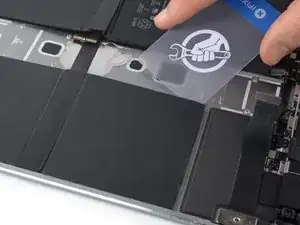
Slowly slide an plastic card under the bottom left battery cell to separate it from the frame.
-
-
-
Repeat the previous procedure to separate the top left battery cell from the frame:
-
Apply a few drops of high concentration (>90%) isopropyl alcohol to loosen the battery adhesive.
-
Slide a plastic card underneath the top left battery cell to separate it from the frame.
-
-
-
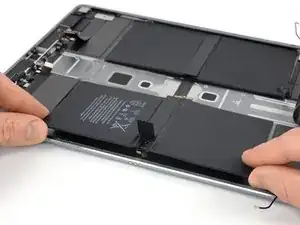
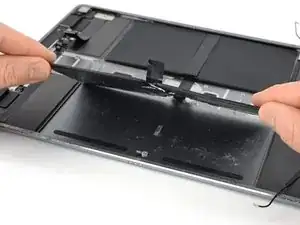
If the battery is sticking to the frame use your plastic card to slice through the remaining adhesive to completely separate the left half of the battery from the frame.
-
Place a plastic card underneath the center of the left half of the battery to prevent the adhesive from resealing.
-
-
-
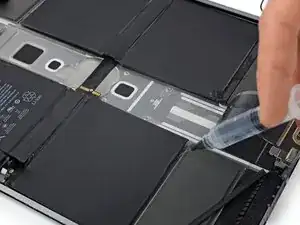
Tilt the iPad and apply a few drops of high concentration (>90%) isopropyl alcohol to the inside and bottom edge of the bottom left battery cell.
-
Wait about two minutes for the alcohol solution to weaken the adhesive.
-
-
-
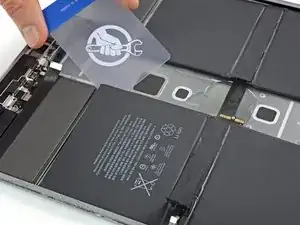
Slowly slide an plastic card under the bottom left battery cell to separate it from the frame.
-
-
-
Repeat the previous procedure to separate the bottom right battery cell from the frame:
-
Apply a few drops of high concentration (>90%) isopropyl alcohol to loosen the battery adhesive.
-
Slide a plastic card underneath the top left battery cell to separate it from the frame.
-
-
-
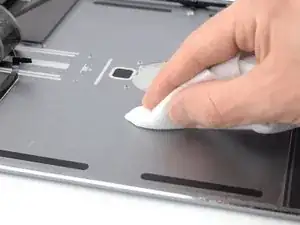
Remove all adhesive residue from the iPad frame. Use isopropyl alcohol and a spudger to scrape off any adhesive chunks. Wipe away the adhesive residue with a lint-free cloth.
-
If there's any alcohol solution remaining in the iPad, carefully wipe it off or allow it to air dry.
-
If possible, turn on your device and test your repair before installing new adhesive and resealing.
To reassemble your device, follow these instructions in reverse order.
During reassembly, apply new adhesive where it's necessary after cleaning the relevant areas with isopropyl alcohol (>90%).
For optimal performance, after completing this guide, calibrate your newly installed battery.
Take your e-waste to an R2 or e-Stewards certified recycler.
Repair didn’t go as planned? Try some basic troubleshooting, or ask our Answers community for help.
