Einleitung
Use this guide to replace a broken home button.
Werkzeuge
Ersatzteile
-
-
Power off your iPhone before beginning disassembly.
-
Your phone's rear cover may have two #000 Phillips screws or Apple's 5-Point "Pentalobe" screws. Check which screws you have, and ensure you also have the correct screwdriver in order to remove them.
-
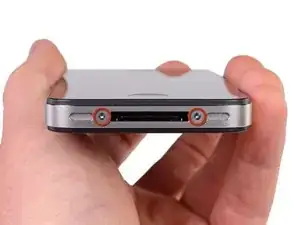
Remove the two 3.6 mm Pentalobe or Phillips #000 screws next to the dock connector.
-
-
-
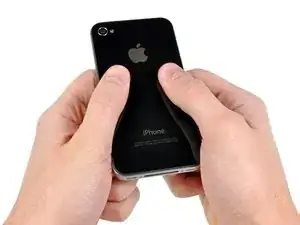
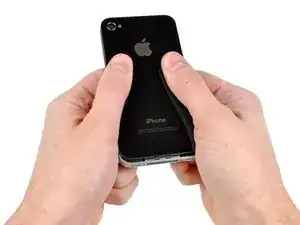
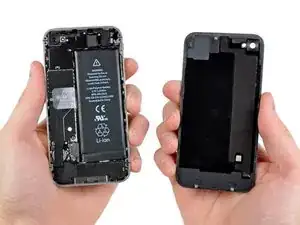
Pinch the rear panel with your fingers, and lift it away from the iPhone. Alternatively, use a Small Suction Cup .
-
-
-
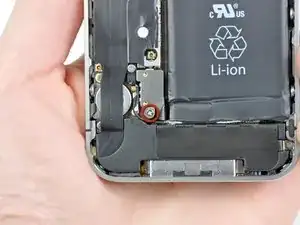
Remove the single 1.5 mm Phillips screw securing the battery connector to the logic board (if present).
-
-
-
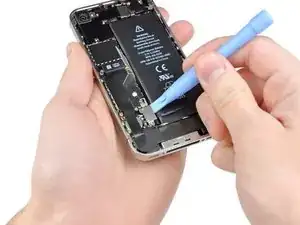
Use the edge of a plastic opening tool to gently pry the battery connector up from its socket on the logic board.
-
Remove the metal clip covering the antenna connector.
-
-
-
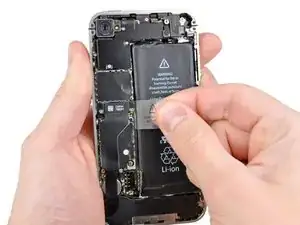
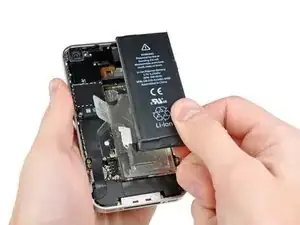
Pull up on the exposed clear plastic tab to peel the battery off the adhesive securing it to the iPhone.
-
If there's any alcohol solution remaining in the phone, carefully wipe it off or allow it to air dry before installing your new battery.
-
Remove the battery.
-
Before reassembly, clean metal-to-metal contact points with a de-greaser such as windex. The oils from your fingers have the potential to cause wireless interference issues.
-
Perform a hard reset after reassembly. This can prevent several issues and simplify troubleshooting.
-
-
-
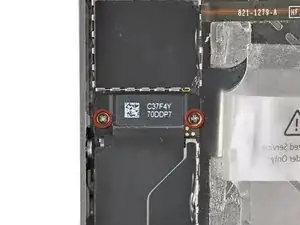
Remove the two 1.8 mm Phillips screws securing the dock connector cable to the logic board.
-
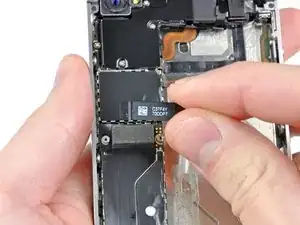
Remove the thin metal dock connector cable cover.
-
-
-
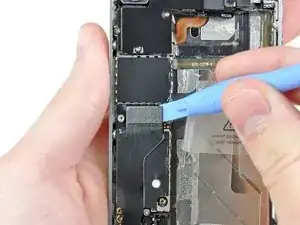
Use the edge of a plastic opening tool to pry the dock cable up from its socket on the logic board.
-
-
-
Peel the dock connector cable off the adhesive securing it to the logic board and the side of the speaker enclosure.
-
-
-
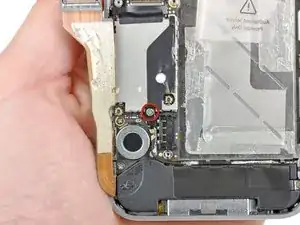
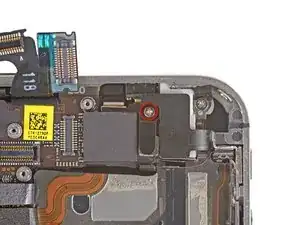
Remove the 1.6 mm Phillips screw securing the pressure contact to the logic board near the vibrator.
-
Remove the pressure contact.
-
-
-
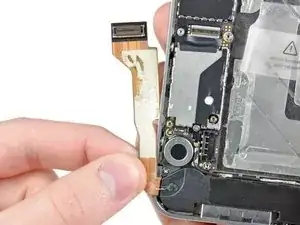
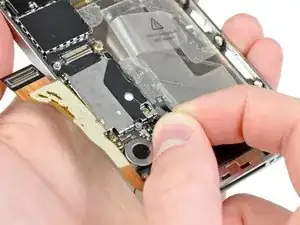
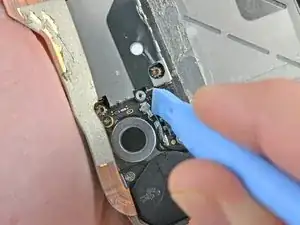
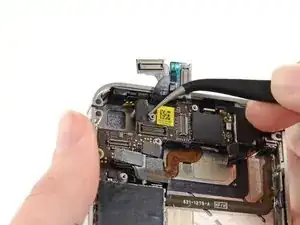
Use the edge of a plastic opening tool to pry the cellular antenna cable up from its socket on the logic board.
-
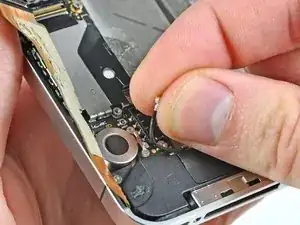
De-route the cellular antenna cable out from under the metal fingers attached to the logic board.
-
-
-
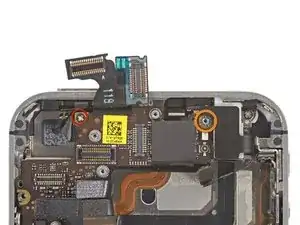
Remove the following five screws:
-
Three 1.3 mm Phillips screws
-
One 1.5 mm Phillips screw
-
One 2.4 mm Phillips screw
-
-
-
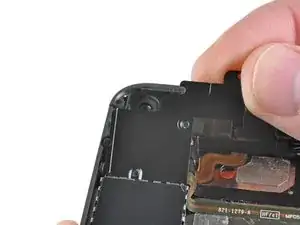
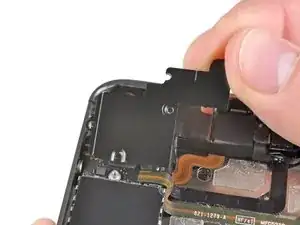
Lift the cable cover from its edge nearest the top of the iPhone.
-
Pull the cable cover tabs out of their slots cut into the EMI shield on the logic board and remove it from the iPhone.
-
-
-
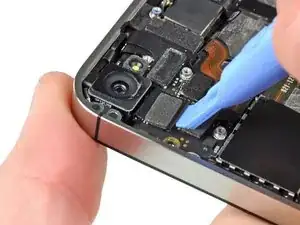
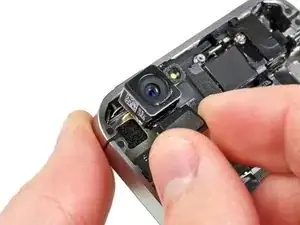
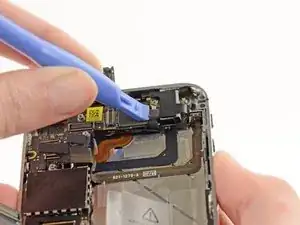
Use the edge of a plastic opening tool to pry the rear camera connector up from its socket on the logic board.
-
Remove the rear camera from the iPhone.
-
-
-
Disconnect the five cables near the top of the logic board in the following order:
-
Headphone jack/volume button cable
-
Power button cable
-
Front facing camera cable
-
Digitizer cable
-
Display data cable
-
To disconnect the cables, use the edge of a plastic opening tool to gently lift their connectors up and out of the sockets on the logic board.
-
-
-
Use the edge of a plastic opening tool to disconnect the Wi-Fi antenna cable connector from the logic board.
-
-
-
Remove the 2.5 mm Phillips #000 screw securing the logic board near the power button.
-
Remove the 4.8 mm standoff screw near the headphone jack.
-
-
-
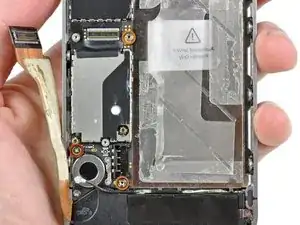
Remove the 3.4 mm Phillips screw near the vibrator motor.
-
Remove the two 3.6 mm standoff screws along the side of the logic board nearest the battery opening.
-
-
-
Carefully lift the logic board from the end closest to the speaker enclosure and slide it away from the top edge of the iPhone.
-
Remove the logic board.
-
-
-
Use the edge of a plastic opening tool to pry the vibrator off the adhesive securing it to the frame of the iPhone.
-
Remove the vibrator.
-
-
-
Remove the small plastic bracket that was installed under the screw closest to the dock connector cable.
-
-
-
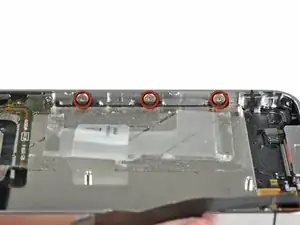
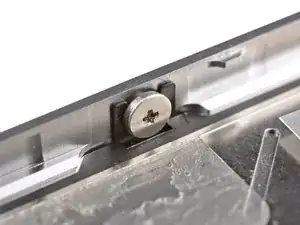
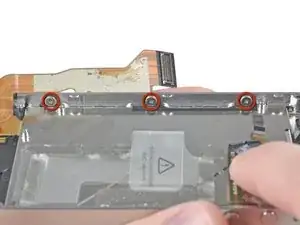
Loosen the three large-headed Phillips screws along the volume button side of the iPhone about one half turn.
-
-
-
Loosen the three large-headed Phillips screws along the other side of the iPhone about one half turn.
-
-
-
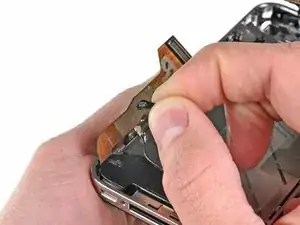
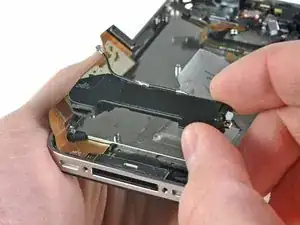
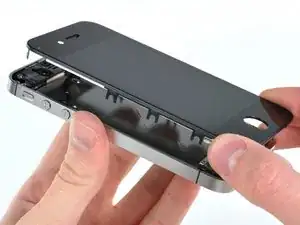
Use the edge of a plastic opening tool to gently pry up the display assembly around its perimeter.
-
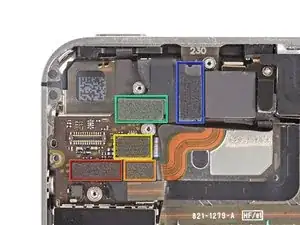
De-route the digitizer and LCD cables through the steel inner frame.
-
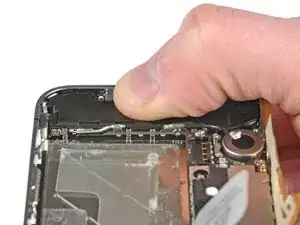
When the front panel has been correctly installed, both the LCD and digitizer cables should be immediately next to one another and should be the same length, as shown in the second photo.
-
During reassembly, do not touch the metallic area at the base of the LCD data cable, as this can cause problems with the LCD. If you do touch it accidentally, clean it gently with an alcohol wipe before continuing.
-
-
-
Remove the display assembly from the iPhone.
-
You may have to reuse the earpiece grille and the clear plastic ring around the front facing camera from the old/damaged assembly. This will depend on where you buy the replacement part.
-
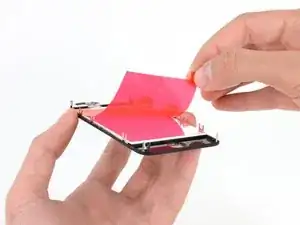
Your replacement display may come with colored plastic film on the back of the LCD. If so, use the pull tab near the home button to peel the plastic film from the LCD before installing the new display in your iPhone.
-
After reassembly, note the following:
-
Clean the touchscreen surface with an alcohol wipe prior to turning the iPhone back on. The alcohol helps dissipate any lingering static electricity, which can cause problems with the display.
-
-
-
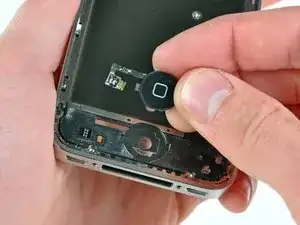
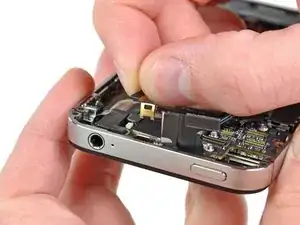
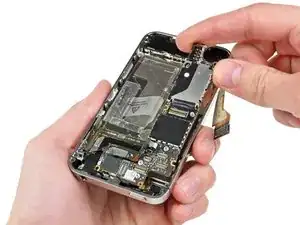
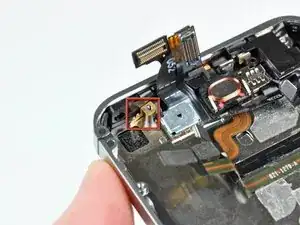
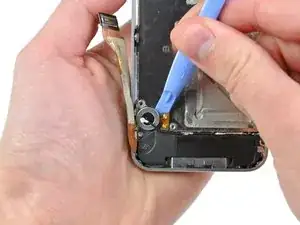
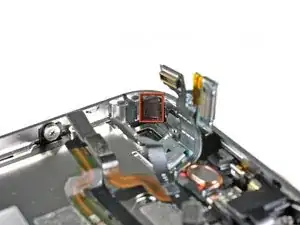
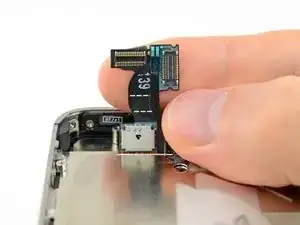
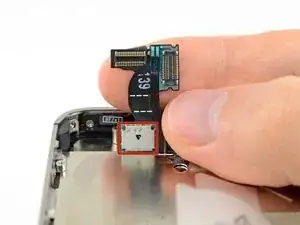
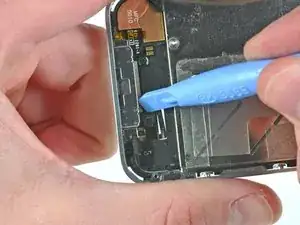
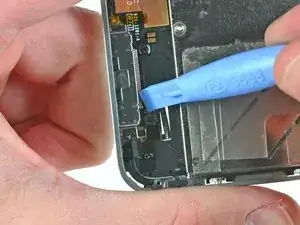
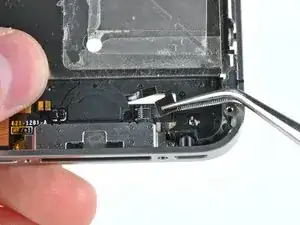
Use a clean fingernail or the edge of a plastic opening tool to flip up the retaining flap on the home button ribbon cable.
-
-
-
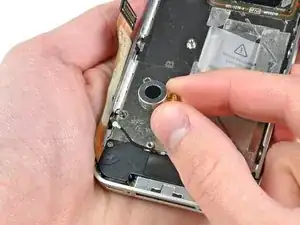
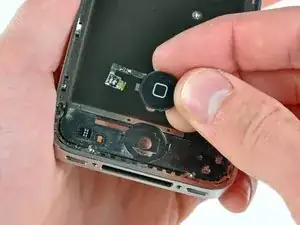
Carefully de-route the home button cable through its slot in the outer case and remove it from the iPhone.
-
To reassemble your device, follow these instructions in reverse order.
3 Kommentare
How can a company that prides itself on simplicity and elegance make something so needlessly unserviceable? I don't mind the small screws, even if I wonder how many of them really need to be there... but the fragile cables, little black spacers, the pentalobe screws and the glue - oh the inhumanity of the glue! The only thing that makes me happy is, now that Tim Cook's decided that they're going to service these things in-store, the thought of Apple employees sending an earful of expletives up the management chain.
jwkc2 -
Small and fragile = lite weight. And all of those spacers and glue is to keep everything in place and prevent those small and fragile parts from breaking as you use the phone. If you want a tiny, lite phone there are compromises. And Apple's mantra has never been serviceability. It's about getting you to upgrade to the new cool thing every 1-2 years, way before the phone would normally need servicing. And the Apple store really only services new batteries and screens. For pretty much everything else they just give you a new phone.
J V -
is there a way to remove the button without replacing the cable?





Pra descarregar a bateria, antes de fazer o serviço, isso serve pra qualquer celular?
Gilmar Dutra -