Einleitung
Diese Anleitung zeigt, wie ein schwacher Akku in der Apple Watch 7 ausgetauscht werden kann.
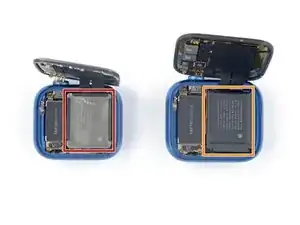
Hinweis: Der Akkutausch beim 41 mm Modell unterscheidet sich leicht vom 45 mm Modell. Die Anleitung zeigt beide Versionen.
Sorge vor Reparaturbeginn dafür, dass du den richtigen Ersatzakku zur Verfügung hast. Einen Tri-Point Y000 Schraubendreher benötigst du nur für das 45 mm Modell.
Entlade zur Sicherheit das Handy vor der Reparatur auf unter 25%. Dadurch wird die Gefahr geringer, dass es in Brand gerät, wenn du den Akku während der Reparatur versehentlich beschädigst. Wenn der Akku aufgebläht ist, musst du entsprechende Vorsichtsmaßnahmen treffen.
Die Anleitung zeigt das Mobil/LTE-Version der Apple Watch 7. Die GPS-Version ist aber sehr ähnlich.
Um das Display nach der Reparatur wieder zu befestigen, benötigst du Ersatzklebestreifen.
Werkzeuge
-
-
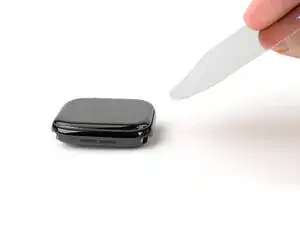
Lege einen erwärmten iOpener mindestens zwei Minuten lang zum Aufweichen des Klebers auf das Display.
-
-
-
Setze das iFlex schräg nach unten geneigt zwischen die Unterkante des Displays und den Rahmen ein.
-
-
-
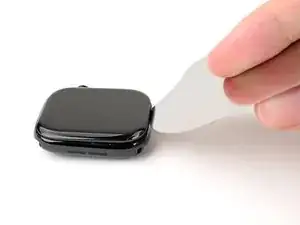
Drücke den Rahmen der Uhr fest mit einer Hand nach unten, damit sie stabil liegt.
-
Hale das iFlex mit der freien Hand und drücke die Kanten zusammen, damit es steifer wird.
-
Heble das Display so weit hoch, dass das iFlex flach liegt.
-
Lasse das iFlex unter dem Display stecken.
-
-
-
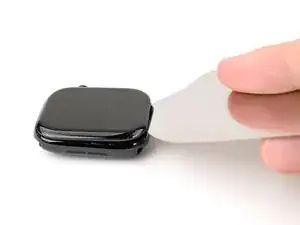
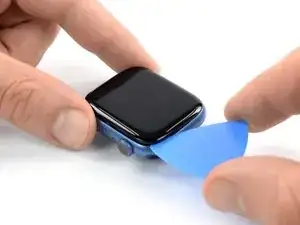
Halte das iFlex flach, um einen Spalt zwischen dem Display und dem Rahmen zum Einsetzen des Plektrums zu erhalten.
-
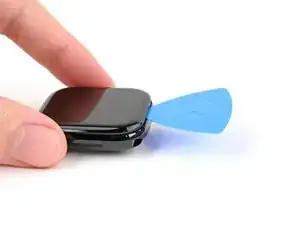
Setze ein Plektrum zwischen Display und iFlex ein.
-
Entferne das iFlex.
-
-
-
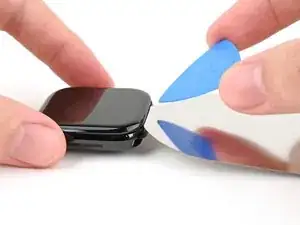
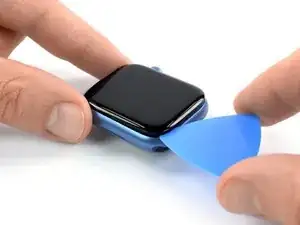
Schiebe das Plektrum zum Auftrennen des Klebers um die Ecke herum und an der langen Kante entlang, die der Krone gegenüber liegt.
-
-
-
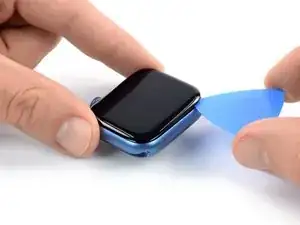
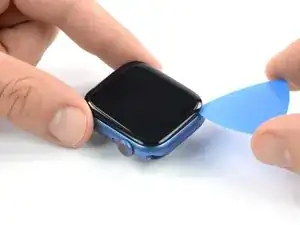
Schiebe das Plektrum zum Auftrennen des restlichen Klebers um die Ecke herum an der kurzen Kante nahe bei der Krone entlang.
-
-
-
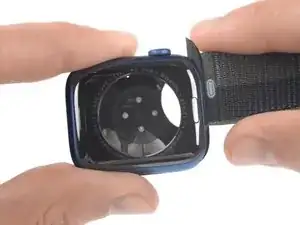
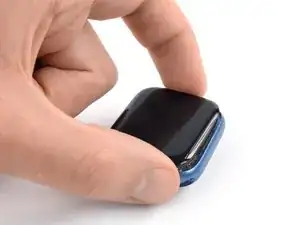
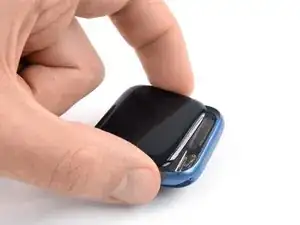
Hebe das Display hoch und ziehe es behutsam zur Krone hin.
-
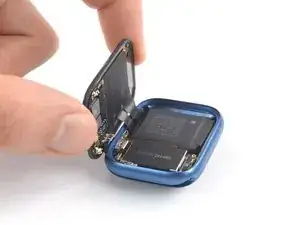
Klappe das Display etwa rechtwinklig auf.
-
-
-
Lege einen erwärmten iOpener mindestens zwei Minuten lang zum Aufweichen des Klebers auf die Rückseite der Apple Watch.
-
-
-
Fahre für die 41 mm Version mit diesem Schritt fort.
-
Fahre für die 45 mm Version mit diesem Schritt fort.
-
-
-
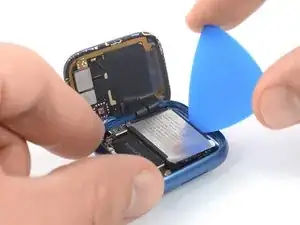
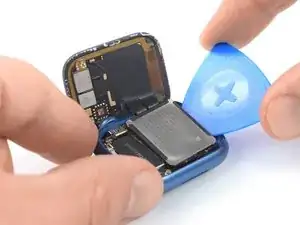
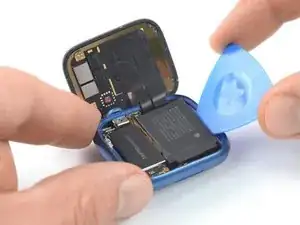
Setze ein Plektrum zwischen den Uhrenkörper und die langen Kante des Akkus ein.
-
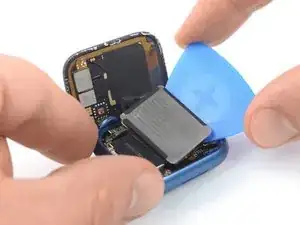
Heble den Akku fest und gleichmäßig langsam hoch.
-
-
-
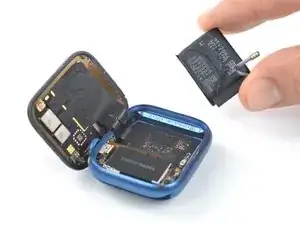
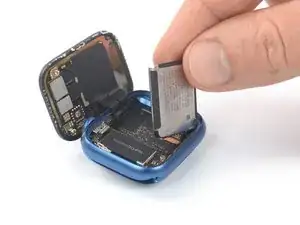
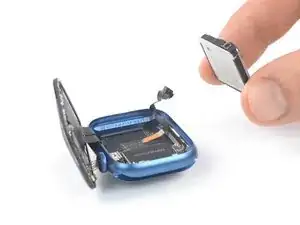
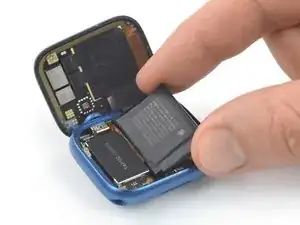
Hebe den Akku sorgfältig aus seiner Vertiefung hoch, klappe ihn zur Seite und lege ihn neben der Uhr ab.
-
-
-
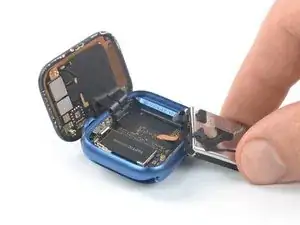
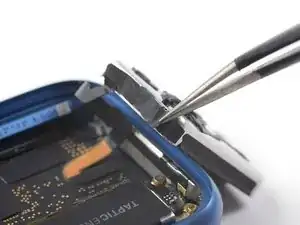
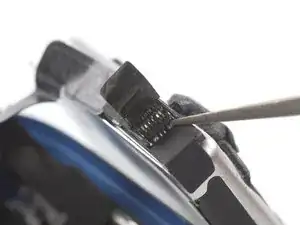
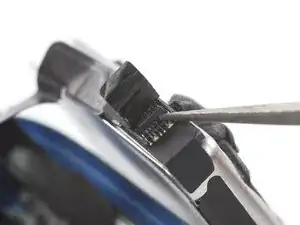
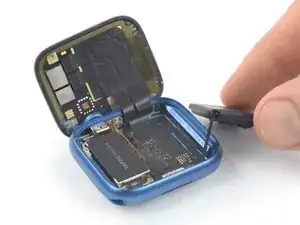
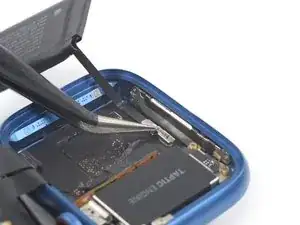
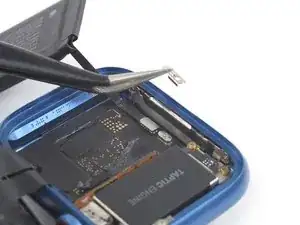
Heble den Sicherungsbügel am ZIF-Anschluss des Akkukabels mit einer Spitze deiner Pinzette oder des Spudgers hoch.
-
-
-
Setze ein Plektrum zwischen den Uhrenkörper und die langen Kante des Akkus ein.
-
Heble den Akku fest und gleichmäßig langsam hoch.
-
-
-
Hebe den Akku sorgfältig aus seiner Vertiefung hoch, klappe ihn zur Seite und lege ihn neben der Uhr ab.
-
-
-
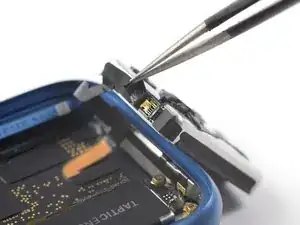
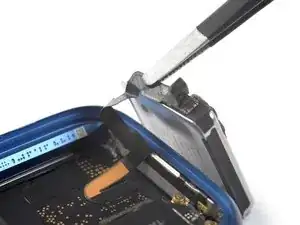
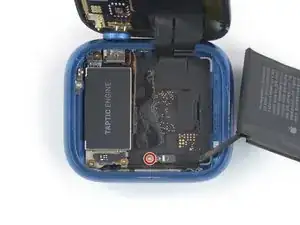
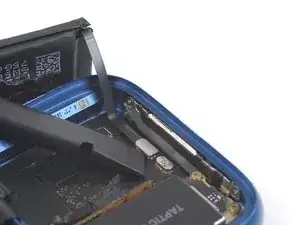
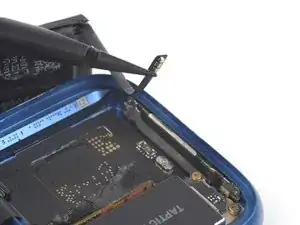
Heble den Stecker des Akkukabels mit dem Spudger nach oben aus seinem Anschluss heraus und trenne ihn ab.
-
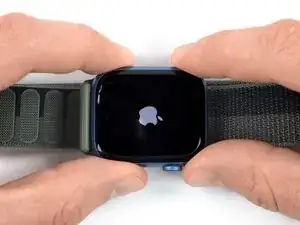


Schalte - wenn möglich - die Uhr an und teste sie ausgiebig, bevor du sie wieder zuklebst.
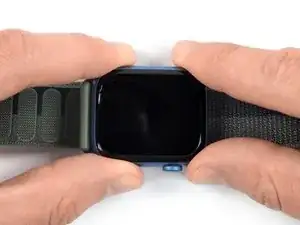
Um die Apple Watch wieder zusammenzubauen, folge den Schritten in umgekehrter Reihenfolge.
Damit dein Akku volle Leistung bringt, solltest du ihn nach der Reparatur neu kalibrieren.
Bitte entsorge deinen Elektroschrott sachgerecht.
Hat die Reparatur nicht ganz geklappt? Versuche es mit ein paar grundständigen Lösungen, ansonsten findest du in unserem Forum Hilfe bei der Fehlersuche.

14 Kommentare
Is it still waterproof after that? I swim daily. Watch is 2.5 years old doing great but the battery is at 76%.
Will the adhesive on the screen seal back up good enough?
Hi Matt,
retaining water resistance after the repair depends on how clean the mating surfaces are and how accurately the adhesive is reapplied. Your device will lose its factory-given IP (Ingress Protection) rating. Personally I wouldn‘t advise to go swimming with the watch after resealing it with tape.
if the socket that the battery plugs into breaks, is that something worth paying to fix, or should i just buy a new watch?
river D -
Bravissimo,tutto molto chiaro.