Introduction
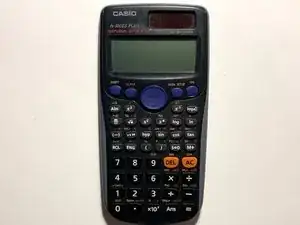
This guide shows an easy step-by-step process on how to replace the battery of a CASIO fx-300ES Scientific calculator. A low battery is determined by a dim display, uneven contrast, or figures failing to appear right when the calculator is turned on. A battery can cause leakage if dead which causes malfunction. The battery life is approximately three years based on the usage of one hour per day, and once that is exceeded the battery dies. Be sure to note the orientation of the battery for replacement. Avoid using a metal spudger as it can cause damage.
Tools
Parts
-
-
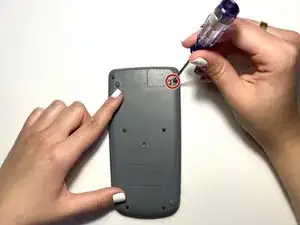
Flip the calculator over so that the back panel faces forward.
-
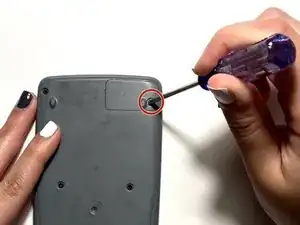
Use a Phillips #0 screwdriver to remove the screw in the upper right corner.
-
-
-
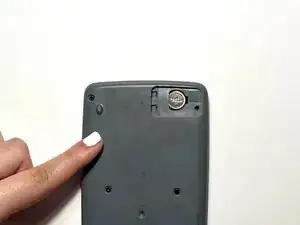
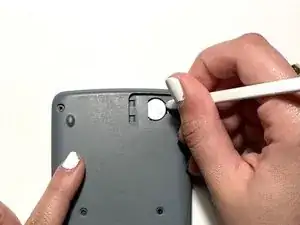
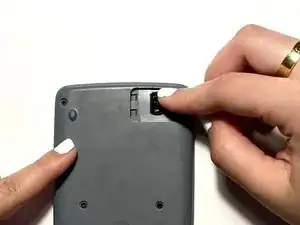
Insert the spudger in the available slot in the middle of the right side.
-
Use the spudger to pry out the battery.
-
-
-
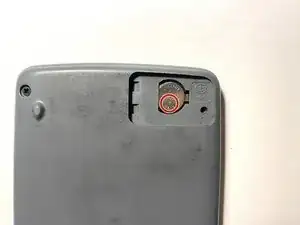
Place the new LR44 alkaline battery into the calculator.
-
Be sure that the + sign is at the bottom.
-
-
-
Reattach the battery cover.
-
Insert the screw for the battery cover using a Phillips #0 screwdriver.
-
-
-
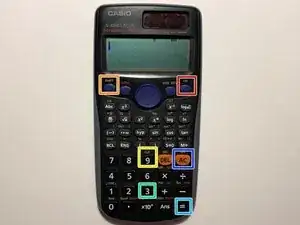
Reset the calculator by pressing [ON].
-
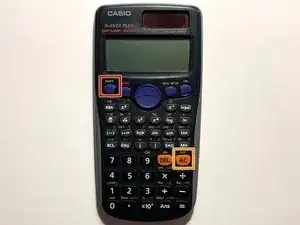
Press the [shift] button.
-
Press the [9] [CLR] button to clear the data.
-
Press the [3][ALL] button option.
-
Press [=] [yes] button to agree.
-
Press [AC] key to reset.
-
You have now successfully replaced a Casio FX-300ES battery.
One comment
Below is a detailed video showing the battery replacement process.
