Introduction
This guide will illustrate how to install a new headphone jack on an original Game Boy system. You'll need to know how to solder for this replacement, so be sure to check out iFixit's soldering technique guide.
Tools
-
-
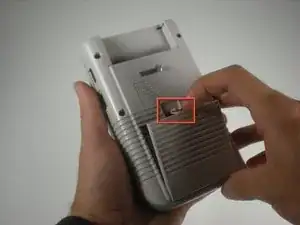
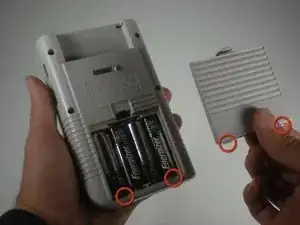
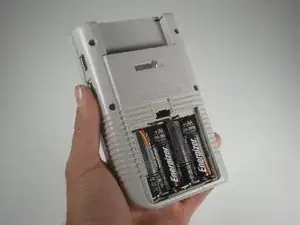
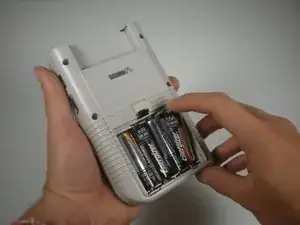
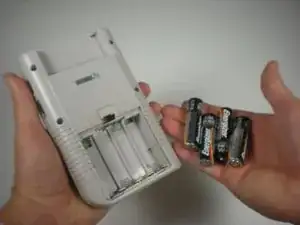
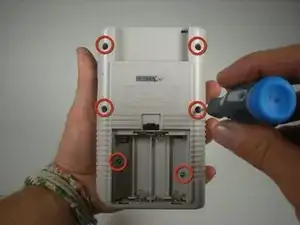
Use a fingernail (or small coin) to push down on the battery door latch and remove the battery door.
-
-
-
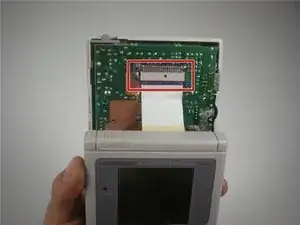
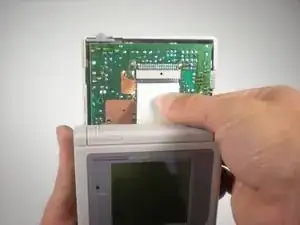
Grip the ribbon connector with your thumb and forefinger. Pull down gently until the connector, not the ribbon itself, comes out of its socket.
-
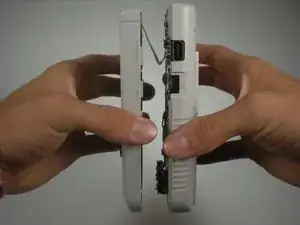
Separate the front and back casings.
-
-
-
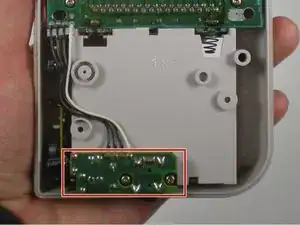
The headphone jack is located on the bottom of the rear outer casing, near the battery compartment.
-
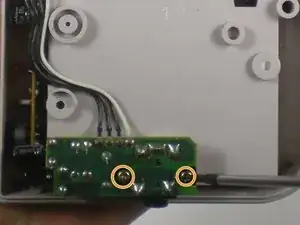
Use a Phillips #00 screwdriver to remove the two screws holding the headphone jack in place.
-
-
-
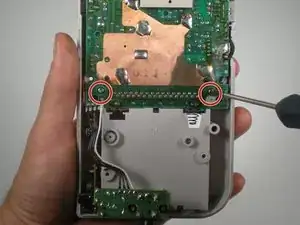
Use a Phillips#00 screwdriver to remove the two screws that hold the main circuit board to the casing. This will allow access to the connection points of the headphone jack.
-
-
-
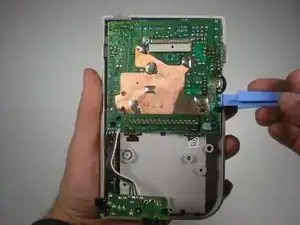
Use a plastic opening tool to remove the main circuit board from the casing.
-
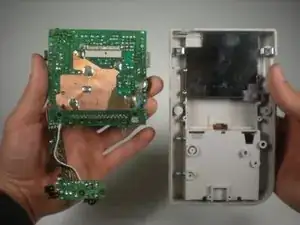
Once the main circuit board is removed, set aside the outer casing.
-
-
-
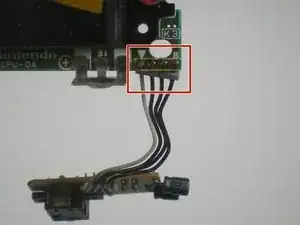
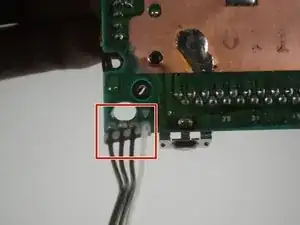
Desolder the four wires connecting the headphone jack to the motherboard.
-
Desolder the four wires connected to the headphone jack
-
Remove the headphone jack with tweezers.
-
To reassemble your device, follow these instructions in reverse order.
One comment
Hi, great work, but where could I find replacement to buy?
Thanks
