Introduction
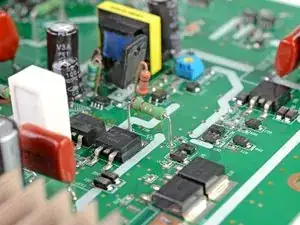
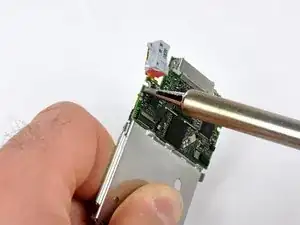
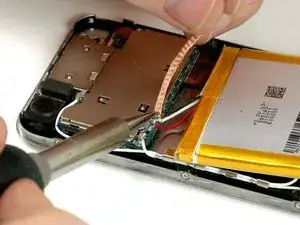
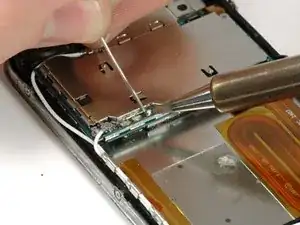
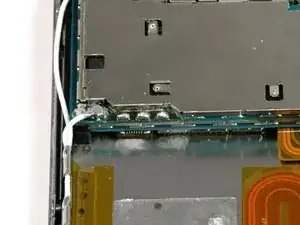
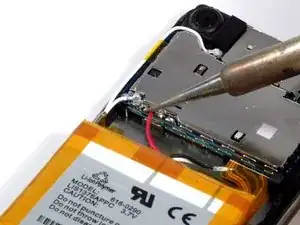
Newer generations of many electronics have batteries that are soldered directly to the logic board. This makes replacing the battery a much harder feat than older models, who use connectors to attach the battery to the logic board. This guide illustrates the various levels of difficulty in soldering, and teaches the technique of soldering three types of connections commonly seen in electronic gadgets:
Step 1: Beginning — Large thru-hole components, such as cylindrical capacitors;
Step 7: Intermediate — Small thru-hole components, such as battery leads and resistors; and
Step 11: Advanced — Small surface-mount components.
Always solder in a well ventilated area. If you are soldering sensitive electronics, be sure to work in an ESD (electrostatic discharge)-safe environment and use ESD-safe tools.
Tools
-
-
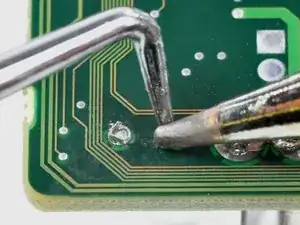
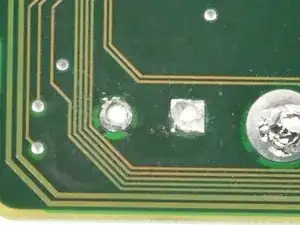
A capacitor was already removed from the two solder pads. Each pad was heated while the capacitor was pulled away from the board.
-
-
-
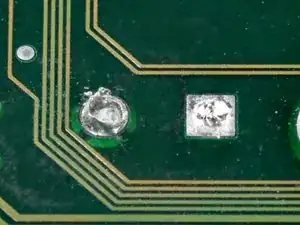
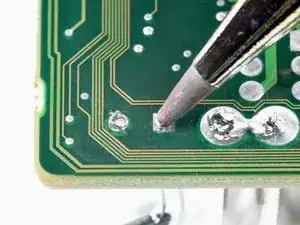
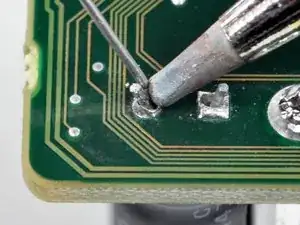
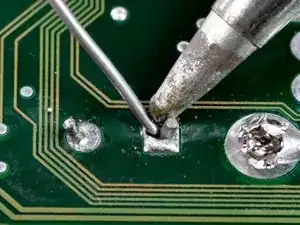
To open the hole blocked by solder, heat the solder pad with the tip of a soldering iron. Push through the molten solder from the other side with a staple or sewing needle.
-
-
-
When the tool has completely passed through the hole, enlarge the hole by heating the top side of the solder pad while pressing through with the tool.
-
-
-
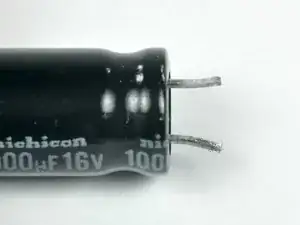
Run the soldering iron tip down the lengths of each contact to wipe the solder away from the component. Clean the iron's tip between strokes by wiping it against a moist sponge.
-
-
-
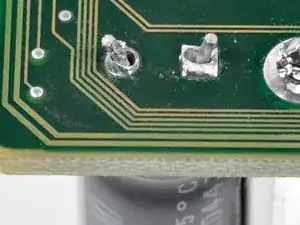
Insert the contacts into and through the holes made in the solder pads.
-
To ease in soldering, slightly bend the contacts protruding through the holes so they hold themselves in place.
-
-
-
To solder each connection:
-
Place the tip of the soldering iron against the solder pad.
-
Melt just enough solder onto the solder pad so that the capacitor's contact lead holds firmly in place.
-
Remove both the solder and the soldering iron tip from the connection as soon as enough solder melts onto the pad.
-
-
-
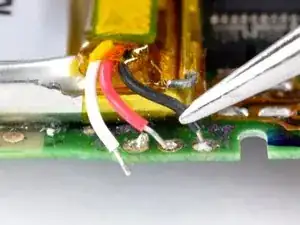
The leads were removed from the solder pads by heating the joint on the top side of the board, while pulling out the leads with a pair of tweezers.
-
-
-
Open the holes through the solder pads by pressing a straightened staple against the blockage while heating the same pad from the other side of the board.
-
-
-
To solder each connection:
-
Place the tip of the soldering iron against the solder pad.
-
Melt just enough solder onto the solder pad so that the contact leads hold firmly in place.
-
Remove both the solder and the soldering iron tip from the connection as soon as enough solder melts onto the pad.
-
-
-
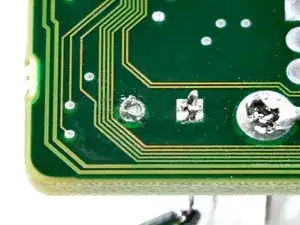
To de-solder the joint, place a solder wick on top of the existing solder ball and press down on the solder wick with the soldering iron.
-
Once the solder melts and flows into the wick, remove the wick from the joint.
-
Repeat the same procedure on the remaining leads.
-
-
-
To melt a small bead of solder onto each solder pad:
-
Place the tip of the soldering iron against the solder pad.
-
Melt solder so that it forms a dome on top of the pad.
-
Remove both the solder and the soldering iron tip from the solder pad as soon as enough solder melts onto the pad.
-
-
-
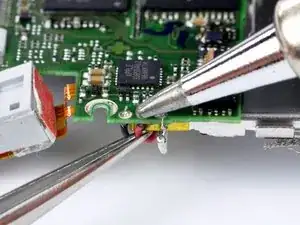
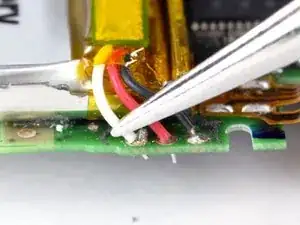
To solder the new leads to the board, place the bare end of one lead onto the bead of solder on its corresponding solder pad.
-
Press the tip of the soldering iron onto the solder bead until it melts.
-
Slide the exposed end of the lead into the liquid solder until it is in the center of the bead, then remove the soldering iron.
-
Continue with the other connections the same way, taking special care not to solder two of the pads together.
-
To reassemble your device, follow these instructions in reverse order.
34 comments
This is a great guide with awesome clarifying pictures.
Thanks!
Martin -
TIP: Another method which works well for clearing solder from holes (especially on repairs like AC Jacks on laptops) is to use compressed air to clear melted solder from holes. A quick blast with a duster can works well (I have even used a drink straw in a pinch and blown out with a blast of air from mouth). Heat the solder until it liquefies, put the duster straw right above the solder and quickly hit the melted solder with an air blast to instantly clear the hole of solder. This works well on very small holes as melted solder does not always push out cleanly with metal tools. You have to be quick with the air blast because the solder re-hardens rapidly.
just be careful doing this lol, flying molten solder can and will burn you or other components.
Logixal -
This is not IPC standards but for the ghetto approach, it will get the job done. I solder in manufacture settings, run my own shop. This is wrong to a degree but will do. If ifixit would like tips from ILLFIXIT then your more then welcome!
yeaaaa….. i was going to say something along these lines lol. itll get the job done but its by no means the right \ best way to do the job.
Logixal -



This is for "Introduction" but didn't see how to comment there.
Says "newer generations" have soldered batteries but there's no reference as to when this was written so that's not very meaningful. Request clarification.
Joe -
加熱してハンダが融けたことを確認してから、部品をゆっくり引き上げて外してください。
n s -
Are we to assume that “ESD” stands for “ElectroStatic Discharge?” Keep in mind that newbies (like me) don’t commonly see or use these abbreviations.
ronherrmann -
That is correct! I’ll adjust the introduction to clarify that.
Arthur Shi -