Introduction
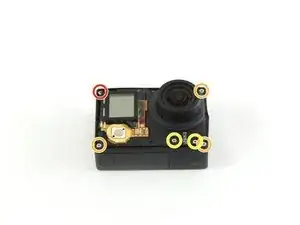
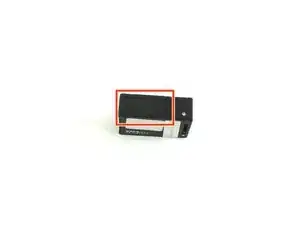
Replace the battery housing when the device will not power on but the battery has been verified to work.
-
-
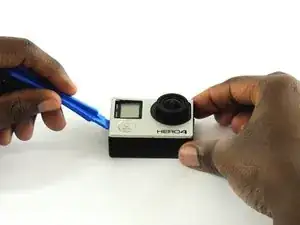
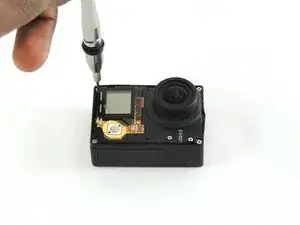
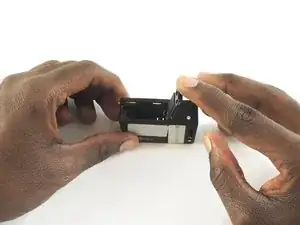
Remove the faceplate by carefully prying around the edge using a plastic opening tool. Loosen the clips on the edge, then pull the faceplate off.
-
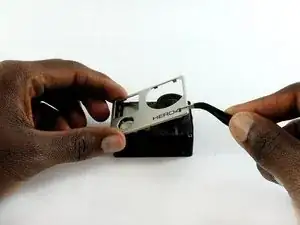
Use the tweezers to lift the faceplate from the rest of the device.
-
-
-
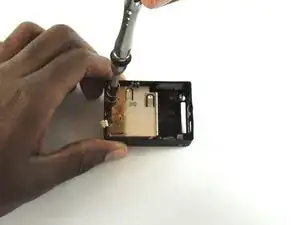
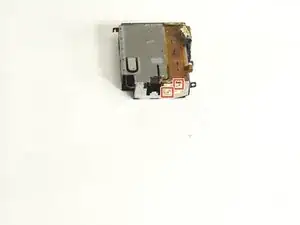
Using a #00 Phillips head screwdriver, remove the following screws:
-
One 4.6 mm screw
-
Three 8.2 mm screws
-
Two 6.1 mm screws
-
-
-
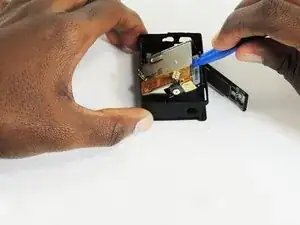
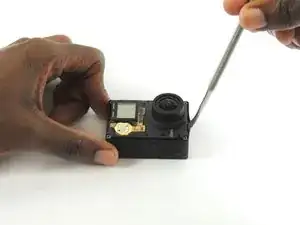
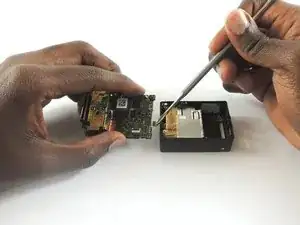
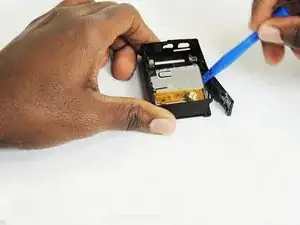
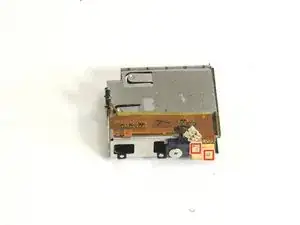
Insert a metal spudger between the back plastic housing and the camera board assembly. Working around the edge to be careful of the inner components, carefully remove the camera.
-
-
-
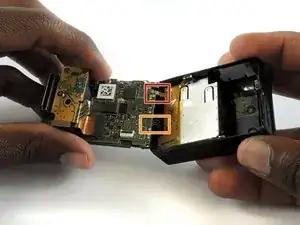
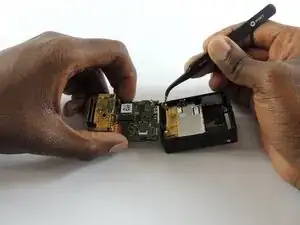
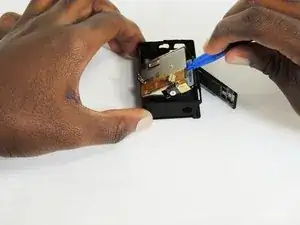
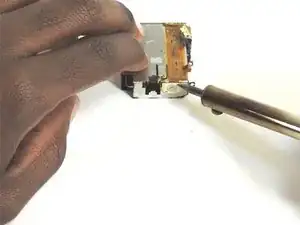
Using tweezers, remove the ribbon strip by pulling on it. This will remove the connection.
-
Push down on the three wires with the metal spudger and the clip will disconnect from the motherboard.
-
-
-
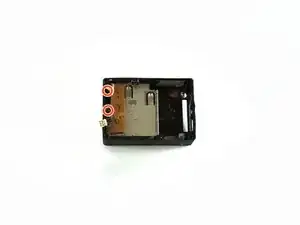
Using tweezers, carefully remove the shutter button board the rest of the way from the battery housing.
-


To reassemble your device, follow these instructions in reverse order.
One comment
Hi, I have a big problem, I don’t get the ribbon from Step 4 back on, do you got any advice? I’m running out of ideas how to get that in…