
Introduction
This repair guide was authored by the iFixit staff and hasn’t been endorsed by Google. Learn more about our repair guides here.
Use this guide to replace a cracked or faulty screen, including the display and digitizer, on your Google Pixel 2 XL. If it does not include adhesive, the replacement part will need replacement adhesive in order to seal the phone. There may also be small parts that need to be transferred from the original display to the replacement. Inspect both displays closely to make sure all relevant components are moved from the original display to the replacement.
-
-
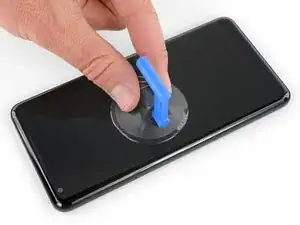
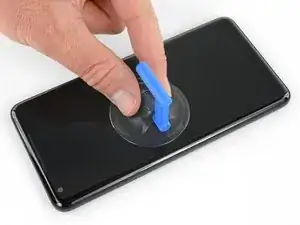
Apply a suction cup as close to the SIM slot edge of the phone as you can while avoiding the curved edge.
-
-
-
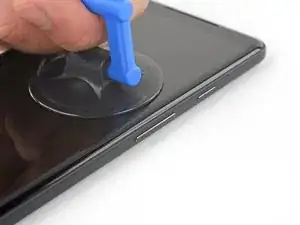
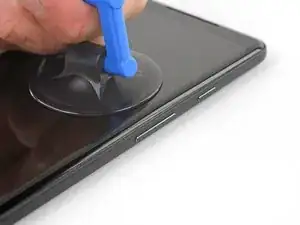
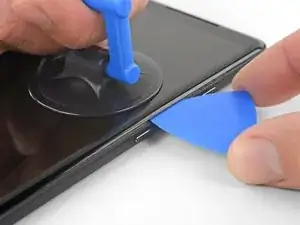
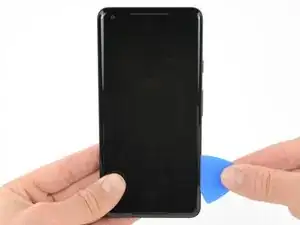
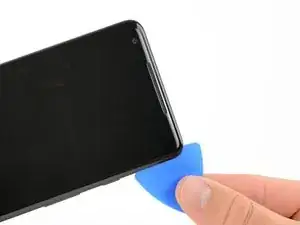
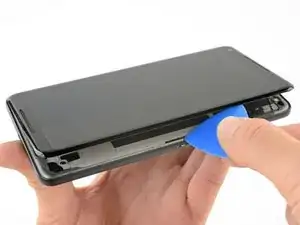
Pull up on the suction cup with firm, constant pressure and insert an opening pick between the front panel and rear case.
-
-
-
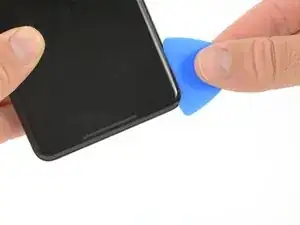
Do not insert the pick more than 0.25 inches (6 mm) into the bottom edge of the phone. If the pick contacts the folded portion of the OLED panel, it can damage the display.
-
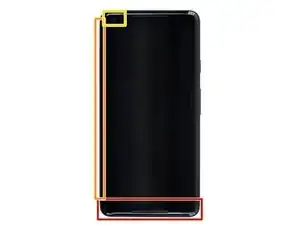
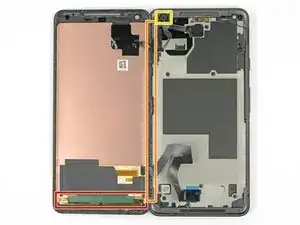
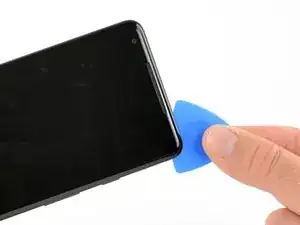
Do not cut along the left edge; there are delicate display cables that can be damaged.
-
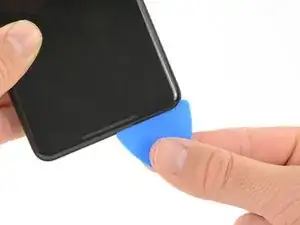
Only make very shallow cuts in the upper left corner; prying deeply can damage the front-facing camera.
-
-
-
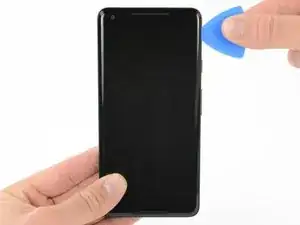
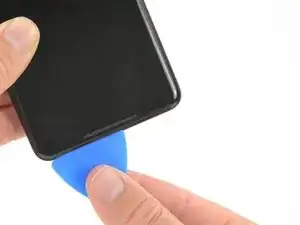
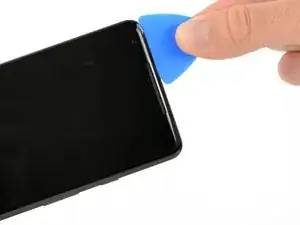
Reinsert the flat edge of the pick at the top-right corner of the phone, and slide it around the corner and the top edge of the phone.
-
-
-
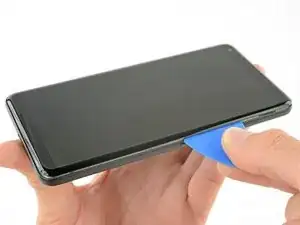
Gently lift the display from the right side of the phone, opening it like a book.
-
Carefully lay the display flat on the table next to the rest of the phone, keeping it close to the phone to avoid straining the display and digitizer cables.
-
-
-
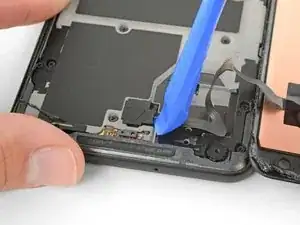
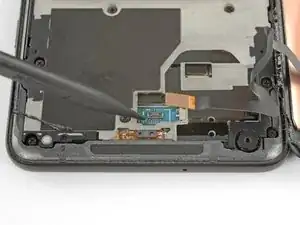
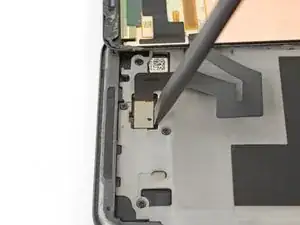
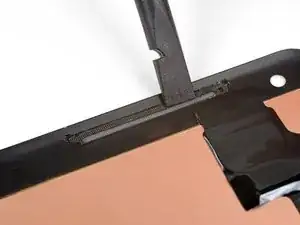
Use the corner of an opening tool to pry up the digitizer cable connector cover.
-
Remove the connector cover.
-
-
-
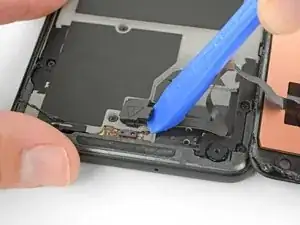
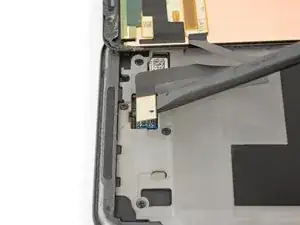
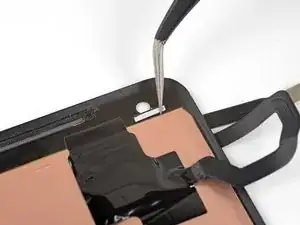
Use the point of a spudger to lift the digitizer cable connector up and out of its socket on the motherboard.
-
-
-
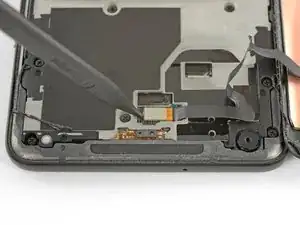
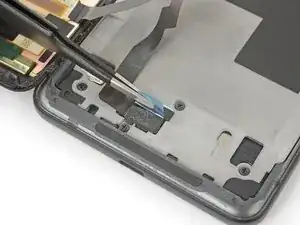
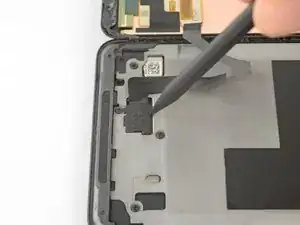
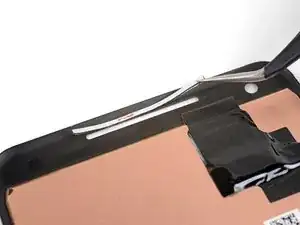
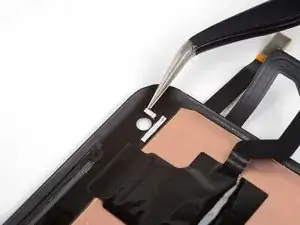
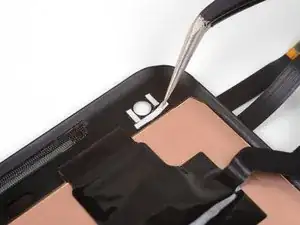
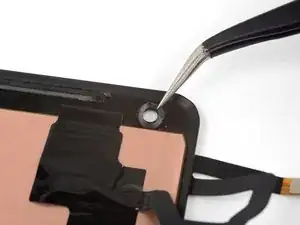
Insert the point of a spudger into the small hole on the edge of the display connector cover.
-
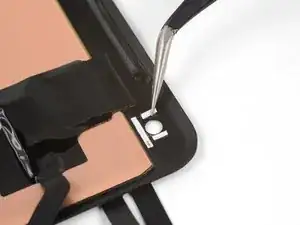
Use the spudger to pry the cover out of its recess.
-
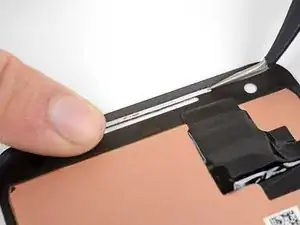
Remove the connector cover.
-
-
-
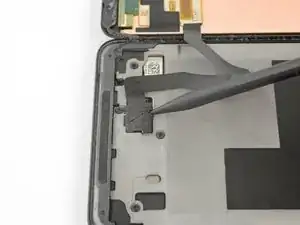
Use the flat edge of a spudger to lift the display cable connector up from its socket.
-
Remove the display.
-
-
-
Your replacement display may not come with pre-installed speaker grilles or a front-facing camera gasket. If that is the case, use tweezers to carefully remove these parts from your old display and follow the rest of the guide to install them on a new display.
-
Clean any adhesive residue off of the parts before reinstalling them.
-
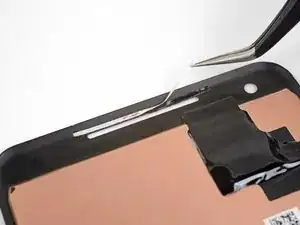
Cut a strip of 1 mm wide double-sided tape to be about 3 cm (1.25 inches) long.
-
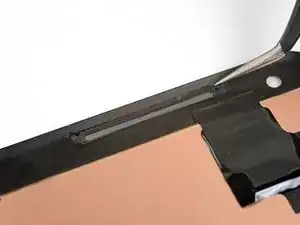
Lay the adhesive strip along the upper edge of the earpiece speaker slot in your new display so that it's centered over the slot and touching the upper edge.
-
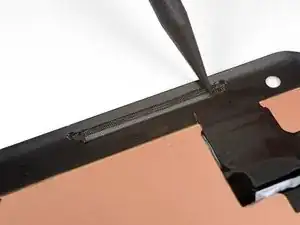
Gently press the adhesive strip into place on the display with your finger or a spudger.
-
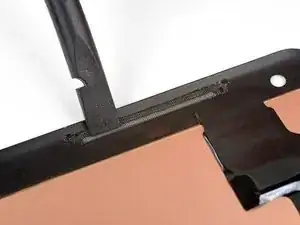
Peel the white backing away from the adhesive strip.
-
-
-
Lightly set the speaker grille into its slot so that the indented half of the grille sits inside the slot, and the flat, unindented half of the grille is above the slot on top of the adhesive. Do not push it onto the adhesive yet.
-
Use the point of a spudger to gently push the edges of the grille against the edges of the slot, centering the grille in the slot.
-
-
-
Use the flat end of a spudger to push the top of the grille down against the adhesive strip.
-
Repeat the last three steps to install the lower speaker grille.
-
When installing the lower speaker grille, apply the adhesive strip to the lower edge of the speaker slot, and position the grille with the flat half below the slot.
-
-
-
Cut one strip of 1 mm wide adhesive to be 6 mm (1/4") long.
-
Place the adhesive underneath the front-facing camera hole, parallel to the top edge of the display.
-
Cut two 3 mm (1/8") strips of 1 mm wide adhesive.
-
Place the adhesive strips to the left and right of the camera hole, perpendicular to the bottom adhesive strip.
-
Gently press the adhesive strips into place on the display with your finger or a spudger.
-
-
-
Carefully place the front-facing camera gasket down on top of the adhesive.
-
Make sure that the gasket is centered around the camera hole. If it overlaps the hole at all, it will disrupt the function of the camera.
-
Press the gasket down against the adhesive with your finger or a spudger.
-

Compare your new replacement part to the original part—you may need to transfer remaining components or remove adhesive backings from the new part before installing.
To reassemble your device, follow the above steps in reverse order.
Take your e-waste to an R2 or e-Stewards certified recycler.
Repair didn’t go as planned? Check out our Answers community for troubleshooting help.

36 comments
Be very careful on the bottom connection, if done incorrectly, 2 small components controlling bottom speaker are easily damaged, this will result in a motherboard replacement or replacing someones phone. Take it from me and a few others on the site…go at this slow and careful. Besides that risk, the phone is pretty simple to repair.
Tom Gray -
Hi Tom, what component are you talking about? I'm about to dive into this and it might be wise for me to doublecheck this prior to repairing it!
Showing where to place the new tape would be helpful.
Agreed. And also which one we need, is it the 1mm or others? Putting off my repair until I get this tape, going with the 1mm for now…
Shouldn’t this be “As close as possible to the volume rocker”?
Mihai Turdean -
Forget about the tiny toy suction cup they provide to battery replacement kits. I used a dent puller from an automotive shop. The smallest they had was just small enough for the Pixel's screen. I still needed to heat the edges with a heat gun.
Tamás Polgár -
I wish someone tell me in advance that if I doing this replacement after using phone for a few years it better to have spare "display adhesive" and be ready to follow Google Pixel 2 XL Display Adhesive Replacement
Original adhesive become dirty with time and fat chances it will be damaged during opening phase. In my case I replaced battery but can't use the phone, as still waiting for adhesive to be delivered
Maxim Vorontsov -