Introduction
This repair guide was authored by the iFixit staff and hasn’t been endorsed by Google. Learn more about our repair guides here.
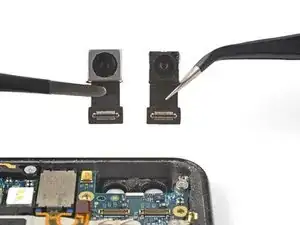
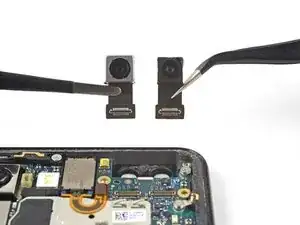
Follow this guide to remove and replace the front-facing selfie cameras for the Pixel 3. The cameras are modular and can be individually replaced.
When looking at the display, the wide-angle camera is on the left, while the normal angle camera is on the right.
This guide is also part of the motherboard removal guide and contains references related to motherboard removal.
Tools
Parts
-
-
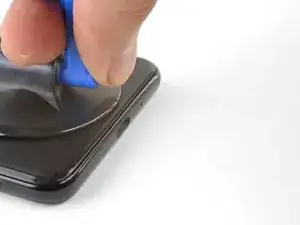
Apply a suction cup to the heated bottom edge of the back cover.
-
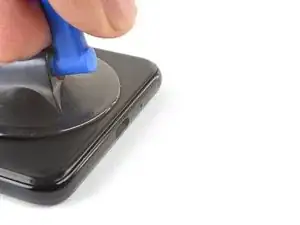
Lift on the suction cup with strong, steady force to create a gap.
-
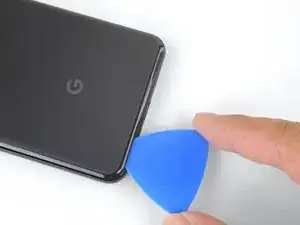
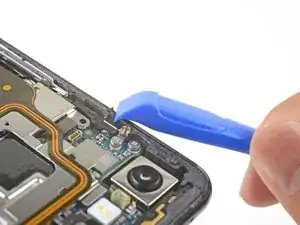
Insert an opening pick into the gap.
-
-
-
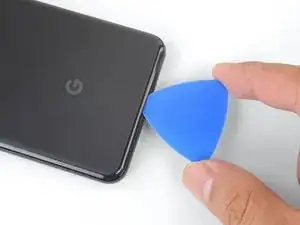
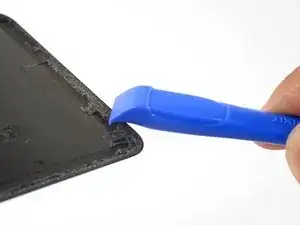
Slice the adhesive along the bottom edge of the phone and around the right corner.
-
Leave a pick in the bottom edge to prevent the adhesive from re-sealing.
-
-
-
Continue heating and slicing through the rest of the phone perimeter. Leave a pick in each edge to prevent the adhesive from resealing.
-
-
-
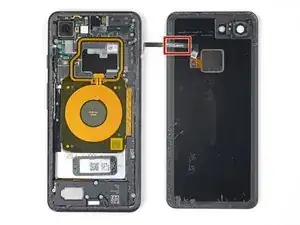
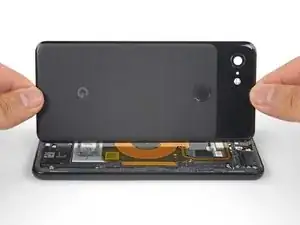
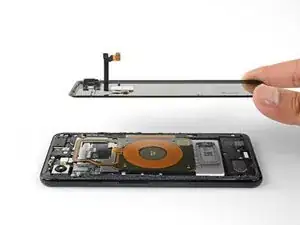
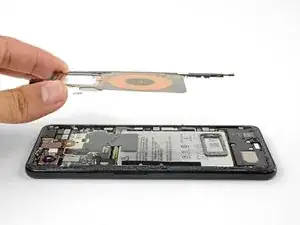
Once you have sliced around the perimeter of the phone, carefully lift the left edge of the back cover.
-
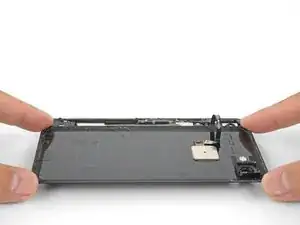
Flip the back cover along its long axis and rest it so that the fingerprint sensor cable is not strained.
-
-
-
Use the point of a spudger to slide the fingerprint connector bracket out from under the NFC coil.
-
Remove the fingerprint connector bracket.
-
-
-
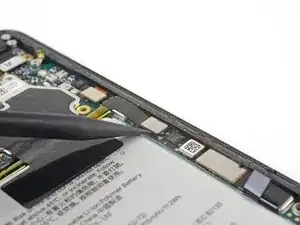
Use the point of a spudger to pry up and disconnect the fingerprint connector from its socket.
-
-
-
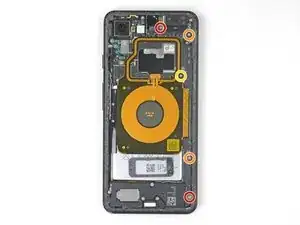
Remove the five Phillips screws securing the wireless charging coil:
-
Two 1.9 mm screws
-
Two 4.2 mm screws
-
One 4.3 mm screw
-
-
-
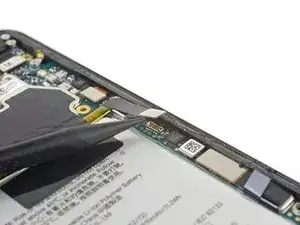
Use the point of a spudger to pry up and disconnect the battery press connector from its socket near the right edge of the phone.
-
-
-
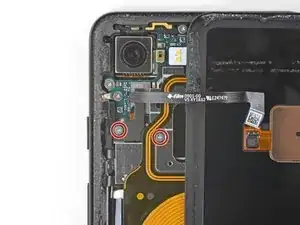
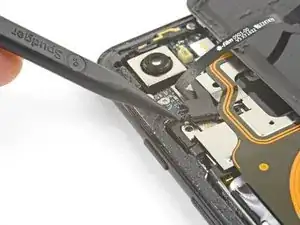
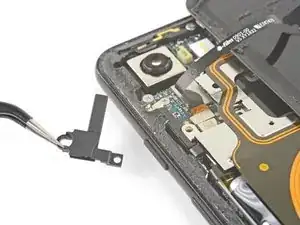
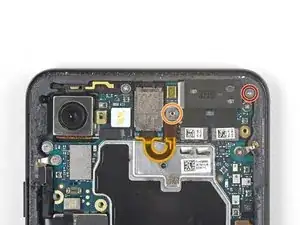
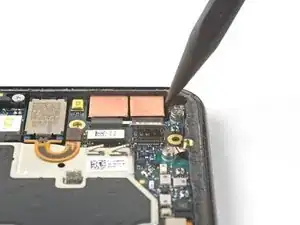
Remove the two screws securing the camera bracket:
-
One 4.1 mm Phillips screw
-
One 4 mm standoff screw
-
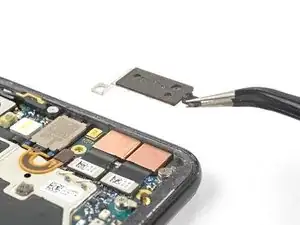
Remove the camera bracket.
-
-
-
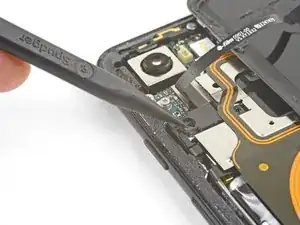
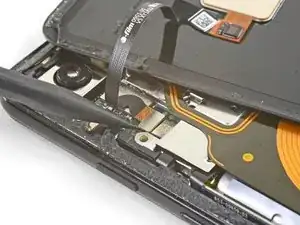
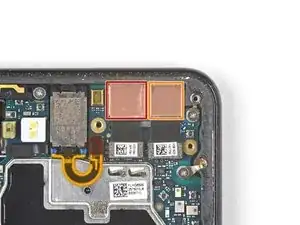
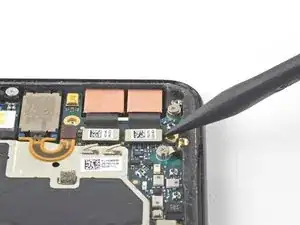
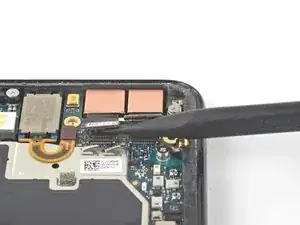
Use the point of a spudger to pry up and disconnect the connector for the camera(s) you are replacing.
-
-
-
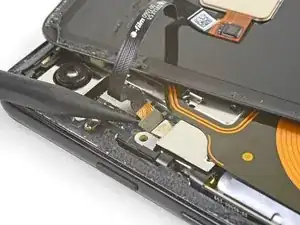
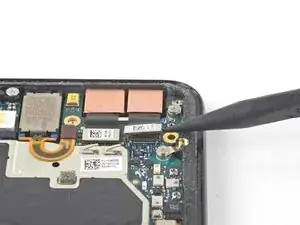
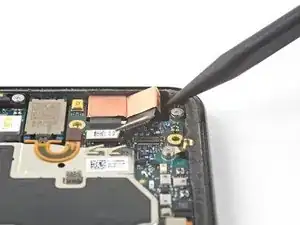
Insert the point of a spudger behind the edge of the camera module and pry up to loosen it from the frame.
-
To reassemble your device, follow these instructions in reverse order.
Repair didn’t go as planned? Check out our Google Pixel 3 Answers community for troubleshooting help.
2 comments
There is only 1 front facing camera on a Pixel 3
Pixel 3 have two front facing cameras but Pixel 3a has only one.
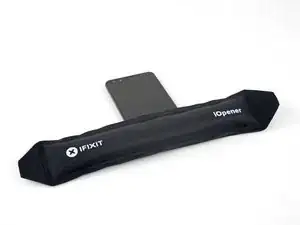
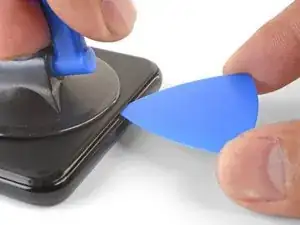
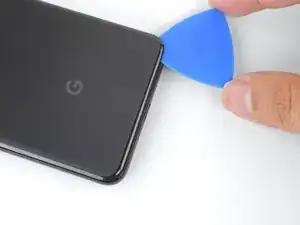
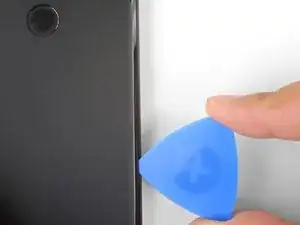
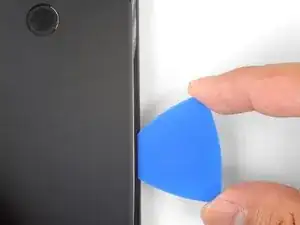
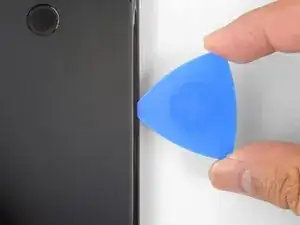
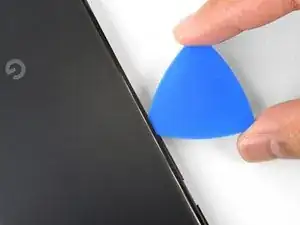
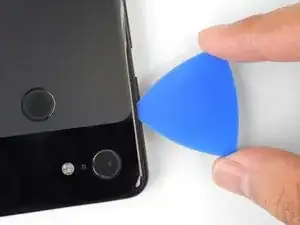
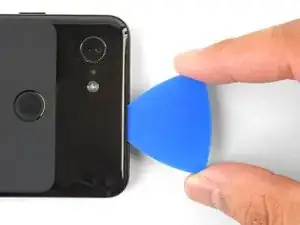
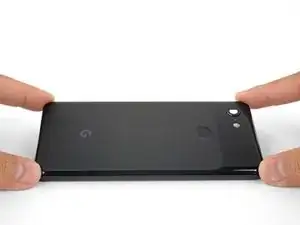

Older devices may require 2 or more minutes with a very hot iOpener. Also note, the photo shows the opener on the FRONT of the phone. The heat needs to be applied to the back of the device!
Rick Johnson -
I just realized that I was trying to pry apart the front of my Pixel 3… and have separated the class from the display. ??♂️ Even though the rest of the directions show the back, it would be nice for the first picture to also show the back, just to be safe.
JR Raith -
Agreed, I’ve done exactly the same and completely broken my display. I probably should’ve paid more attention to the initial steps before diving in but the step could do with a new picture for sure.
Daniel Fryer -
Thanks for the comments! I’ll add a note in the step warning people to make sure to pry the back cover, not the screen.
Arthur Shi -
I prefer my favorite opening method with something like this. Dental floss. So thin it can slide in the gap. A little sawing to get it far enough past the edge to lift and get the first pick in.
John Hoffstetter -
I found another wonderful tool. I used something like medicine packaging which is aluminum foil with plastic. It’s thin and strong enough!
Christie Lin -
I also went for the hairdryer, dental floss, and then the provided picks and this worked. Not easy to get that initial seal broken but once that's done the rest is pretty easy.
James -
I needed 20 nerve wracking minutes with a hairdryer
Amy schneider -
My battery had bulged and opened the case for me!
Warmed it up a bit with hairdryer
Floss helped also.
David Lincer -