
Introduction
This repair guide was authored by the iFixit staff and hasn’t been endorsed by Google. Learn more about our repair guides here.
This is a prerequisite guide! This guide is part of another procedure and is not meant to be used alone.
Use this guide to disconnect the battery in the Google Pixel 6.
-
-
Apply a heated iOpener to the screen to loosen the adhesive underneath. Apply the iOpener for at least 3 minutes.
-
-
-
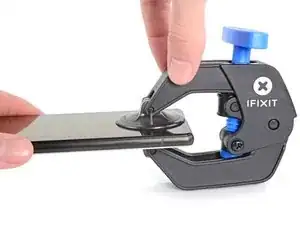
The next two steps demonstrate the Anti-Clamp, a tool we designed to make the opening procedure easier. If you aren't using the Anti-Clamp, skip down two steps for an alternate method.
-
Pull the blue handle towards the hinge to disengage opening mode.
-
Position the suction cups near the bottom edge of the phone—one on the front, and one on the back.
-
Push down on the cups to apply suction to the desired area.
-
-
-
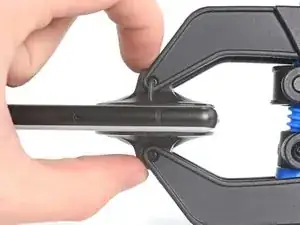
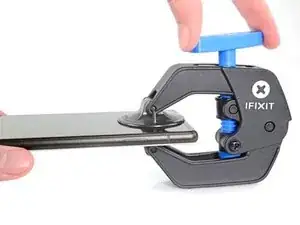
Push the blue handle away from the hinge to engage opening mode.
-
Turn the handle clockwise until you see the cups start to stretch.
-
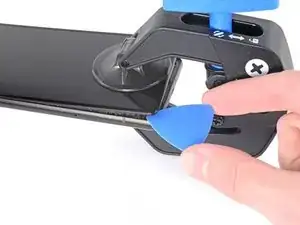
Wait one minute to give the adhesive a chance to release and present an opening gap.
-
Insert an opening pick under the screen frame when the Anti-Clamp creates a large enough gap.
-
Skip the next two steps.
-
-
-
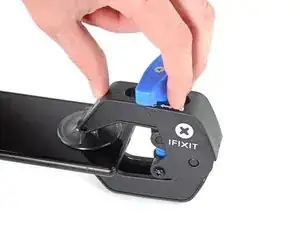
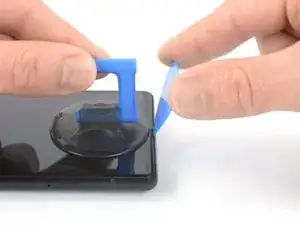
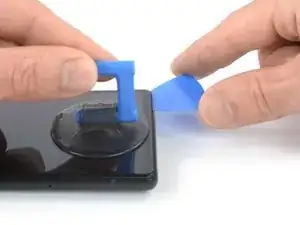
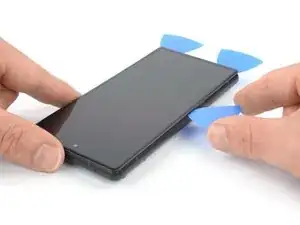
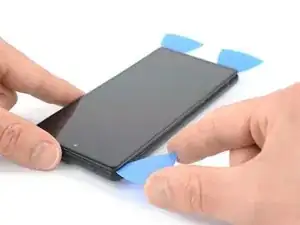
Once the screen is warm to the touch, apply a suction handle to the bottom edge of the screen.
-
Lift the screen, including its safety frame, with the suction handle to create a small gap between the screen and the phone assembly.
-
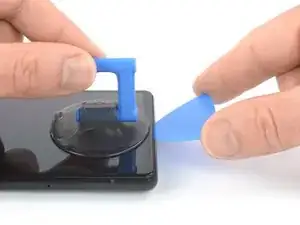
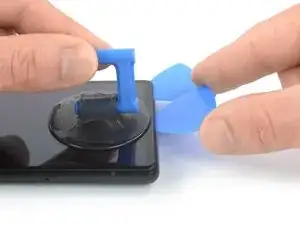
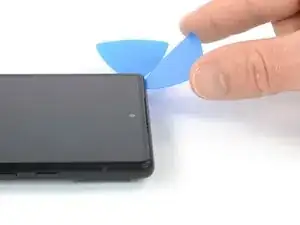
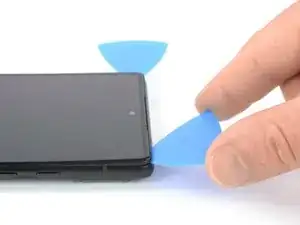
Insert an opening pick into the gap between the screen frame and the phone assembly.
-
Slide the opening pick to the bottom right corner of the screen to slice its adhesive.
-
Leave the opening pick in place to prevent the adhesive from resealing.
-
-
-
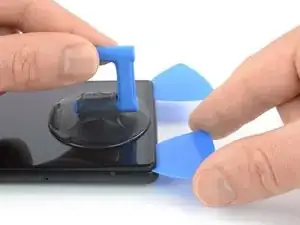
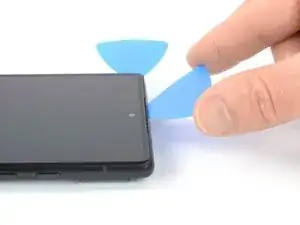
Insert a second opening pick at the bottom edge and slide it to the bottom left corner of the screen to slice the adhesive.
-
Leave the opening pick in place to prevent the adhesive from resealing.
-
-
-
The screen of the Google Pixel 6 is not only held in place by adhesive but also small plastic clips. If your opening pick gets blocked during the screen removal procedure, it means you inserted your pick too deep underneath the screen. Only insert the tip of the opening pick (3-4 mm) when slicing the display adhesive.
-
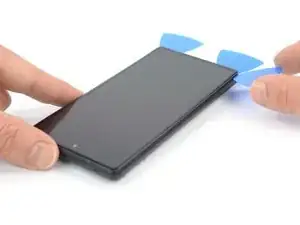
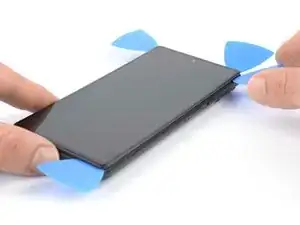
Insert a third opening pick underneath the bottom left corner of the screen.
-
Slide the opening pick along the left edge of the screen to slice the adhesive.
-
Leave the opening pick in the top left corner to prevent the adhesive from resealing.
-
-
-
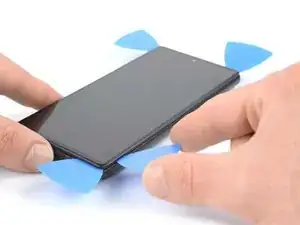
Insert a fourth opening pick at the top left corner of the screen.
-
Slide the opening pick along the top edge of the phone to slice the adhesive.
-
Leave the opening pick in the top right corner to prevent the adhesive from resealing.
-
-
-
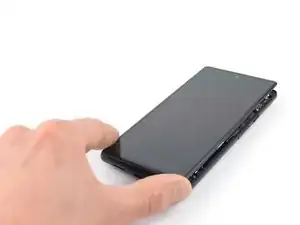
Insert a fifth opening pick and slide it along the right edge of the phone to slice the remaining adhesive.
-
-
-
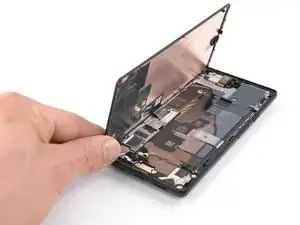
Carefully open the right side of the screen to the left side of the phone assembly like you would open a book.
-
-
-
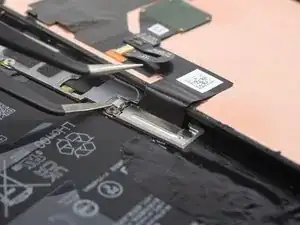
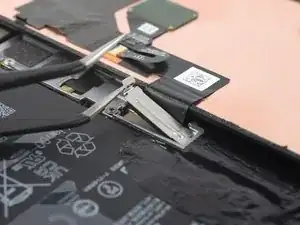
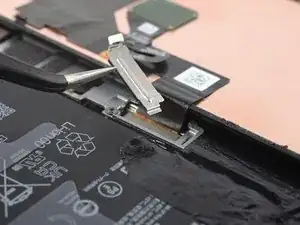
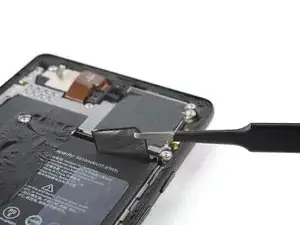
Use a pair of tweezers to carefully unhinge and remove the metal bracket sitting on top of the display cable connector.
-
-
-
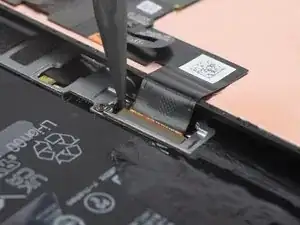
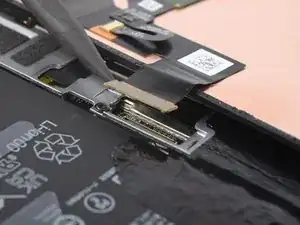
Use a spudger to disconnect the display flex cable by prying the connector straight up from its socket.
-
-
-
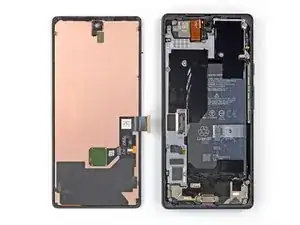
Remove the screen.
-
Follow this guide if you're using custom-cut adhesives for your device.
-
Follow this guide if you're using a pre-cut adhesive card.
-
-
-
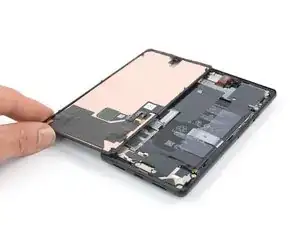
Apply a heated iOpener or a heat gun to the rear glass to loosen the adhesive underneath the graphite films on top of the battery. Apply the iOpener for at least two minutes.
-
-
-
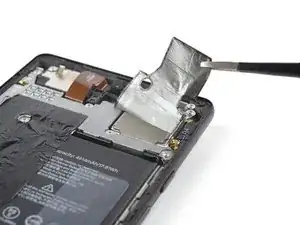
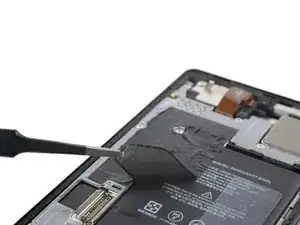
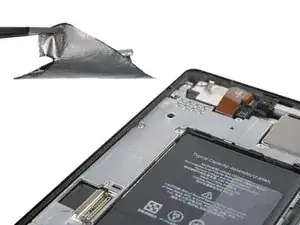
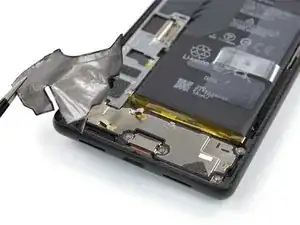
Use a pair of blunt nose tweezers or a clean fingernail to carefully peel the black graphite film off the top edge of the battery and the motherboard shield.
-
Remove the graphite film.
-
-
-
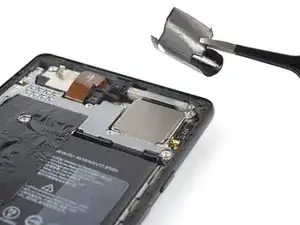
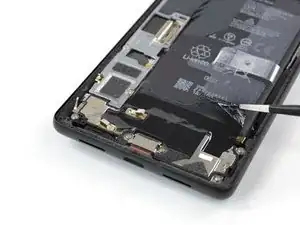
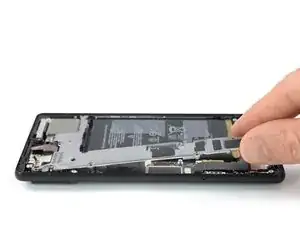
Use a pair of blunt nose tweezers or a clean fingernail to carefully peel the black graphite film off the left edge of the battery and the motherboard shield.
-
-
-
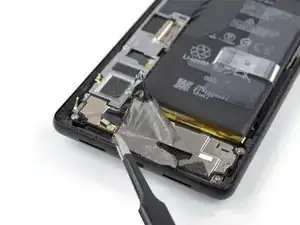
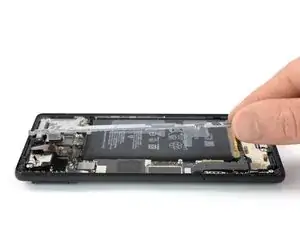
Use a pair of blunt nose tweezers or a clean fingernail to carefully peel the black graphite film off the bottom edge of the battery and the loudspeaker assembly.
-
Remove the graphite film.
-
-
-
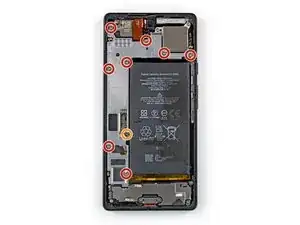
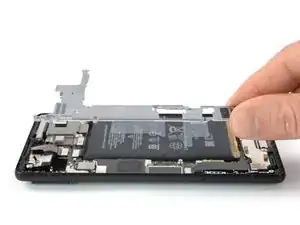
Use a Torx T3 screwdriver to remove the screws securing the motherboard cover:
-
Eight 4.8 mm-long screws
-
One 2.4 mm-long screw
-
-
-
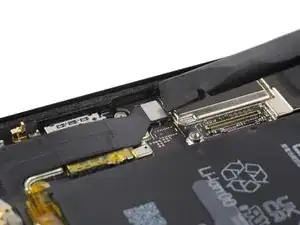
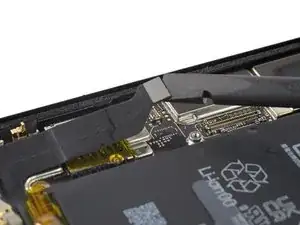
Use a spudger to disconnect the battery cable by prying the connector straight up from its socket.
-


To reassemble your device, follow these instructions in reverse order.

what area of the phone do i apply it to?
middle, edges, diagonal?
johnathandoe -