Introduction

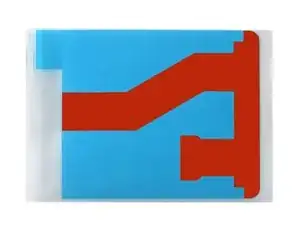
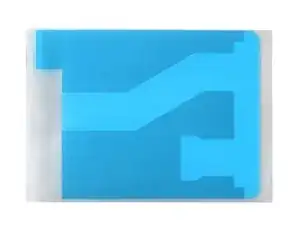
Follow this guide to replace the battery adhesive on your Motorola phone.

  1. 6ZWuAtbMT4hNGvCT
    • If there's any alcohol remaining from battery removal, use a lint-free cloth to wipe it up or allow the alcohol to dry off before installing new adhesive.

    • Before performing this repair, ensure the display cable is tucked in its space under the motherboard. If the cable is sticking out, the new adhesive won't be able to lay completely flat.

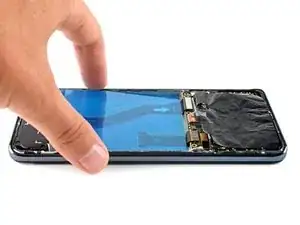
    • Use tweezers to remove all of the old adhesive from the battery's recess.

  2. LVfDDnfn3xWcuhVt
    LVfDDnfn3xWcuhVt
    Cp2WkGmf41ZcSxJ3
    tVuMS4WReVNZHBjT
    • Before removing any liners, use the guide lines on the new adhesive to find the proper orientation in the battery recess.

  3. yIDoYAc1TYw2TZaK
    yIDoYAc1TYw2TZaK
    KZf1aTiGST14RIFl
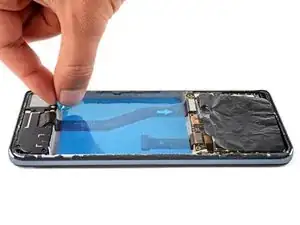
    • Use the pull tab on the blue liner to separate the adhesive from the white liner.

  4. lMEHSvap5A2ka6xI
    lMEHSvap5A2ka6xI
    iZCGYXkWqULohi4S
    Vq4u2sHJKMQYrbtY
    • Be very careful during this step! The adhesive is very sticky, and can't be repositioned once it sticks.

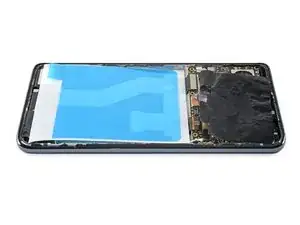
    • With the adhesive in its proper orientation, lay it sticky side down in the battery recess.

    • Use a spudger or your fingers to firmly press down on the blue liner to secure the new adhesive to the frame.

  5. 3nogkCkChsVYJBh3
    3nogkCkChsVYJBh3
    ECyEsXdocPnTlsdc
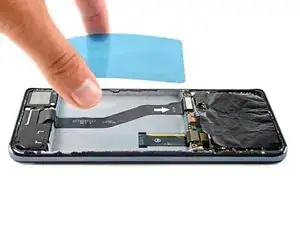
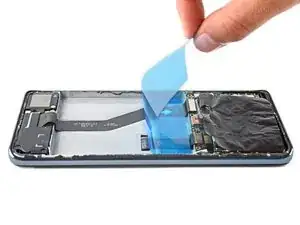
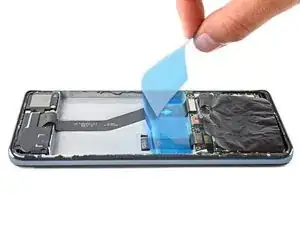
    • Use the pull tab to peel the blue liner from the adhesive.

    • Make sure the adhesive is sticking to the frame and isn't being pulled up with the blue liner.

    • If the adhesive is being pulled up, lay it back down, press down firmly on it with a spudger or your fingers, and try again.

  6. XbXKe1232RxPbnVG
    XbXKe1232RxPbnVG
    ZBUtHjYpXSjIPFq6
    GH4ndKOwXZ52Z1GG
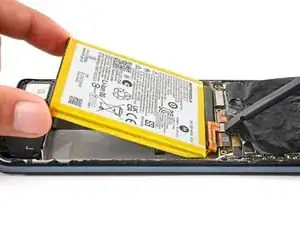
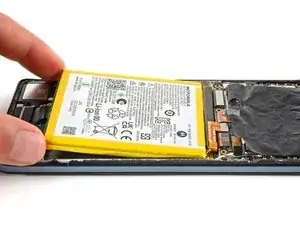
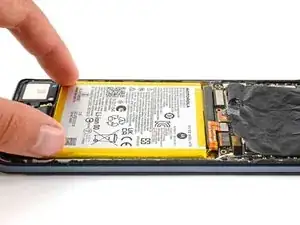
    • Before laying the battery in its recess, temporarily reconnect the battery's press connector to the motherboard socket. This ensures that the battery is properly aligned in its recess.

    • Lay the battery in its recess.

    • Firmly press down on the perimeter and center of the battery to adhere it to the frame.

  7. mIhaTXCAjeMmsIFc
    mIhaTXCAjeMmsIFc
    YqynYyW6JbmHShaR
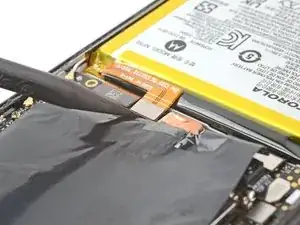
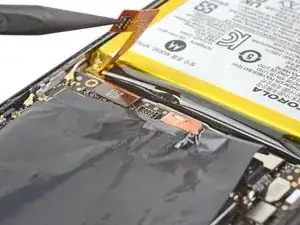
    • Use the pointed end of a spudger to pry up and disconnect the battery's press connector.

Conclusion

The battery is now ready for use. Return to your phone's repair guide and continue reassembly.
Spencer Day

Member since: 14/09/22

16773 Reputation

0 comments