Introduction

I used coconutBattery 3.7 for this guide. I will update this guide promptly if the UI ever changes in the future.

  1. O3DRjCmX2mCKVQ6R
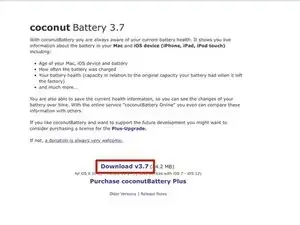
    • Head on over to the coconutBattery website and grab a copy of coconutBattery.

    • I used coconutBattery 3.7 for this tutorial, and if the UI ever changes in the future I will promptly update this guide as needed.

    • Hit that download button. It should be downloading into wherever you set your downloads to download to.

    • coconutBattery Website

  2. R5HPshmaJvlKPPG2
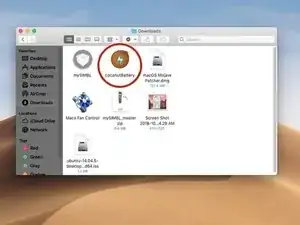
    • Lucky us! coconutBattery is already ready to run after being downloaded.

    • Double click on the coconutBattery application.

    • The location of where you have saved the coconutBattery application may vary. For me, I saved it to my Downloads folder.

  3. oel5LIG2gyXqQN2o
    • Now, get the charger (lightning pin cable) for your iDevice and plug the USB-A port into your Mac and the Lightning Pin into your iDevice.

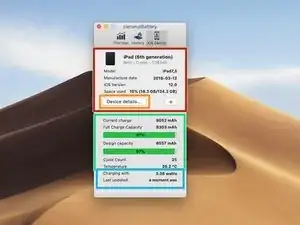
    • Click the iOS device icon and you should be directed to the iOS device battery page.

  4. m2WwLIunMcG3jNoU
    • All done! Now you can see...

    • Device information...

    • Advanced device information...

    • Battery information

    • Charger information

    • If you have been sent here by a user on the Answers Forum or are going to ask a question about your iDevice's battery on the answers forum, take a screenshot of this entire window and upload it with your question.

    • If you are unsure how to upload your screenshot to your existing question, you can use guide Adding Images to an Existing Question.

    • I was using my iPad for this guide because I left my iPhone at home. The steps should be no different with using an iPhone.

Conclusion

All done!

[deleted]

Member since: 28/08/18

24915 Reputation

0 comments