Introduction
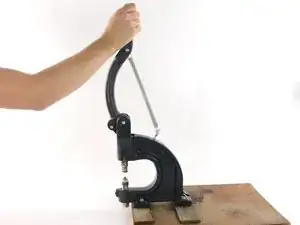
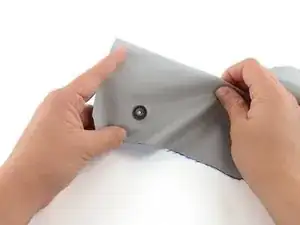
Oh snap! The snap on your jacket just blew out. Fortunately, replacing it is easy. You’ll need the help of a hand press and a new snap. The hand press should be mounted firmly to a sturdy workbench—otherwise, it might slip and damage your project (or worse yet, injure you). Before you get started, make sure you check the fabric to determine whether or not it’s been damaged to the point where it cannot support a new snap. If the fabric has been damaged, you’ll need to sew a reinforcing patch onto the fabric before replacing the snap.
For replacement parts or further assistance, contact Patagonia Customer Service.
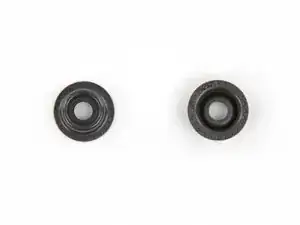
Parts
-
-
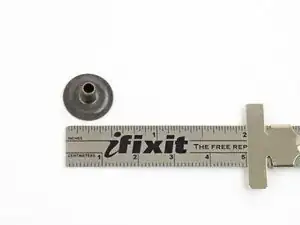
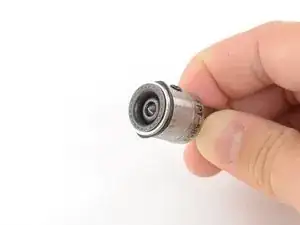
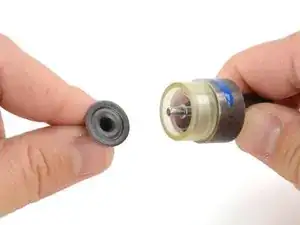
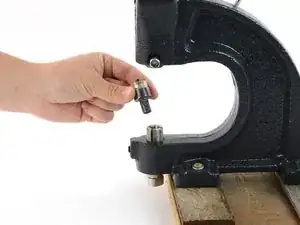
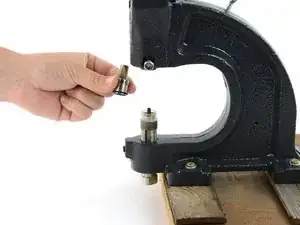
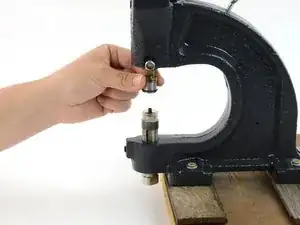
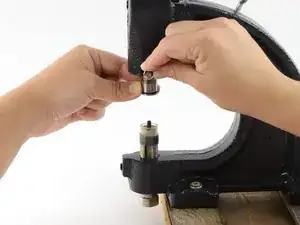
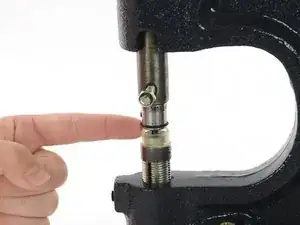
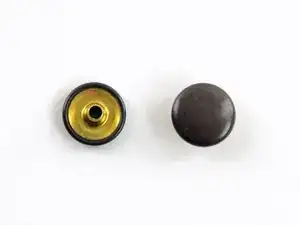
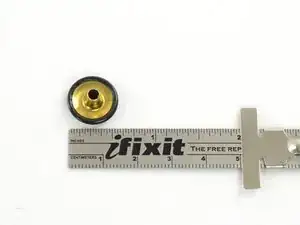
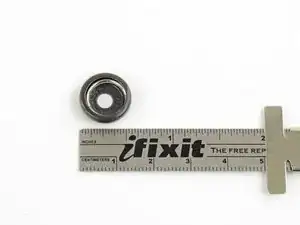
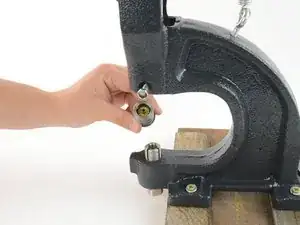
Measure the diameter of the stud and post to make sure they are the correct size. Ours are 1/2".
-
-
-
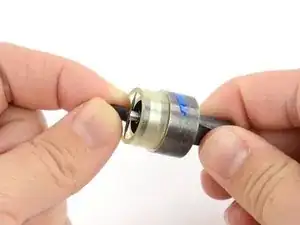
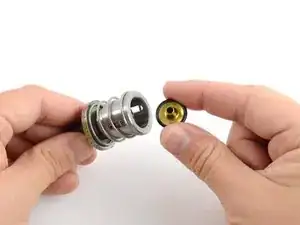
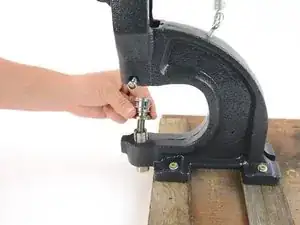
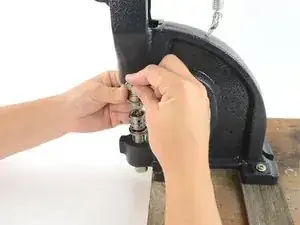
Insert the stud into the stud fitting for the hand press. The ridged part should set into the groove on the fitting. When correctly seated, the snap lays flat in the fitting.
-
-
-
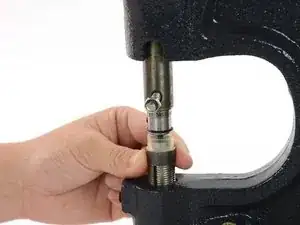
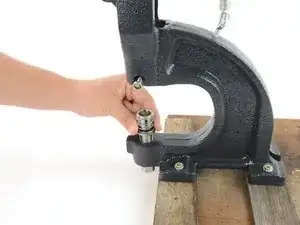
Insert the post into the post fitting for the hand press. The flat part of the post should sit inside the fitting with the shaft pointed out.
-
-
-
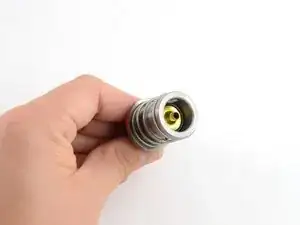
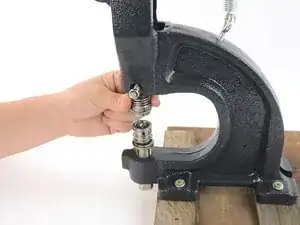
Insert the stud fitting into the upper fitting holder on the hand press.
-
Insert the fitting as far as it will go, so that the only visible part is the wider encasement portion of the fitting.
-
Tighten the screw on the side of the upper fitting holder to secure the stud fitting. Tighten the screw about a 1/4 turn past finger-tight.
-
-
-
Slowly pull the handle on the hand press to test the range of the fittings.
-
The fittings should just touch when the handle is pulled to its maximum.
-
If there is a gap in the fittings, adjust the height of the fitting base on the hand press by turning it until the fittings touch.
-
-
-
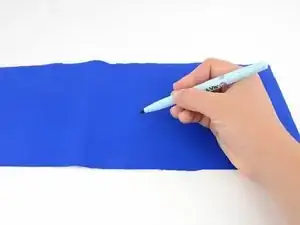
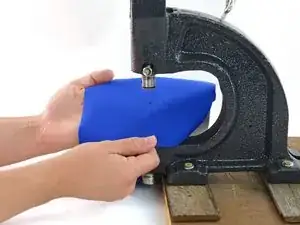
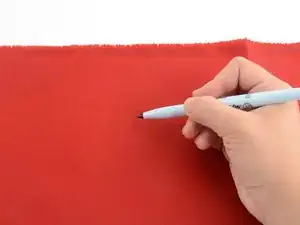
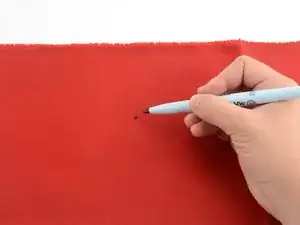
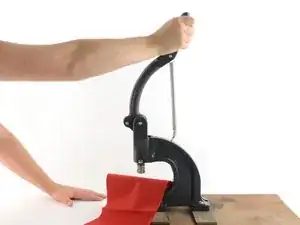
Mark the fabric where you will be inserting the snap.
-
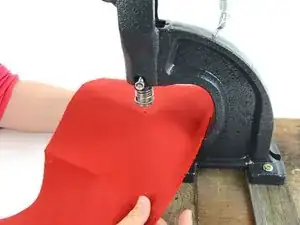
Align the fabric in the hand press so that the mark rests directly above the shaft of the post.
-
-
-
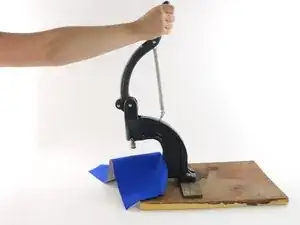
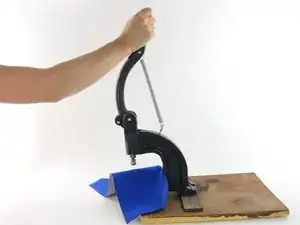
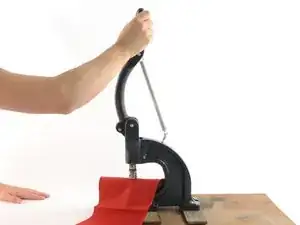
With the fabric aligned, pull the handle of the hand press down in one continuous motion.
-
Apply pressure until you feel the snap give.
-
-
-
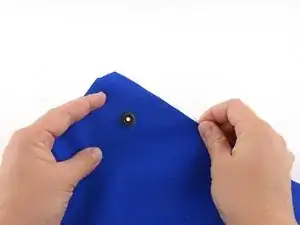
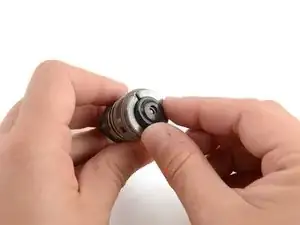
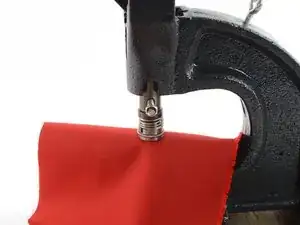
Release the handle of the hand press, and remove the fabric.
-
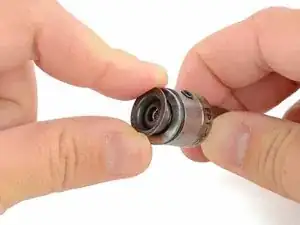
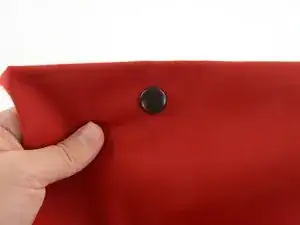
Inspect both sides of your snap to make sure that it is laying flat and tight up against the fabric.
-
-
-
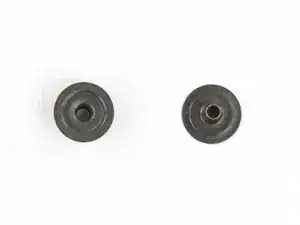
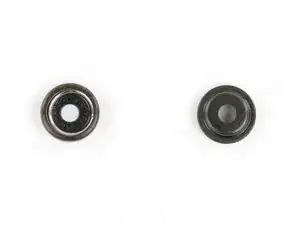
Measure the diameter of the components to ensure that they are the correct size. These are 1/2" in diameter.
-
-
-
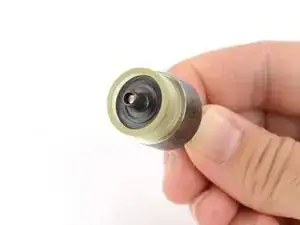
Insert the cap, shaft facing out, into the cap fitting for the hand press. When correctly seated, the cap should not extend beyond the fitting.
-
-
-
Insert the socket into the socket fitting for the hand press. Place the widest part of the socket facing the fitting. When correctly seated, the socket will snap on to the fitting and sit without being held.
-
-
-
Insert the socket fitting into the upper fitting holder on the hand press.
-
Insert the fitting as far as it will go, so that the only visible part is the wider encasement portion of the fitting.
-
Tighten the screw on the side of the upper fitting holder to secure the stud fitting. Tighten the screw about a 1/4 turn past finger-tight.
-
-
-
Slowly pull the handle on the hand press to test the range of the fittings.
-
The fittings should just touch when the handle is pulled to its maximum.
-
If there is a gap in the fittings, adjust the height of the fitting base on the hand press by turning it until the fittings touch.
-
-
-
Mark the fabric where you will be inserting the snap.
-
Align the fabric in the hand press so that the mark rests directly above the shaft of the post.
-
-
-
With the fabric aligned, pull the handle of the hand press down in one continuous motion.
-
Apply pressure until you feel the snap give.
-
-
-
Release the handle of the hand press, and remove the fabric.
-
Inspect both sides of your snap to make sure that it is laying flat and tight up against the fabric.
-


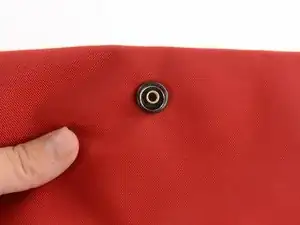
Admire your handiwork!