Introduction
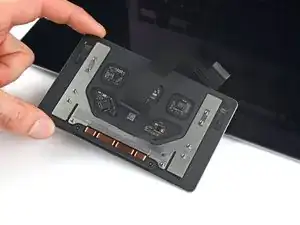
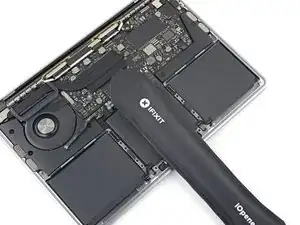
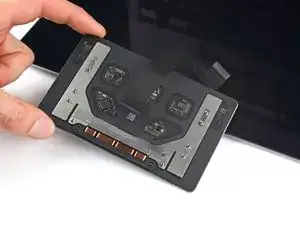
Use this guide to replace the trackpad in your MacBook Pro 13" 2022 (M2).
If your battery is swollen, take appropriate precautions.
Some photos in this guide are from a different model and may contain slight visual discrepancies, but they won't affect the procedure.
Tools
Parts
-
-
Unplug all cables and fully shut down your MacBook.
-
Close the lid and flip your MacBook over. Keep the lid closed until you've physically disconnected the battery.
-
-
-
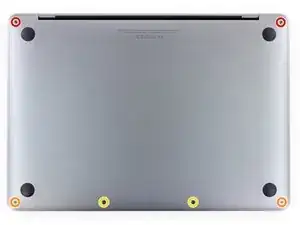
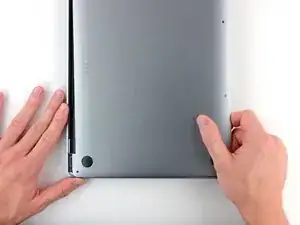
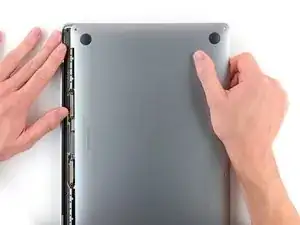
Use a P5 Pentalobe driver to remove the six screws securing the lower case:
-
Two 6.8 mm screws
-
Two 5.3 mm screws
-
Two 3.4 mm screws
-
-
-
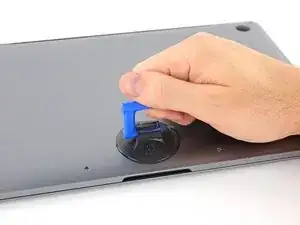
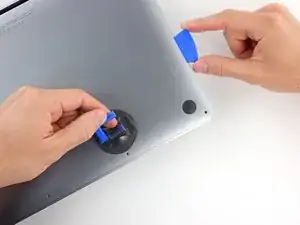
Apply a suction handle near the front edge of the lower case, between the screw holes.
-
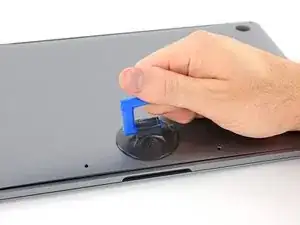
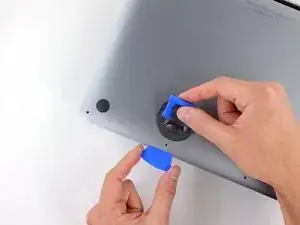
Pull up on the suction handle to create a gap between the lower case and the frame.
-
-
-
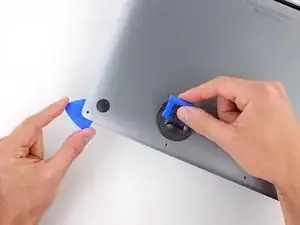
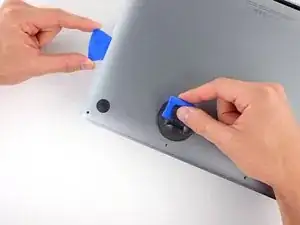
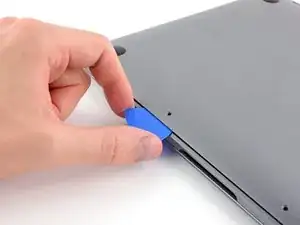
Insert an opening pick between the lower case and the frame.
-
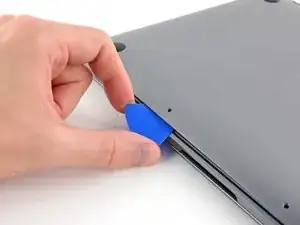
Slide the pick around the left corner to release the first set of clips.
-
-
-
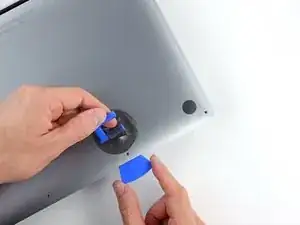
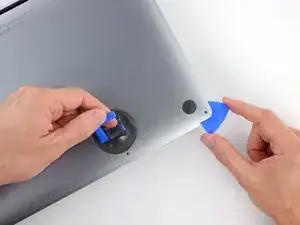
Slide your opening pick around the right corner to release the second set of clips securing the lower case.
-
-
-
Insert your opening pick between the lower case and the frame near the middle left screw hole.
-
Firmly twist the pick until the clip releases.
-
Repeat this procedure for the clip near the middle right screw hole.
-
-
-
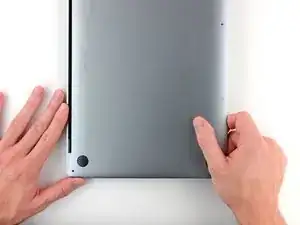
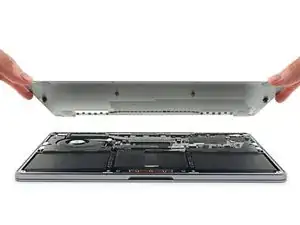
Firmly pull the lower case away from the screen hinges to release the last clips securing it to the frame.
-
-
-
Remove the lower case.
-
Set it in place and align the sliding clips near the display hinges. Press down and slide the lower case toward the hinges.
-
Once the lower case is secured near the hinges, press down firmly to engage the remaining four clips
-
-
-
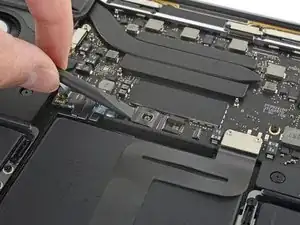
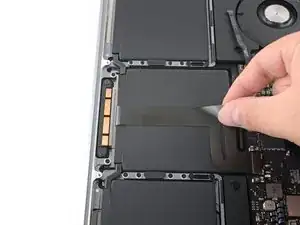
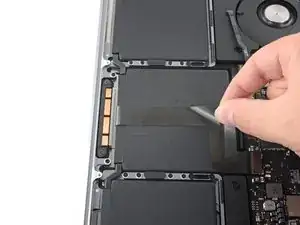
Use blunt noise tweezers or your fingers to peel and remove the cover from the battery board, just above the middle battery cell.
-
-
-
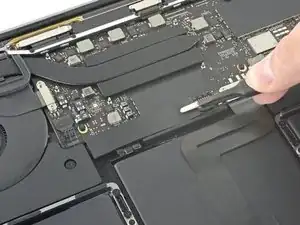
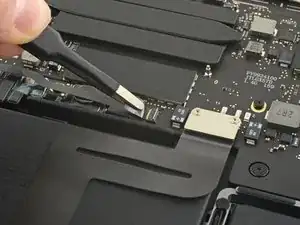
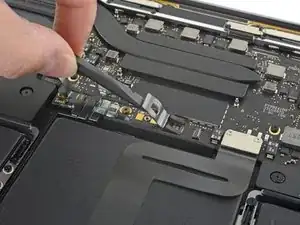
Use blunt nose tweezers to gently peel back the pull tab covering the battery data connector.
-
-
-
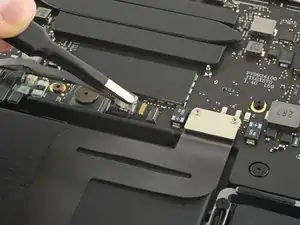
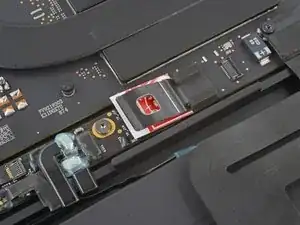
Use the point of a spudger to flip up the small locking tab securing the battery data connector.
-
-
-
Use blunt nose tweezers or your fingers to grab the battery data cable pull tab and slide it straight out of its socket.
-
Move the cable to the left, out of the way of the battery board.
-
-
-
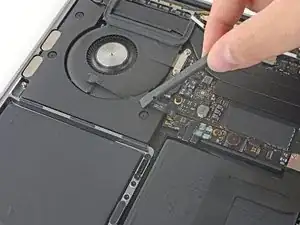
Use the flat end of your spudger to slightly lift the battery connector away from the battery board.
-
-
-
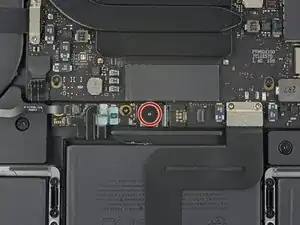
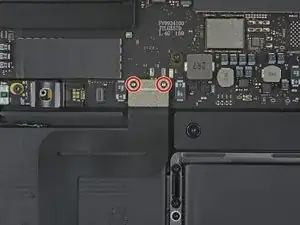
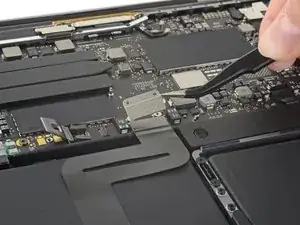
Use your T5 Torx driver to remove the two 1.9 mm screws securing the trackpad cable bracket.
-
Remove the bracket.
-
-
-
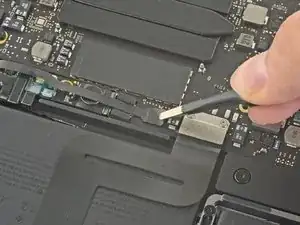
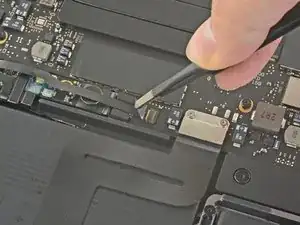
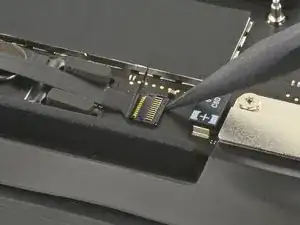
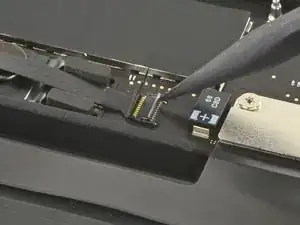
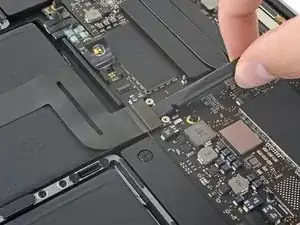
Use the flat end of your spudger to pry up and disconnect the trackpad cable from the logic board.
-
-
-
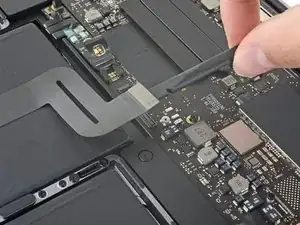
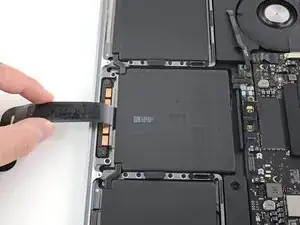
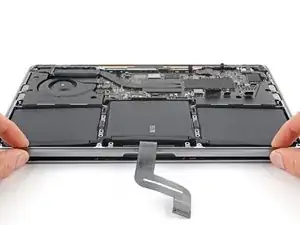
Use your fingers to peel the trackpad cable from the battery.
-
Fold the cable over the front edge of the MacBook.
-
-
-
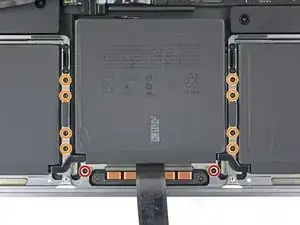
Use your T5 Torx driver to remove the ten screws securing the trackpad:
-
Two 4.3 mm screws
-
Eight 5.8 mm screws
-
-
-
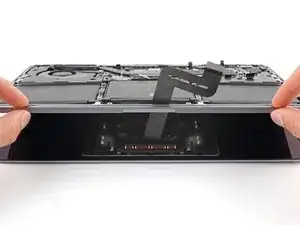
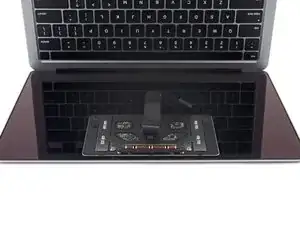
Open your MacBook by lifting the body away from the display and trackpad.
-
Feed the trackpad cable through its cutout in the frame.
-
To reassemble your device, follow these instructions in reverse order.
Take your e-waste to an R2 or e-Stewards certified recycler.
Repair didn’t go as planned? Try some basic troubleshooting or search our Answers community for help.
