Introduction
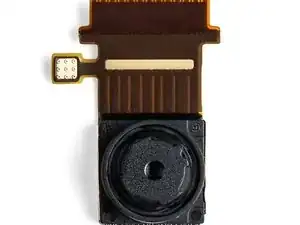
If the front camera on your Moto G4 is no longer working, follow this step by step guide to replace it yourself.
Tools
Parts
-
-
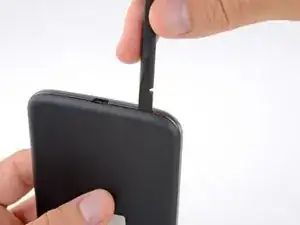
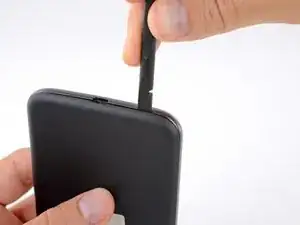
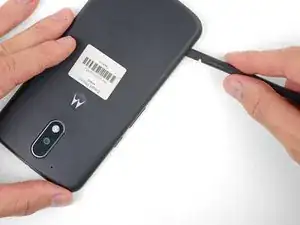
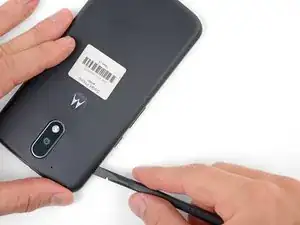
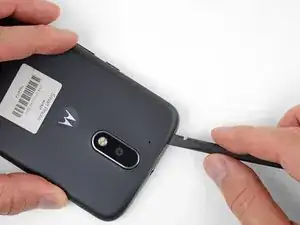
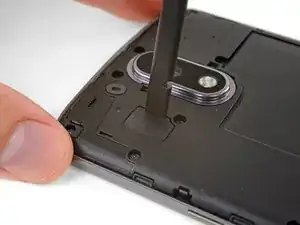
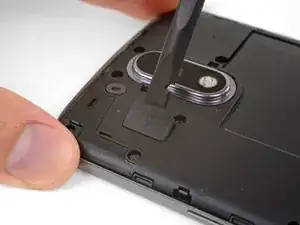
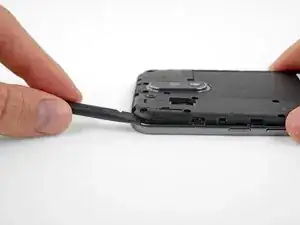
Insert a fingernail or a spudger into the notch on the bottom edge of the phone, near the charge port.
-
Gently twist or pry to open a small gap between the back cover and the body of the phone.
-
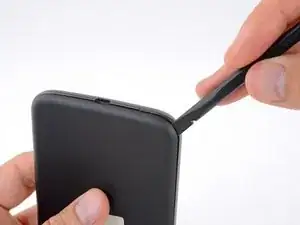
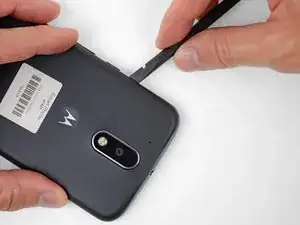
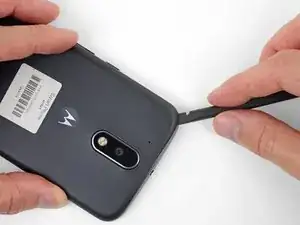
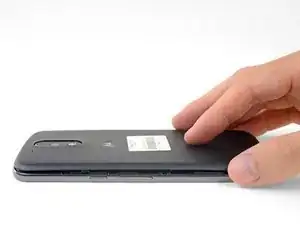
While keeping your tool (or fingernail) inserted into the gap between the back cover and the body of the phone, slide it around the corner to begin loosening the plastic clips holding the cover in place.
-
-
-
Slide your tool all along the side of the phone to separate more of the clips securing the back cover.
-
-
-
Keep your tool inserted slightly under the back cover, and slide it around the top corner.
-
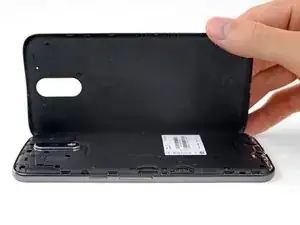
If necessary, continue prying around the remaining edges of the phone until the back cover comes free.
-
-
-
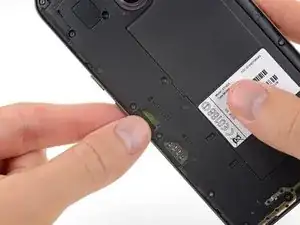
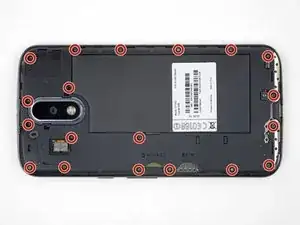
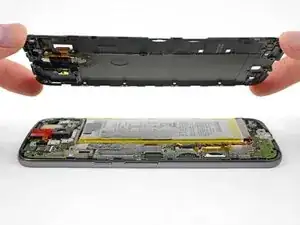
Insert a spudger under the midframe at the top left corner, and gently twist to separate it from the body of the phone.
-
-
-
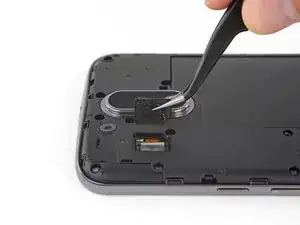
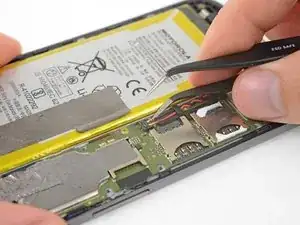
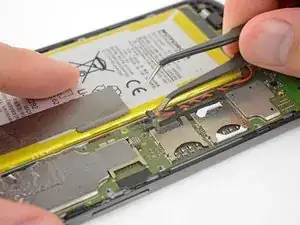
Insert a thin tool (such as one of your tweezer tips) under the red and black battery wires, and slide it underneath the battery connector.
-
Gently pry straight up to disconnect the battery.
-
-
-
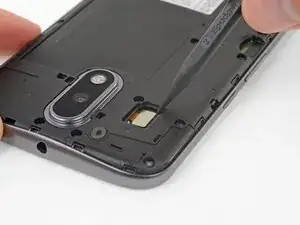
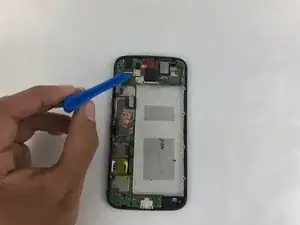
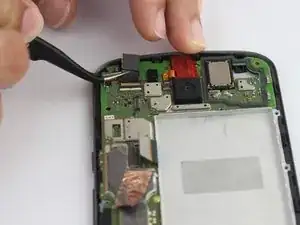
Use your spudger to pry up the front-facing camera and make sure it separates safely from the frame.
-
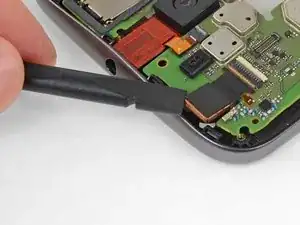
Peel back and remove any tape covering the front-facing camera's flex cable connector.
-
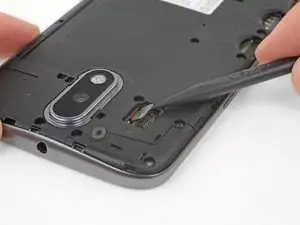
Pry up with your spudger or other ESD-safe tool to flip open the locking flap on the front-facing camera's ZIF connector.
-
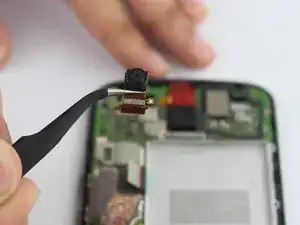
Gently pull the camera's flex cable free from the ZIF socket.
-
To reassemble your device, follow these instructions in reverse order.
One comment
Merci pour ce tutoriel très simple qui m'a permis (à 76 ans) de facilement remplacer la camera avant qui ne fonctionnait plus suite à une chute.... Prix de la camera trouvée sur Ebay 6€
Jean-Charles
facebook -
