Introduction

Prereq only. Dropped into existing guide.

This guide shows how to open the Motorola Moto Z in order to replace an old or dead battery.

Before you begin, discharge your battery below 25%. A charged lithium-ion battery can catch fire and/or explode if accidentally punctured.

If your battery is swollen, do not heat your phone. If needed, you can use a dropper or syringe to inject isopropyl alcohol (90+%) around the edges of the back cover to weaken the adhesive. Swollen batteries can be very dangerous, so wear eye protection and exercise due caution, or take it to a professional if you're not sure how to proceed.

The display assembly is extremely fragile and has no reinforcement. Work slowly and methodically when handling the display assembly.

  1. pTieonyRatFkw1Sf
    pTieonyRatFkw1Sf
    QyNSx5Eb1wyXfMaJ
    YwbVbeYk132DEUwP
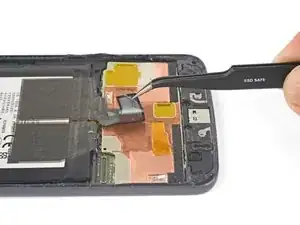
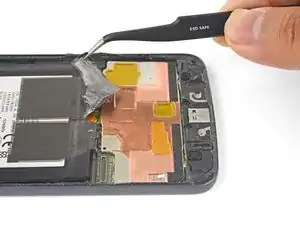
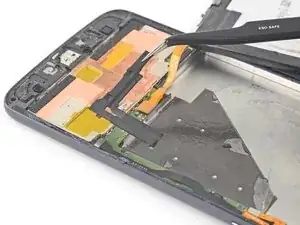
    • Use tweezers to peel the black tape securing the battery to the frame.

    • If your replacement battery did not come with this piece of tape, transfer it from the old battery to the replacement battery.

    Well. ithis is multilayer tape - at least three *very* thin layers. Expect ugly results, if any.

    dr_baeschtlr -

  2. xFtqgksvbqVTPWEi
    • Lay a heated iOpener on the back of the phone as shown for as least 90 seconds.

  3. LSuKPJBL5mJwGawX
    LSuKPJBL5mJwGawX
    UItWMA1siVekX1WW
    pVPSYOxIHDWlOKbW
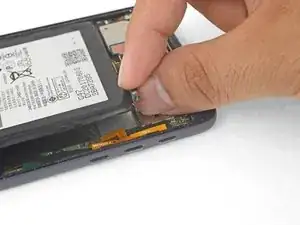
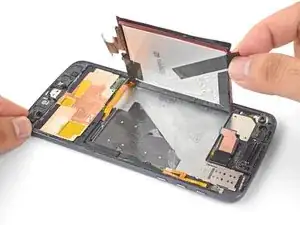
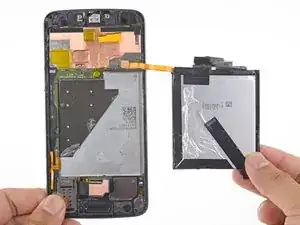
    • Using a pair of tweezers or your fingers, grab the black battery pull tab and slowly pull it upwards until the corner is loose.

    • Do not fully remove the battery as it is still connected by a flex cable.

  4. MVlV3aoZPifwUWoC
    MVlV3aoZPifwUWoC
    FOmBUSRTP1LdPL2i
    • Follow this step only if your battery tab has broken. Otherwise, skip to the next step.

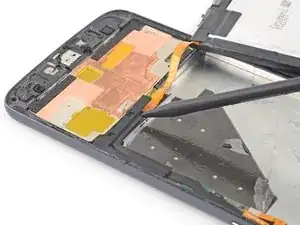
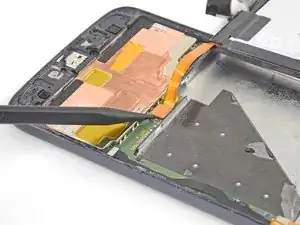
    • Insert a spudger into the bottom edge of the battery and slowly pry the corner up.

  5. uXXLU1plvqraRBBT
    uXXLU1plvqraRBBT
    vZVYhRVNgBeSgU2s
    5tIyxXlbtORmM4UW
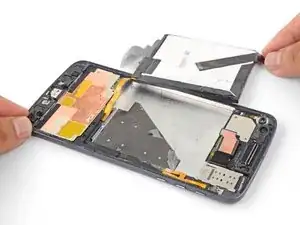
    • Carefully swing the battery towards the right edge.

    • Lay the battery flat against the work surface while taking care not to strain the battery cable.

  6. nI1RRDBBmqWIOqGG
    nI1RRDBBmqWIOqGG
    1SE2ebrEBoXXlkJM
    5HbwKAHWRtmkilhA
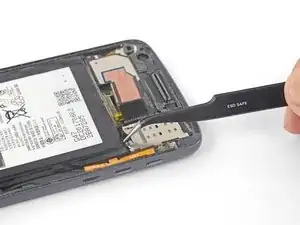
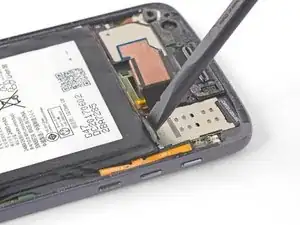
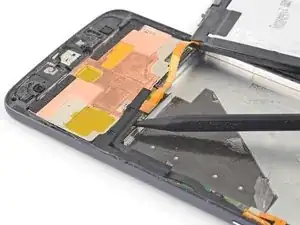
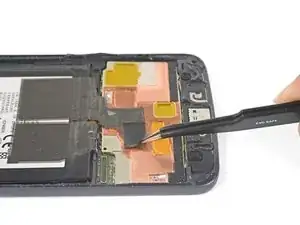
    • Use the point of a spudger to pry up the battery connector bracket.

    • The bracket is held in place by some adhesive and tabs.

    • Remove the battery connector bracket.

    • When you reinstall the bracket, make sure to align the tabs on the bracket with the indents on the left edge of the frame.

  7. XLqgrRkEEGEIeAYT
    XLqgrRkEEGEIeAYT
    H3TLVwn1DiAK2Wlq
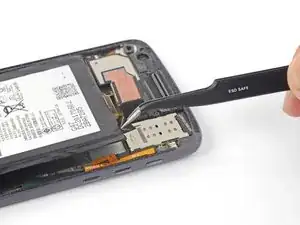
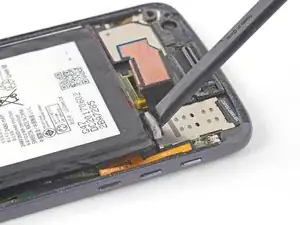
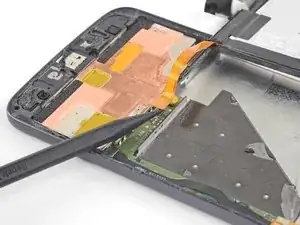
    • Using the point of a spudger, pry up the battery connector from its socket.

  8. CZbTsfhcblTeComv
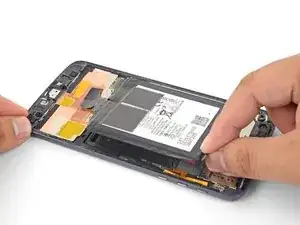
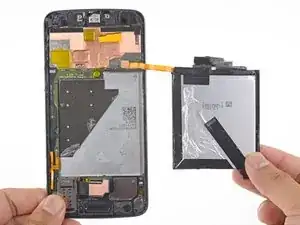
    • Remove the battery.

    • Do not reuse the battery after it has been removed, as doing so is a potential safety hazard. Replace it with a new battery.

    • To install a new battery:

    • Remove any remaining adhesive from the phone, and clean the glued areas with isopropyl alcohol and a lint-free cloth.

    • Apply pre-cut adhesive strips or double-sided tape to the exposed, silver part of the battery compartment, not on the black foam layer.

    • Press the battery firmly into place for 5-10 seconds.

    Really need to include how to apply the adhesive for this device, I had to go find a video on youtube which happened to be an iphone 6 video that gave me an idea on what to do, but even then, it was still guess work.

    Andrew Scorgie -

    Check out the link to the adhesive card guide in the last step—that should you a pretty good idea of how to prep the phone and battery for installation and how to use our pre-cut adhesive card and apply the adhesive. Let us know if we can change something to make it easier to use!

    Adam O'Camb -

    Only just noticing the reply now since I am redoing the adhesive on a second Moto Z I have (screen adhesive failed on its own) and while that guide is pretty good (and something I may well use now on the original one if it fails again!), I was more thinking about how to apply the display adhesive that comes within the kit. There were no instructions on how to use that.

    Andrew Scorgie -

Conclusion

Compare your new replacement part to the original part. You may need to transfer remaining components or remove adhesive backings from the new part before installing.

To reassemble your device, follow these instructions in reverse order.

For optimal performance, calibrate your newly installed battery: Charge it to 100% and keep charging it for at least 2 more hours. Then use your device until it shuts off due to low battery. Finally, charge it uninterrupted to 100%.

Take your e-waste to an R2 or e-Stewards certified recycler.

Repair didn’t go as planned? Try some basic troubleshooting, or ask our Motorola Moto Z Answers community for troubleshooting help.
Arthur Shi

Member since: 03/01/18

218115 Reputation

0 comments